This post contains some affiliate links.
UPDATED! I CREATED THIS POST OVER 2 1/2 YEARS AGO AND MADE A FRESH NEW TUTORIAL WITH NEW PRINTABLES AND A MUCH MORE MODERN LOOK THAT YOU CAN FIND ON ANOTHER POST. CLICK ON THE PHOTO TO TAKE YOU TO THE NEW POST!
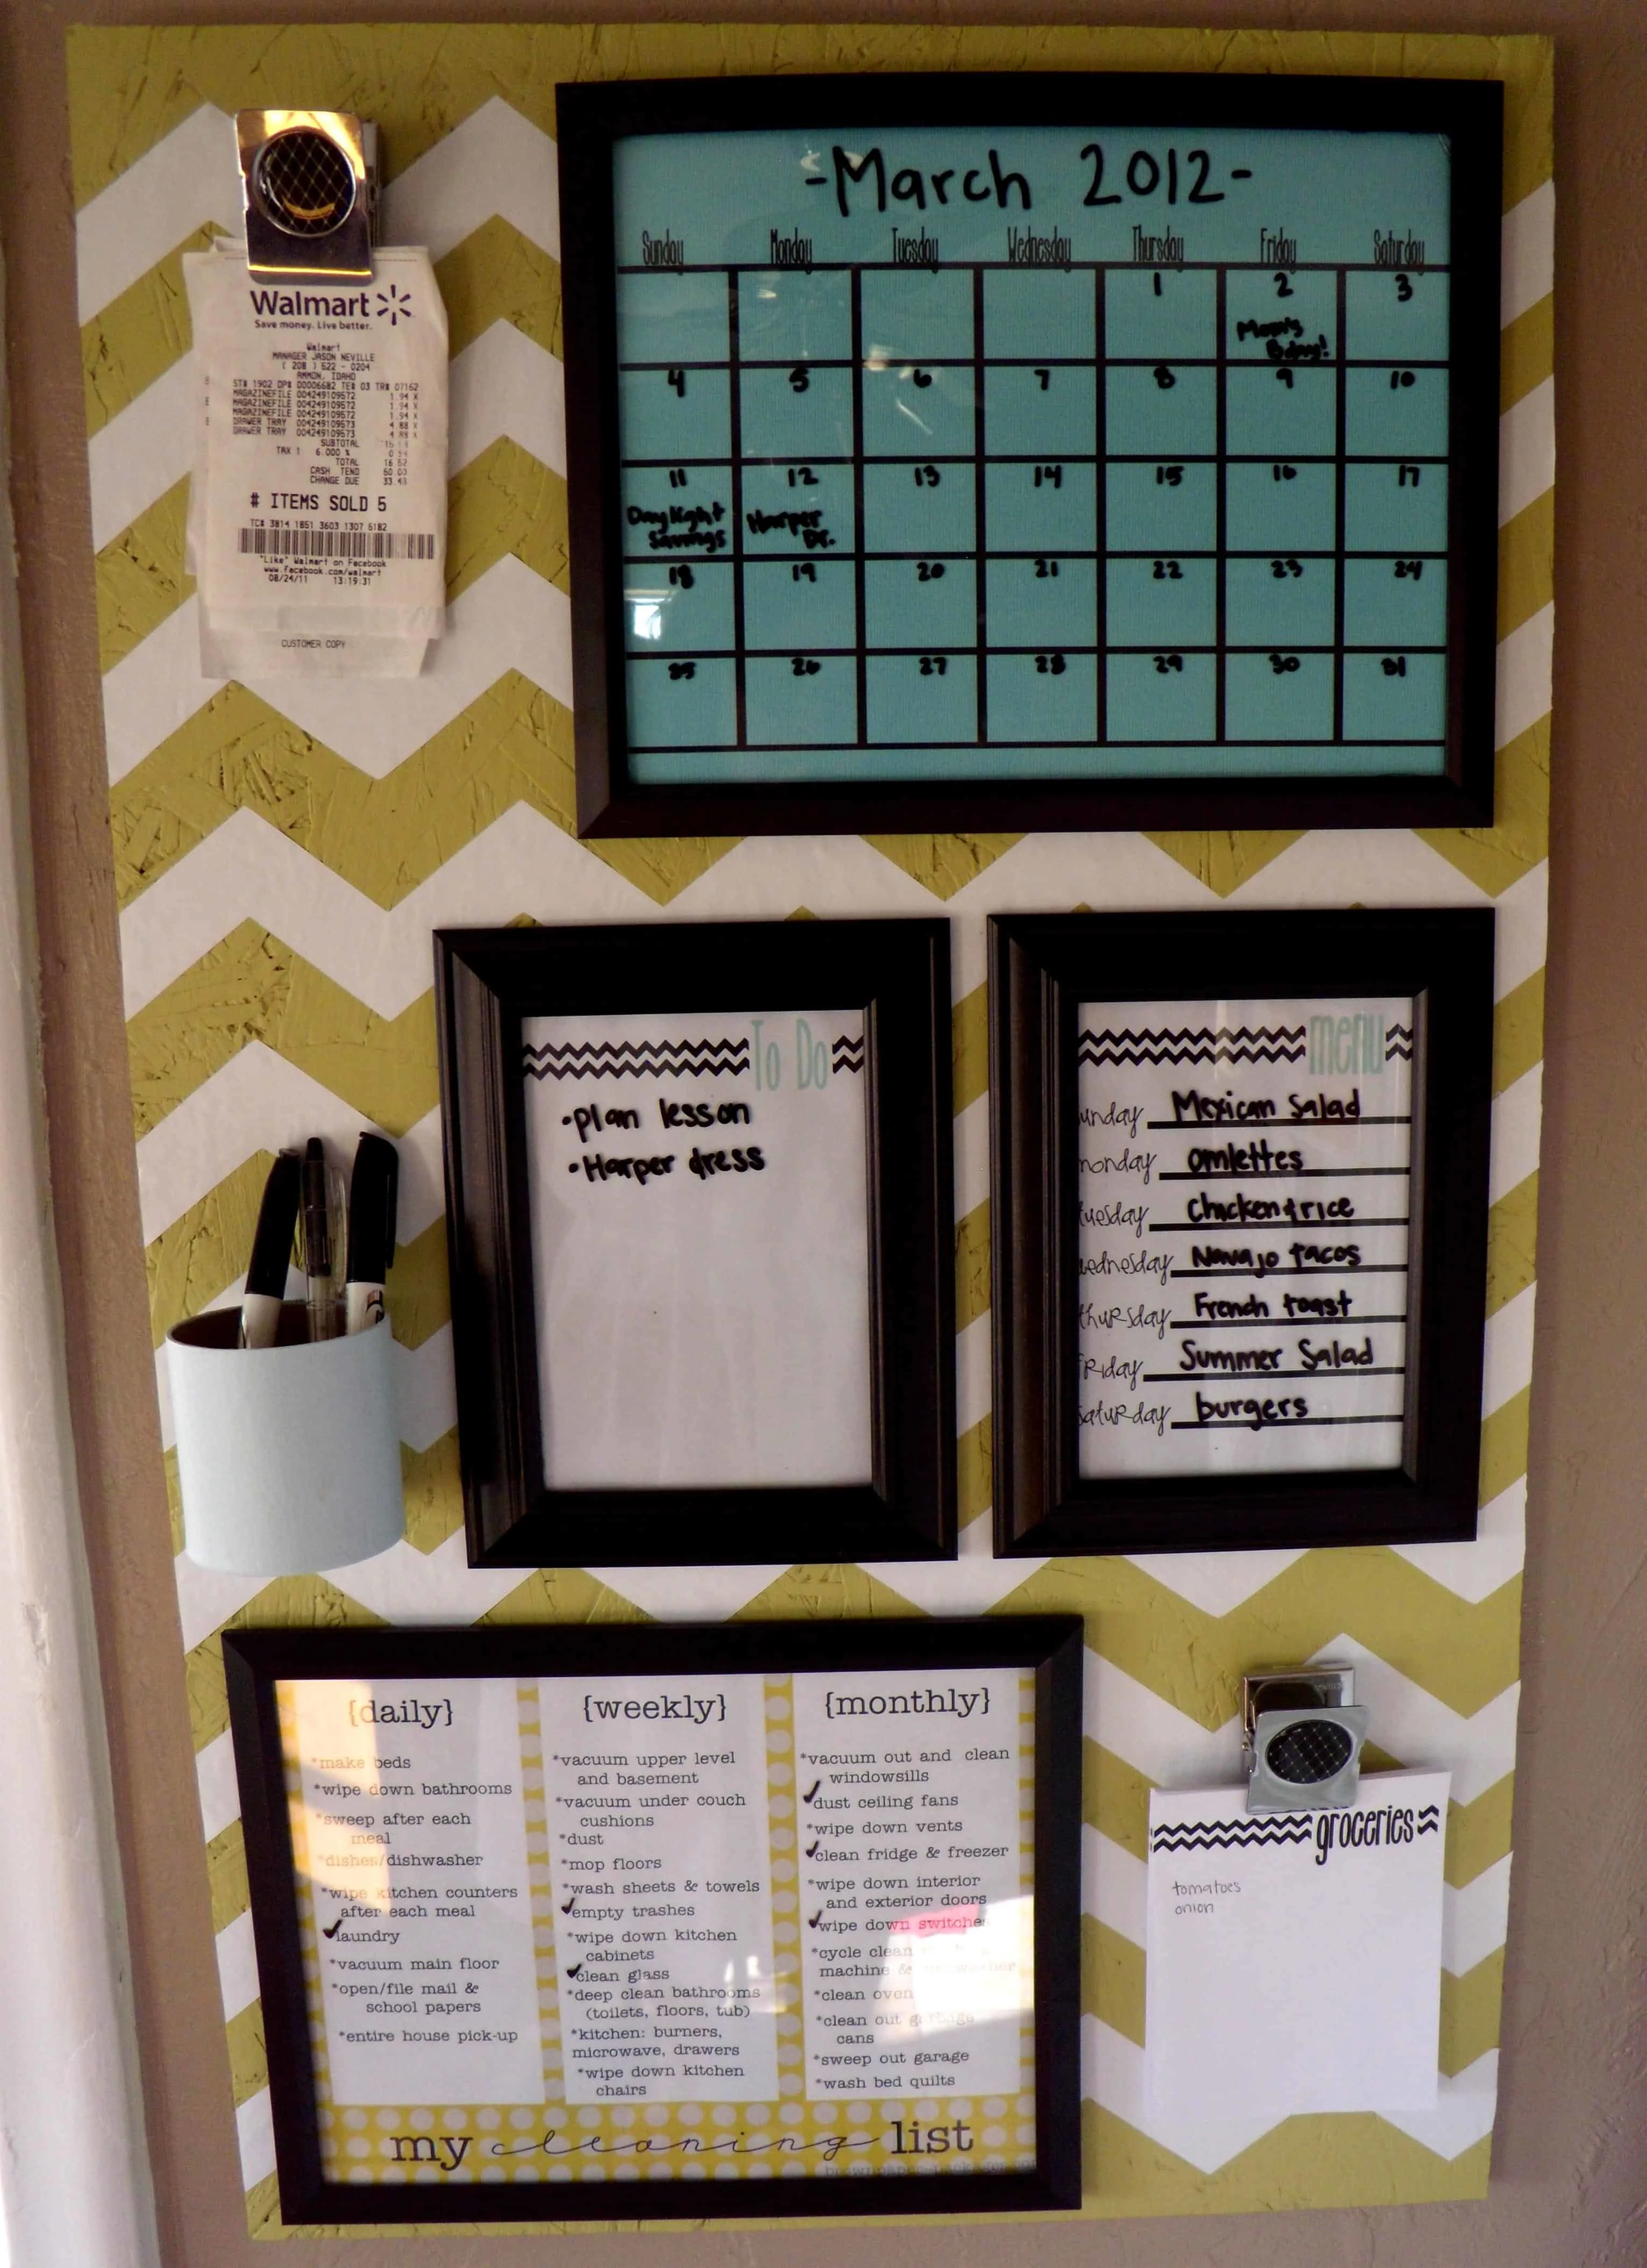
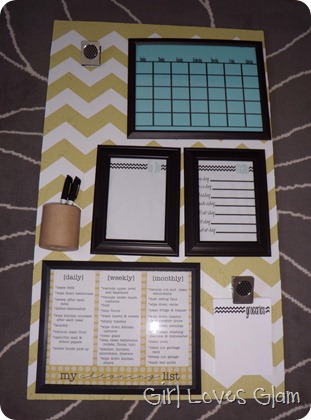
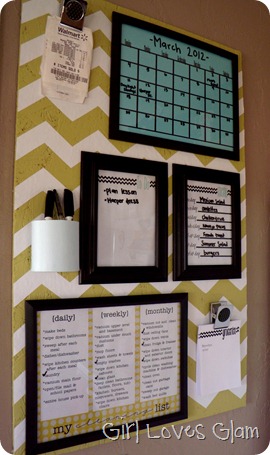
I was sick and tired of having lists everywhere. A to do list, grocery list, menu list, and schedule. It was time to put all of my junk in one place! After much research and deep thought, I finally came up with my perfect organization board. It is a command center for my family so we can all keep our lives straight!
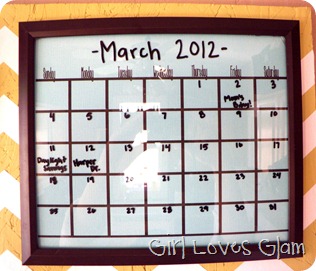
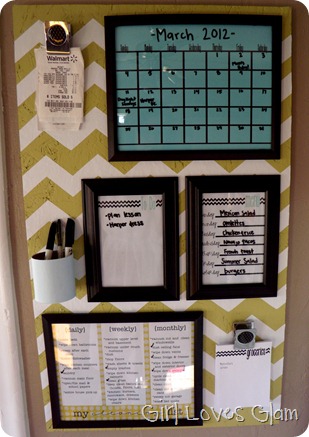
A clip for receipts. A whiteboard calendar.
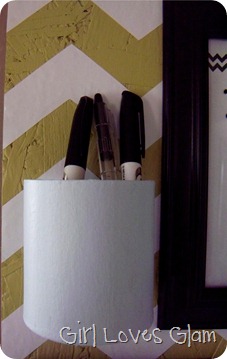
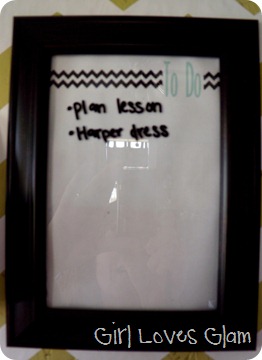
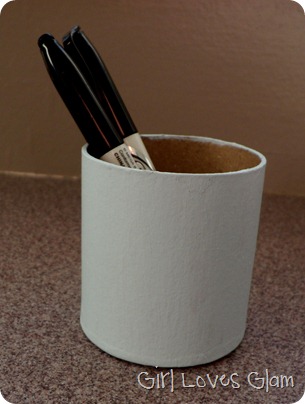
A pen/marker holder. Whiteboard To Do list.
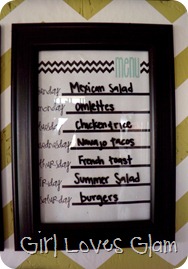
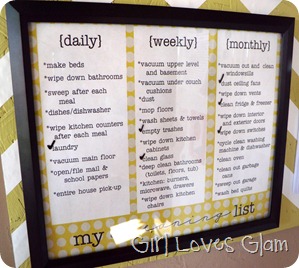
A whiteboard menu. A whiteboard cleaning list.
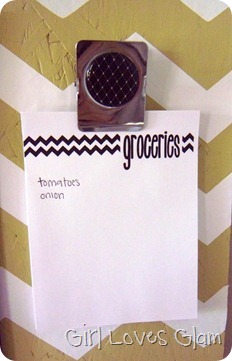
Clip for the ongoing grocery list.
Now for you to make one of your very own! Here is what you will need…
19×31 inch piece of plywood
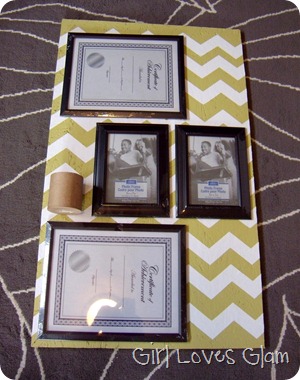
2 5×7 frames (found at the dollar store)
2 8 1/2×11 document frames (found at the dollar store)
paint
glue gun
paper print outs
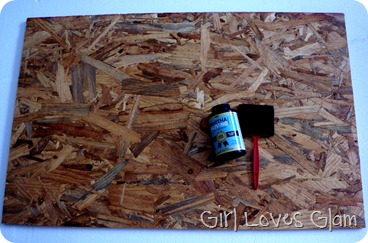
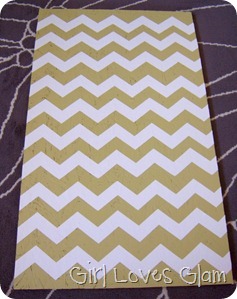
First, paint your plywood. Remember to paint the edges too.
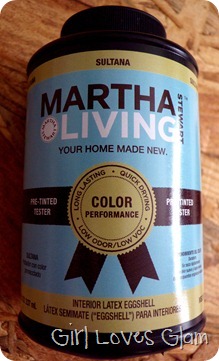
I used a paint color sample of Martha Stewart Sultana.
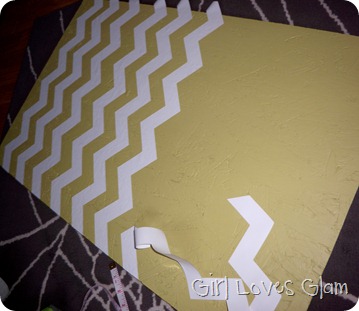
Optional- Put your chevron print vinyl on the board.
Cut off the edges of the vinyl.
Lay your picture frames our on the board to determine where you will put them.
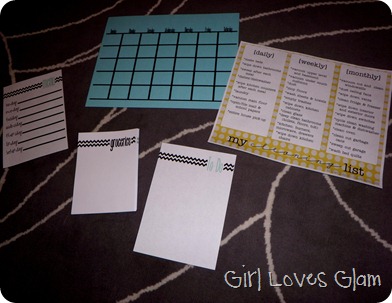
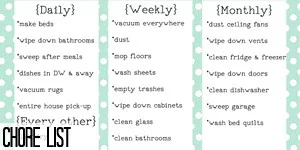
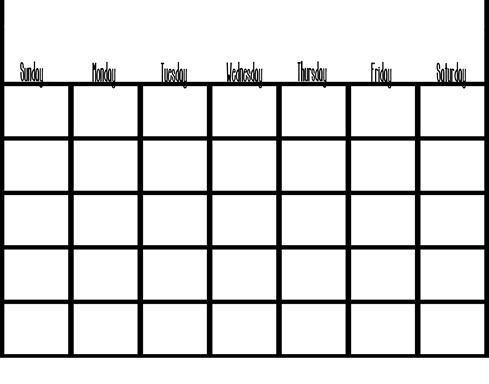
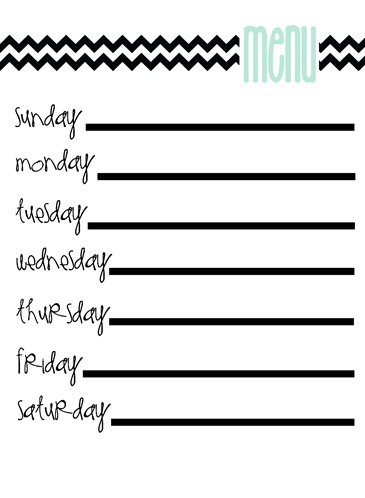
Print out the menu, to do list, calendar, grocery lists, and cleaning list. The cleaning list can be found on Brown Paper Packages here. The rest, I made, and you can take for yourself!
UPDATE- I made my own chore list that you can find HERE!
UPDATE- I made my own chore list that you can find HERE!
Calendar- Print 8×10 on colored paper
Grocery lists- Print several 8×10 copies and cut apart.
Menu- Print 5×7 copy.
To Do- Print 5×7 copy.
Put printed papers in their frames and clips.
Paint your paper mache box. I painted mine a very light blue.
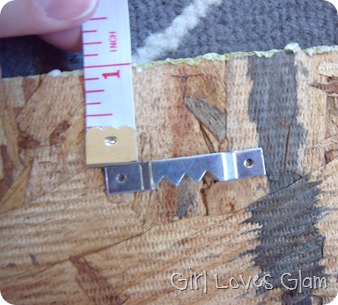
picture hangers to be on the back of the board and nail them in place.
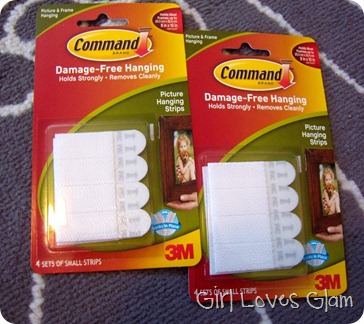
Get your Command Strips and distribute them to each of your frames and clips.
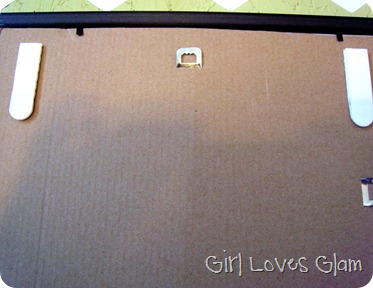
Put the Command Strips on the backs of the frames and place them where you want them on your board.
Hang up your board, and fill it in with all of your lists!
I am basically obsessed with this. Not only is it a fun piece of art in my home, but it is totally functional!
 THIS TUTORIAL IS FOR PERSONAL USE ONLY! DO NOT SELL ANY OF THIS OR PRETEND YOU MADE ANY OF IT. IF YOU WANT TO USE A PHOTO OR FEATURE THIS, PLEASE ONLY TAKE ONE PHOTO AND LINK IT BACK TO THIS POST WITH PROPER CREDIT GIVEN.
Because you loved this organization post so much, I just know you will love these other cleaning and organization posts I have done too! Click on the photo to take you to each of the posts…



10 Wall Decor Ideas, Simple DIY Wall Decors
Tuesday 25th of September 2018
[…] source […]
Khadija
Sunday 15th of April 2018
For the organizer Does the clander pages just slide in and out of the picture framn
20 Creative Bulletin Board DIY Projects
Sunday 16th of July 2017
[…] via girllovesglam […]
Cool DIY Dorm Room Decor Projects - DIYCraftsGuru
Tuesday 27th of June 2017
[…] girllovesglam […]
Awesome DIY Dorm Room Decor Ideas
Friday 9th of June 2017
[…] girllovesglam […]