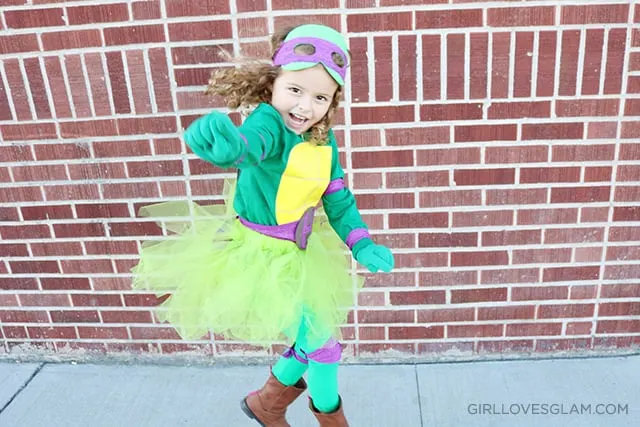
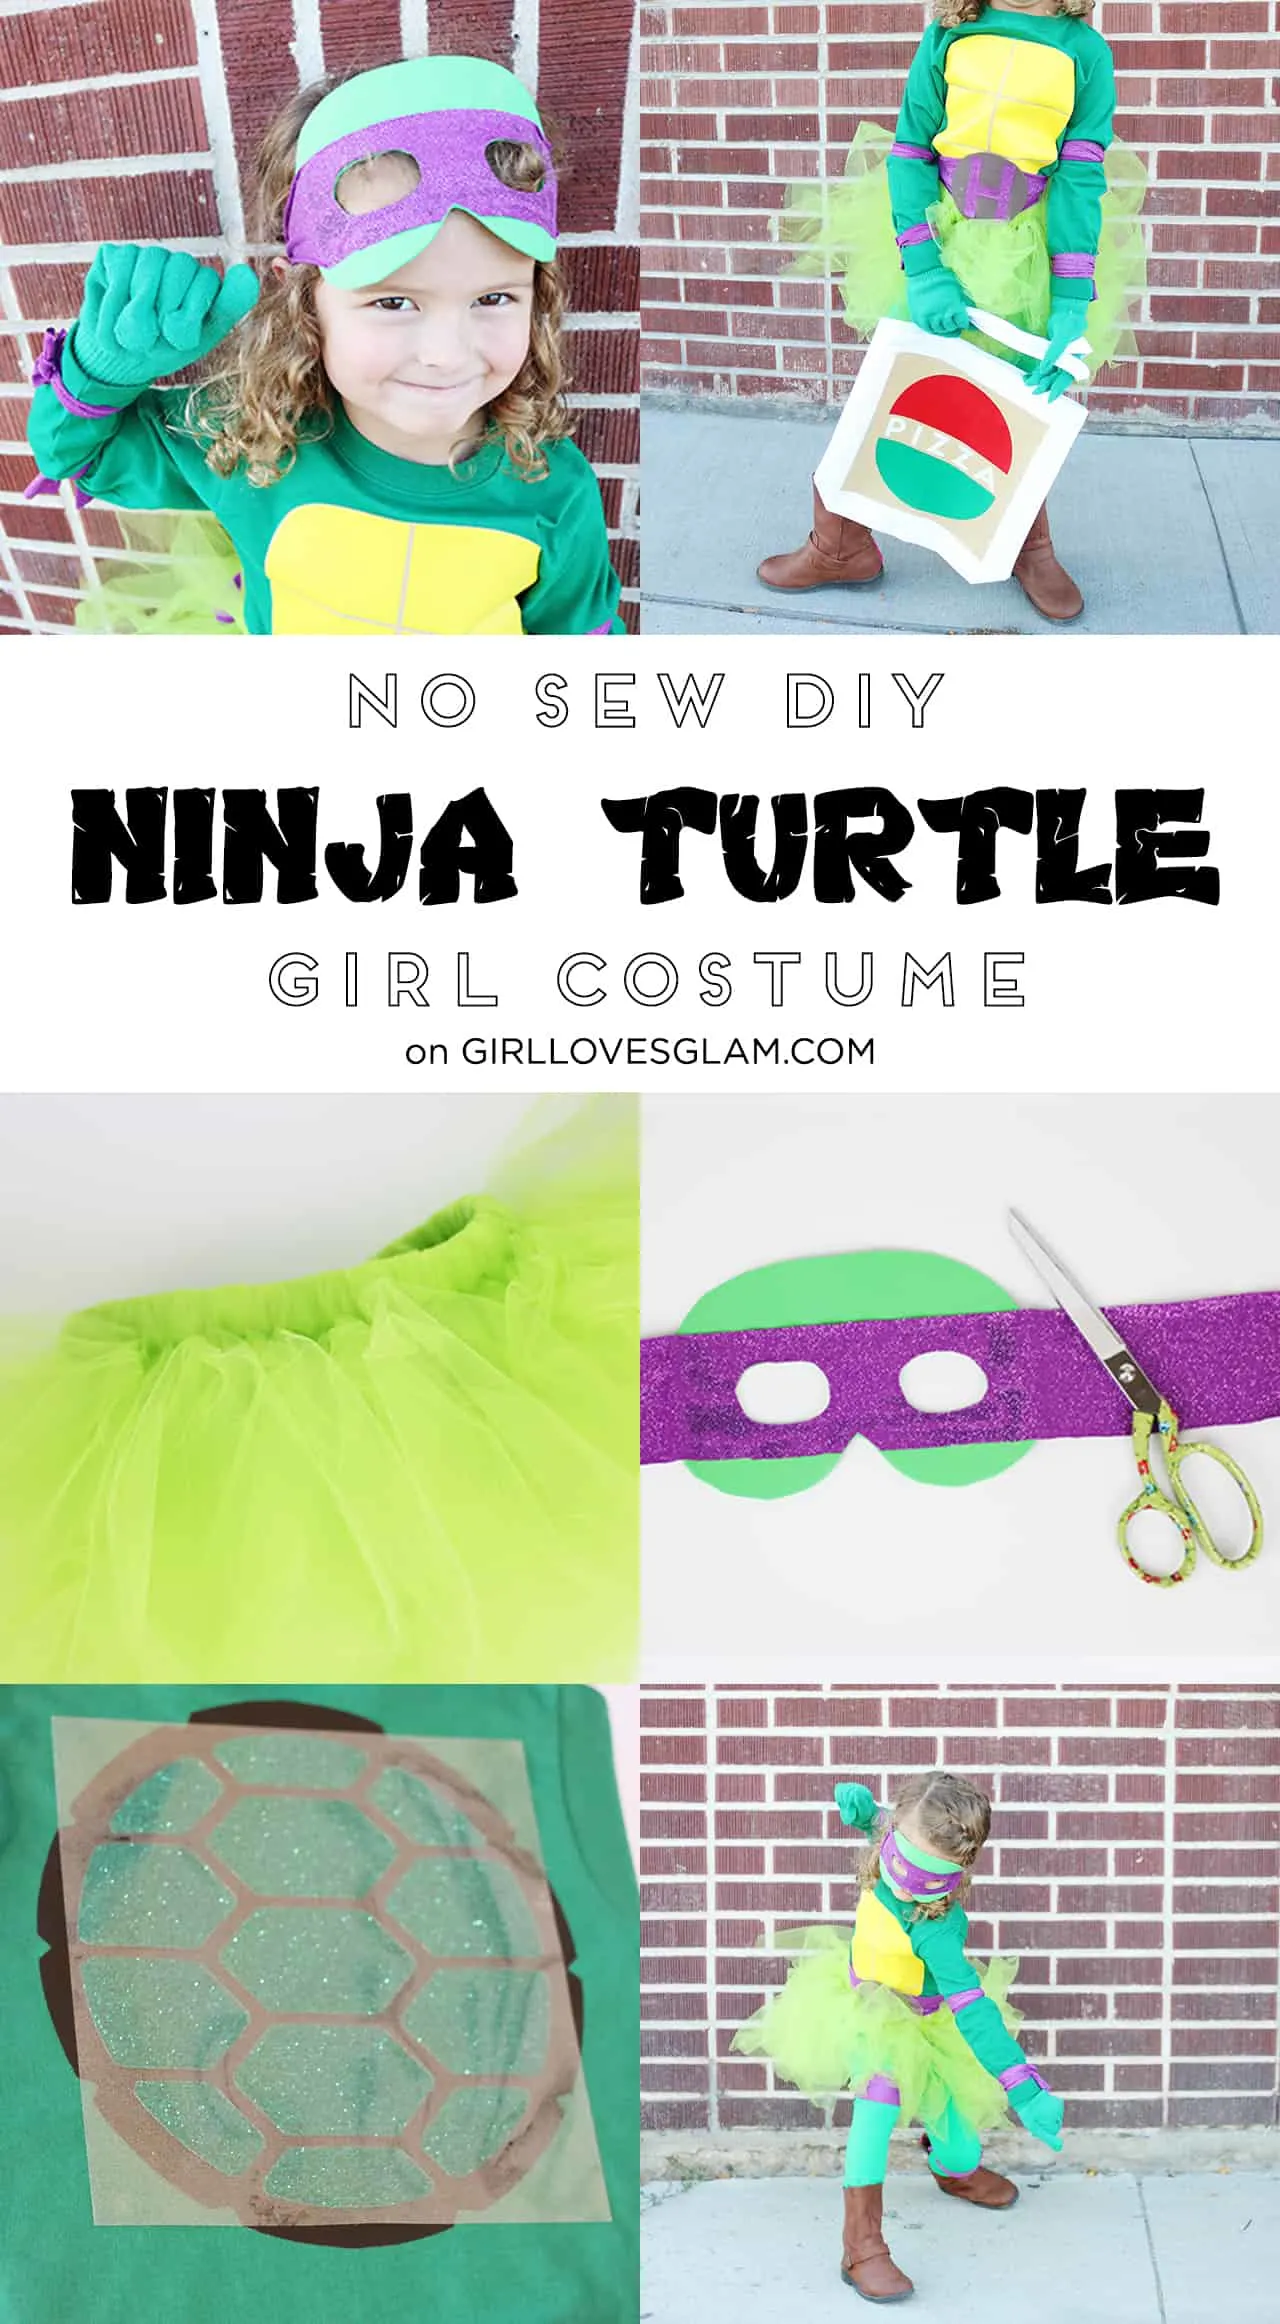
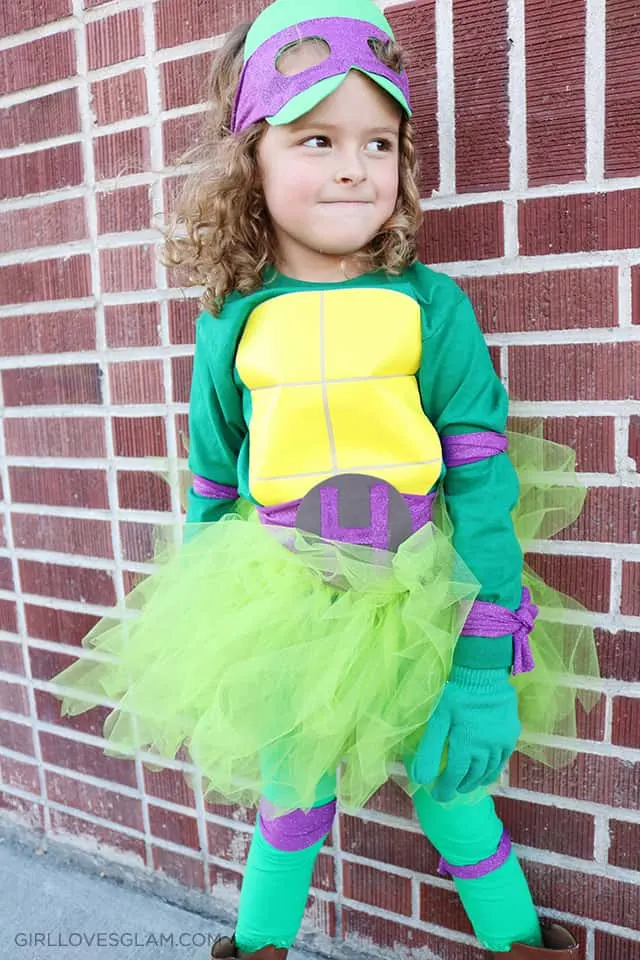
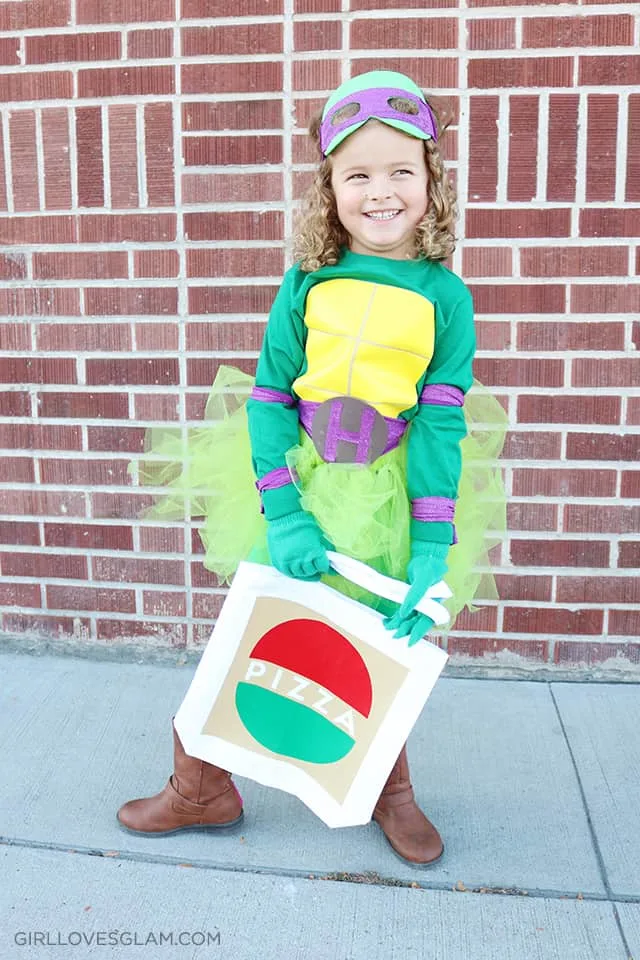
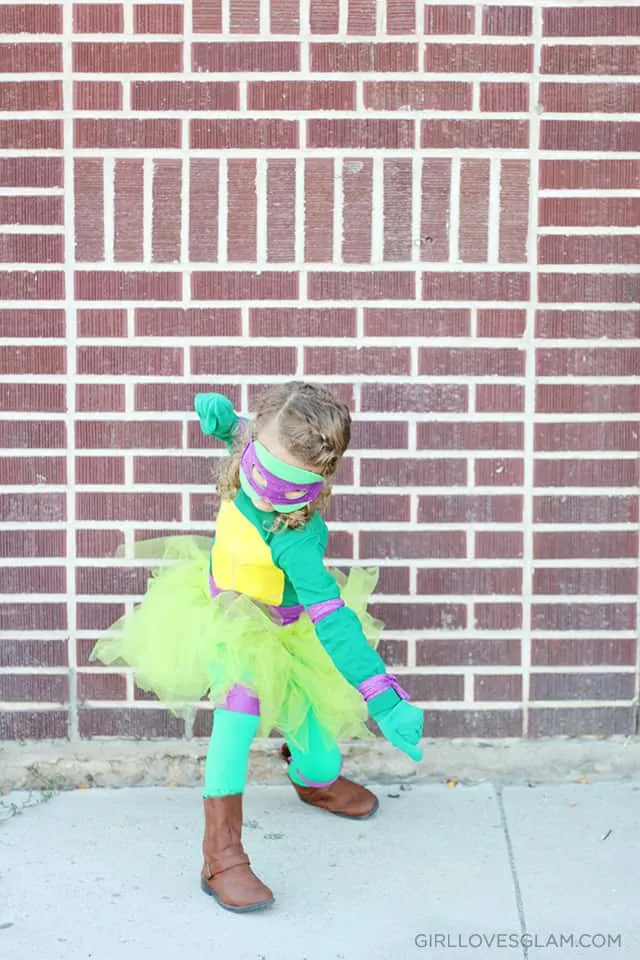
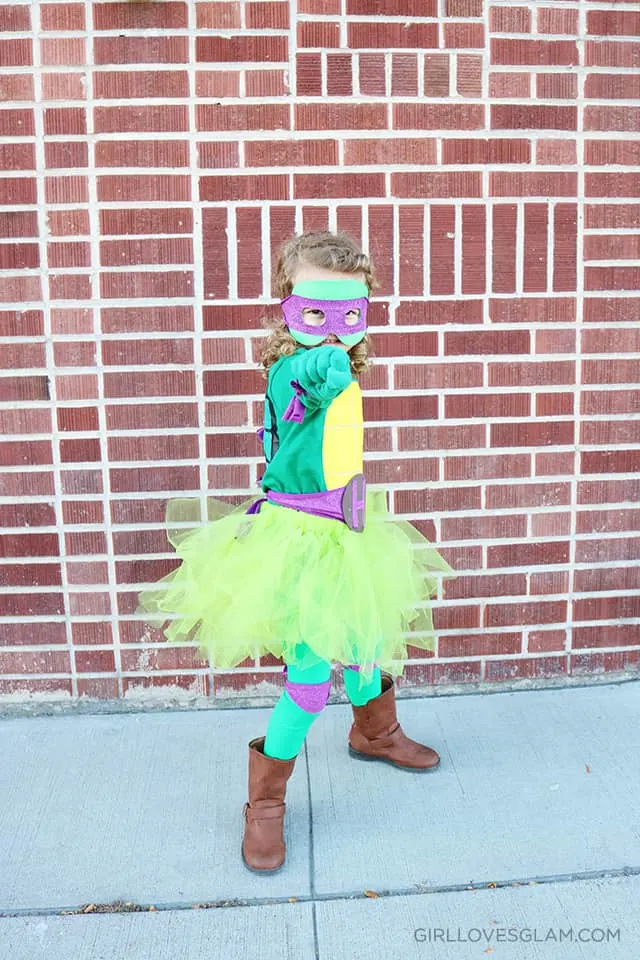
It is officially the time of year that I look forward to each and every year. When I first started making my family costumes, I didn’t mean to create the no sew theme that I did. But I am sure glad that I didn’t start out by sewing every costume because that would have never lasted! If you are new around these parts, this is the 5th year that I have created a new sew costume for my daughter. We end up having a family theme with all of us, but I usually just share the tutorial for her costume. I will be sharing our entire family look later, but today I am excited to show you my very own little Ninja Turtle! Here is my DIY No Sew Ninja Turtle Costume for Girls!
This costume was not only easy to make, but it was so fun too! The best part was definitely putting it on my daughter and seeing her instantly turn into a ninja. Its like she literally thought she was a Ninja Turtle!
Obviously this costume would be pretty easy to turn into a boy’s costume as well. Just don’t include the tutu and the sparkly fabric and you are good to go! Just follow along with the instructions below to create your very own little half shell hero!
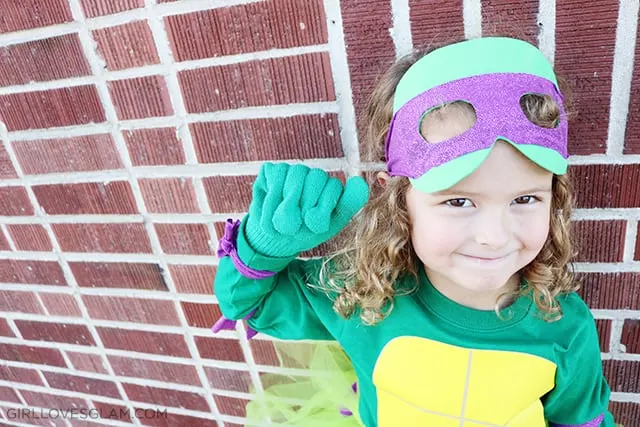
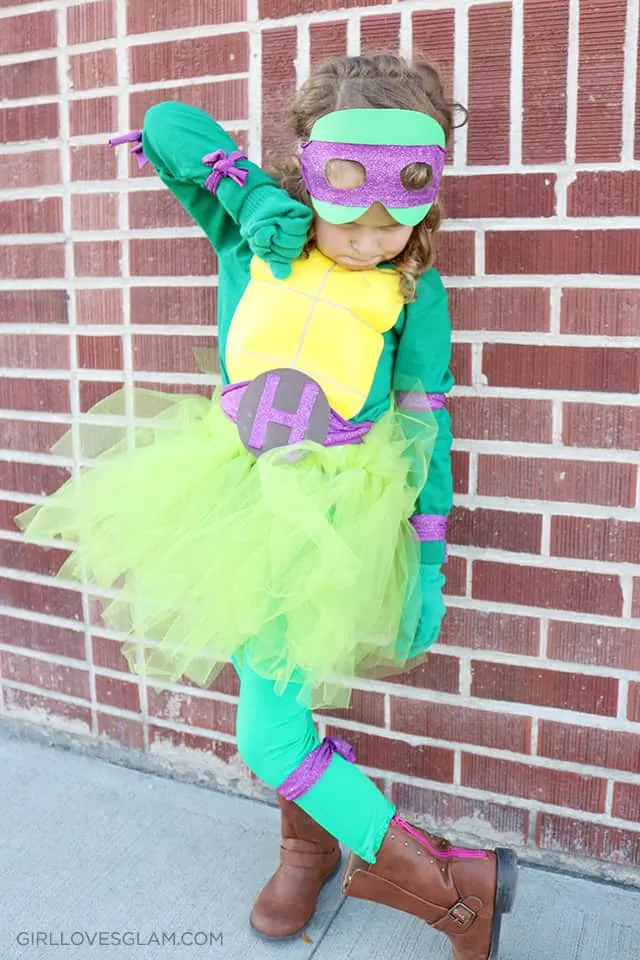
First up, is the mask! I wanted this mask to be able to be either a mask or more of a headband because I personally don’t plan on wearing mine as a mask on Halloween. I get a little too claustrophobic for masks!
To make the mask you will need. These contain affiliate links.
-Fabric in the color of the Ninja Turtle
-Scissors, rotary cutter, or both
- Measure the person’s face and cut out a mask shape out of the foam that is the same width as their face.
- Cut a long strip of fabric and glue it to the foam. Let this dry completely before moving onto step 3.
- Measure how far apart the person’s eyes are and cut holes for their eyes on the mask.
I just love that these masks have a little bit of green on them, instead of them being just the colored fabric. Now I don’t feel like we need to paint faces or anything.
Now for the shirt!
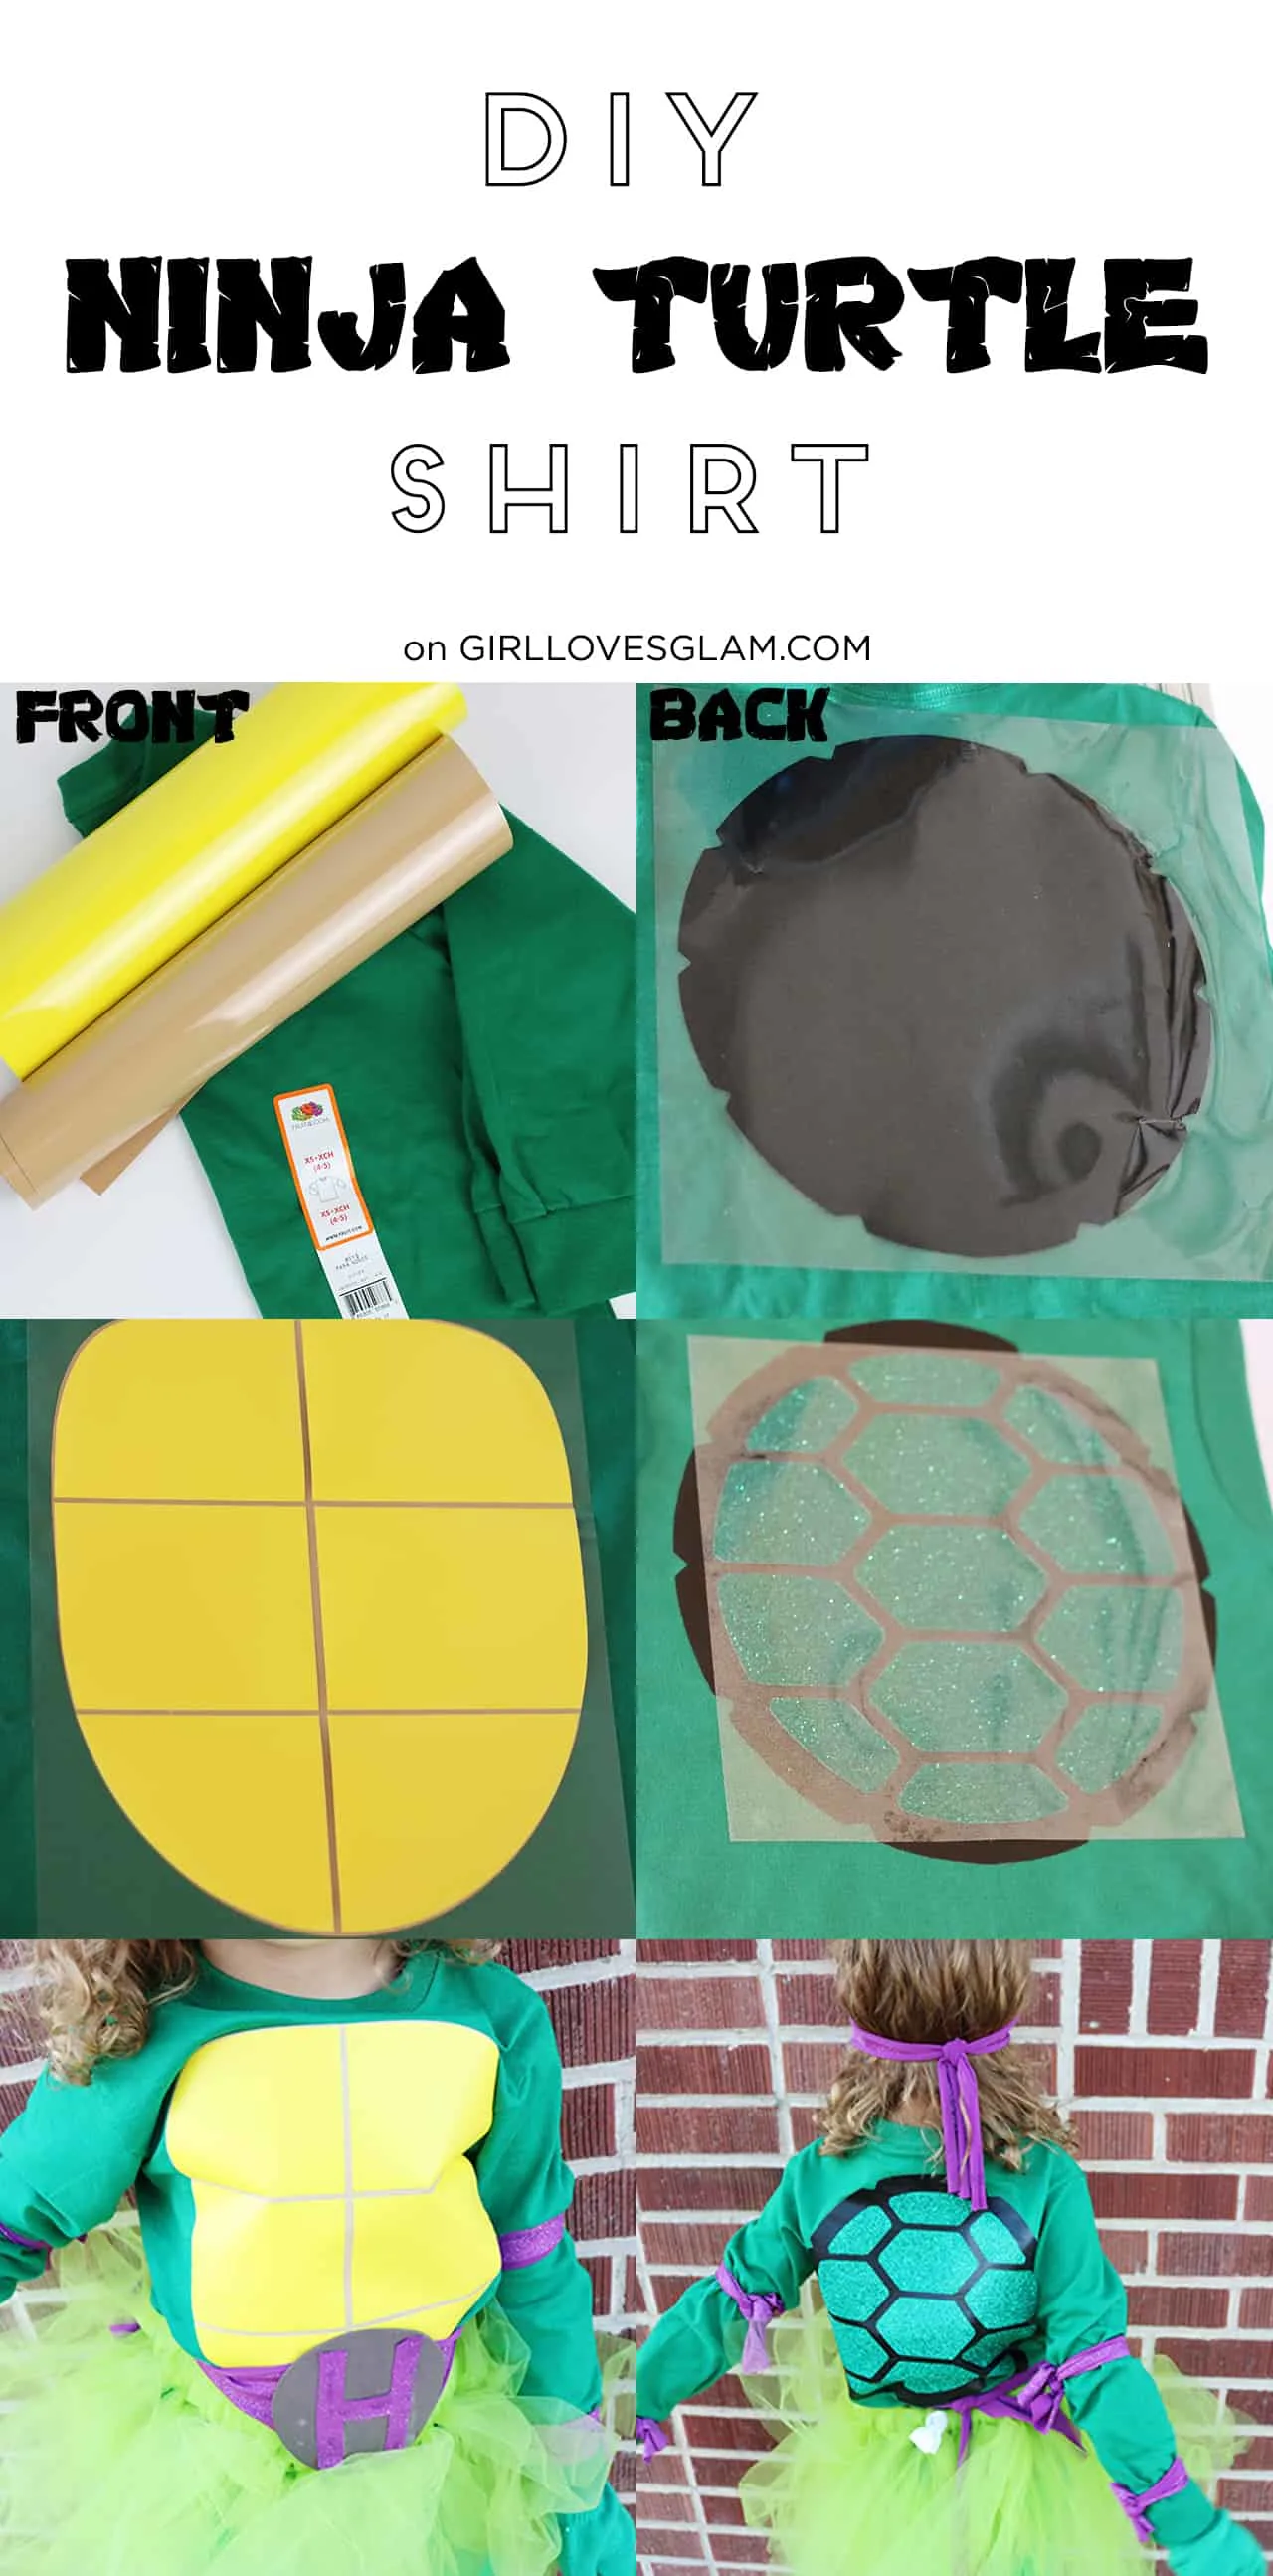
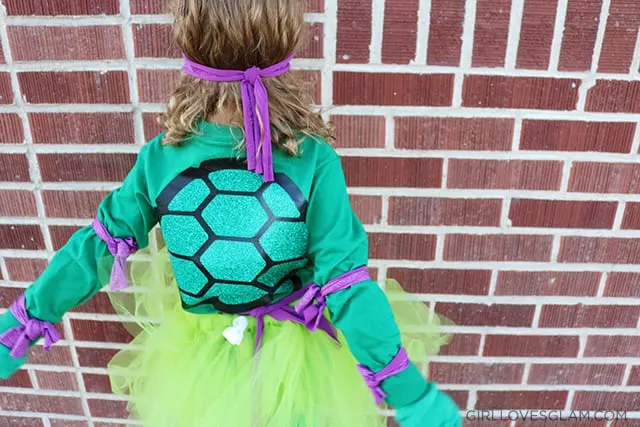
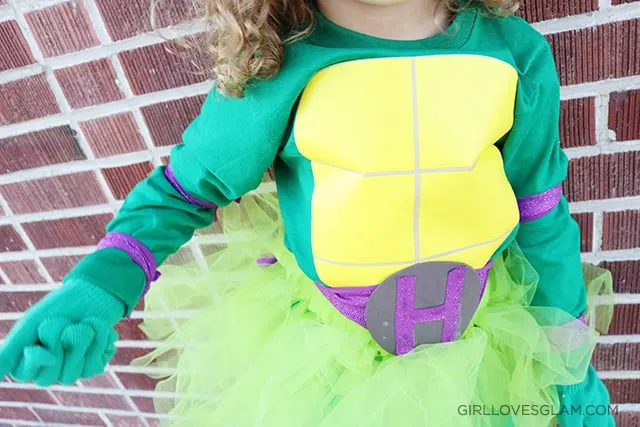
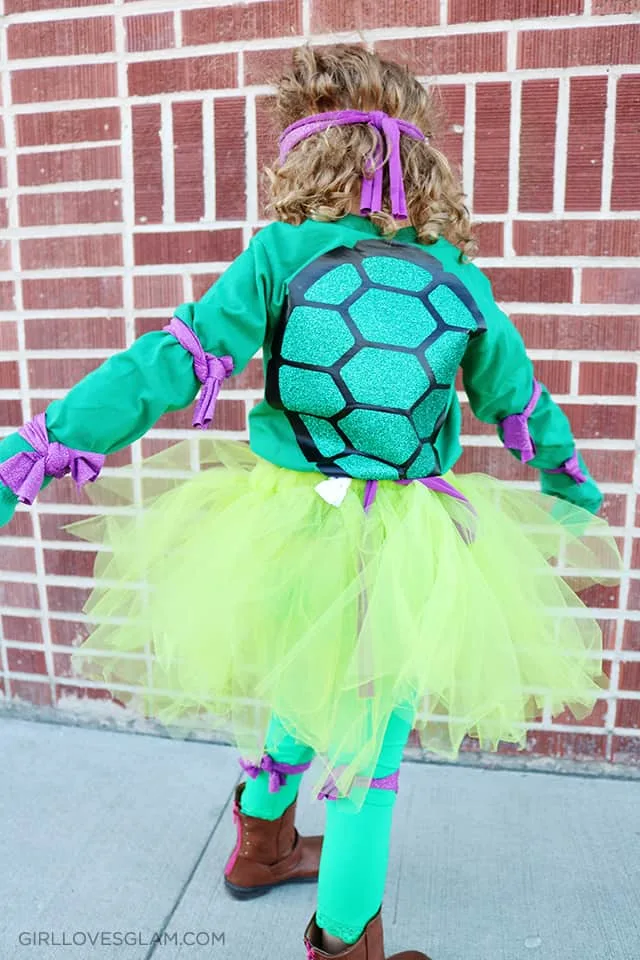
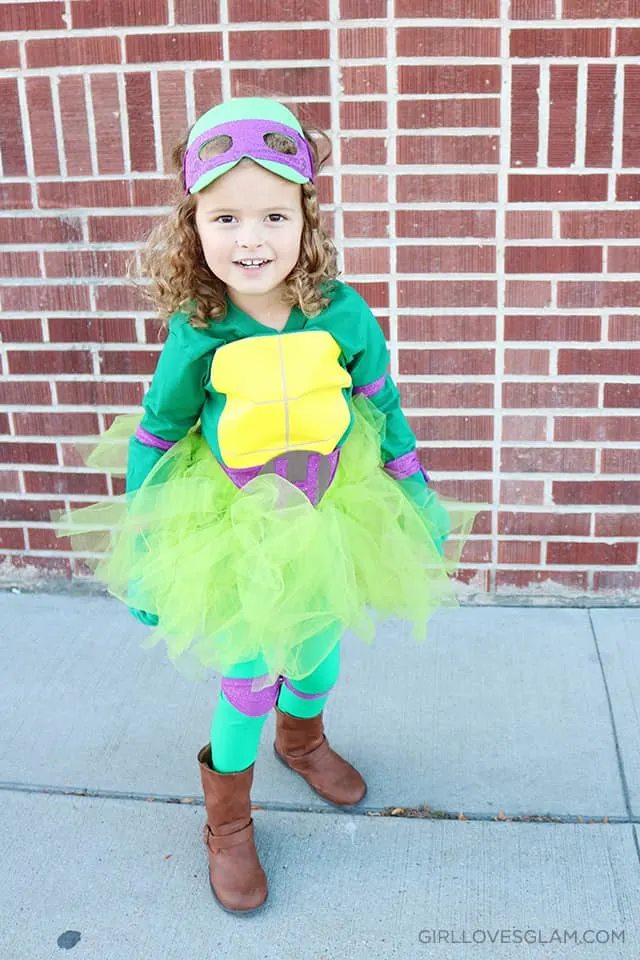
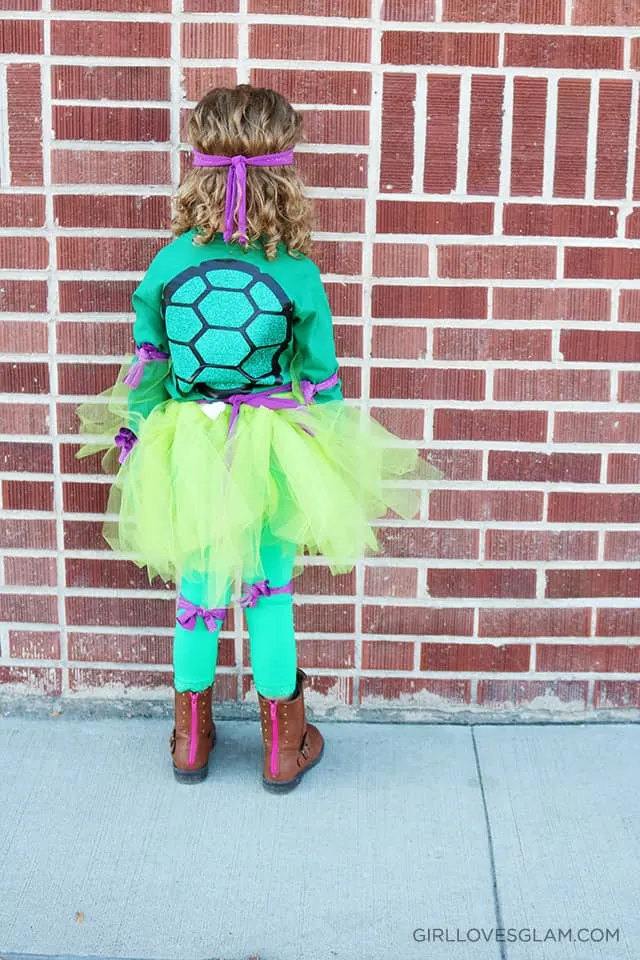
The shirt is one of my favorite parts because it can EASILY be worn after Halloween without it looking like a costume. There are tons of kids who would love a custom Ninja Turtle shirt! I also love the fact that the shell is part of the shirt. After doing a lot of research and brainstorming, I realized that having some sort of shell on a 4 year old’s back might be a recipe for disaster on Halloween. She wants to run and play, not worry about some shell that might fall off. Also, I love the fact that now she can go in her car seat without having to take parts of her costume off when we are headed to various Halloween events this year.
Here’s what you will need for the shirt. These contain affiliate links.
–Heat transfer vinyl from Expressions Vinyl in Yellow, Black, Tan, and Green. We used glitter vinyl for the green on the shell, but you could skip the glitter if you don’t want it!
-Iron
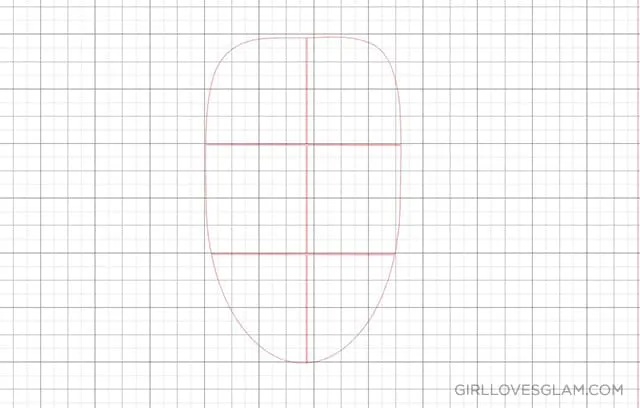
For the front of the shirt, open up your Silhouette Studio program and create an oval shape. Right click on the shape and select “edit points”. Drag the points in the top corners to create a soft rectangular shape on the top that goes down into an oval shape on the bottom. Measure how big you want the chest piece to be and cut out that shape out of the tan colored vinyl.
Now take that shape and use the knife tool to create the “abs”.
Make this shape about a half inch smaller all the way around than the tan piece so that the layering can be seen. Pull apart the pieces a little so you will be able to see the tan through the yellow on the shirt. Cut this piece out of yellow vinyl.
Iron on the pieces onto your shirt by first laying the tan color onto the shirt and using the iron on the cotton setting. Move the iron around and make sure it has been on all of the vinyl for roughly 30 seconds. Start pulling the top sheet off of the vinyl slowly. If the vinyl starts to come up with it, put the sheet back down and iron that spot again. Now lay the yellow vinyl over the tan vinyl and iron that piece on. Lay the multi use paper over all of the vinyl once you peel off the top sheet so that the iron isn’t directly on the vinyl and iron it one more time just to ensure it is all ironed on well
For the shell, I found a shell shape on Google images that I used. I just had the Silhouette Studio program trace the image. I cut the bottom piece out of black vinyl and then the top piece out of the glitter vinyl. Applying the vinyl is done the exact same way as the front part is.
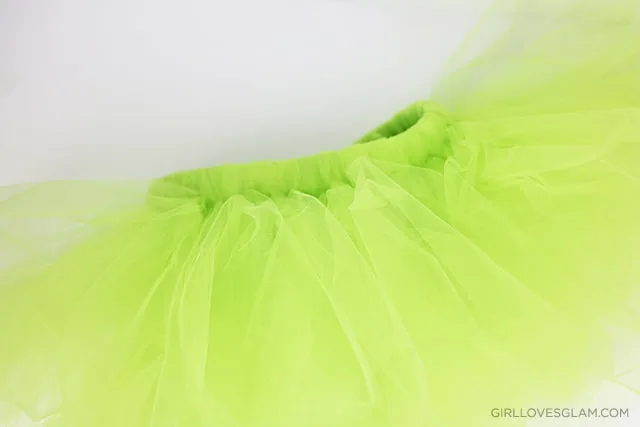
The tutu was really easy to make. I know there are about 5 million tutu tutorials out there and they are all basically the same, so I will link you to one of my favorite tutorials that you can use if your Ninja Turtle is a little girl too! You can find that tutorial on Sugar Bee Crafts. The only difference with mine is that I just bought tulle and cut it into strips instead of buying a roll of tulle. They didn’t have a roll of tulle in the color I wanted.
Now for all of the accessories! The belt and the bands are incredibly simple to make. All you need is. These contain affiliate links.
-Fabric in the color of the Ninja Turtle you are recreating.
-Hot Glue
-Scissors
Cut out a long strip of fabric that is long enough to go around the waist.
Cut out a circle from the craft foam.
Print out the letter that you want, in the size that you want and cut it out with the fabric. Instead of going with the traditional Ninja Turtle names, we wanted our belts to have our initials on them. So yes, this costume is for Donatello, but the H is for Harper!
Glue the letter onto the foam and the foam onto your belt strip.
I just cut out strips of fabric for the wrists, elbows, and knees and tied them on. It really can’t get much easier than that. Make sure to grab some green pants for your Ninja Turtle’s legs! We also grabbed some green gloves to complete the look.
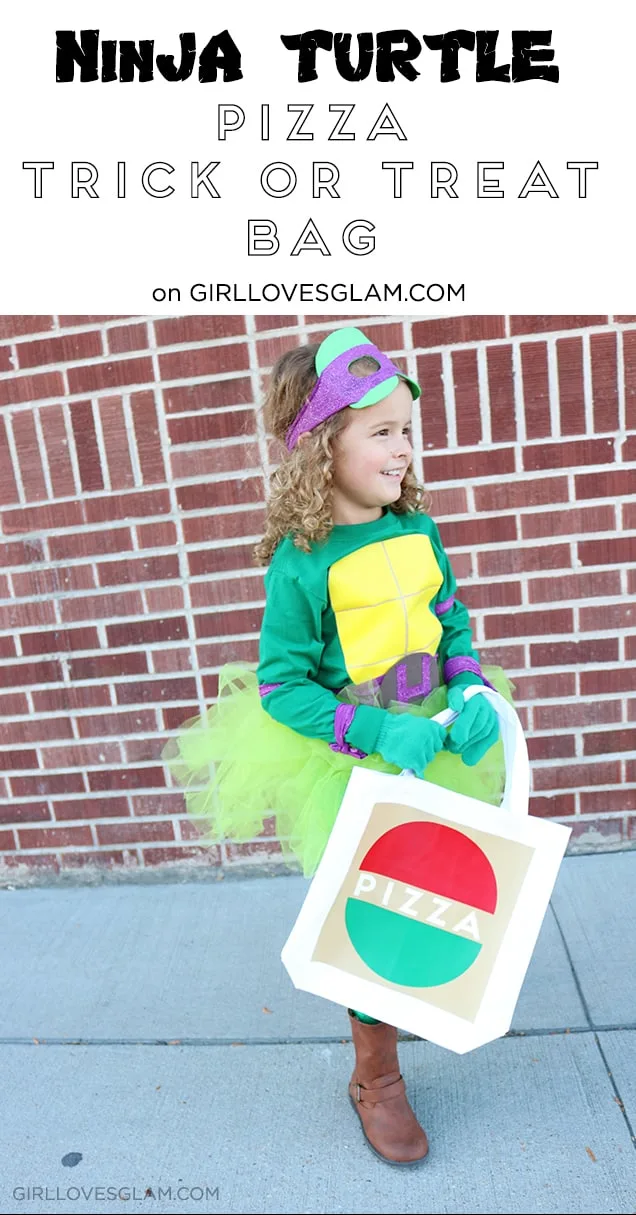
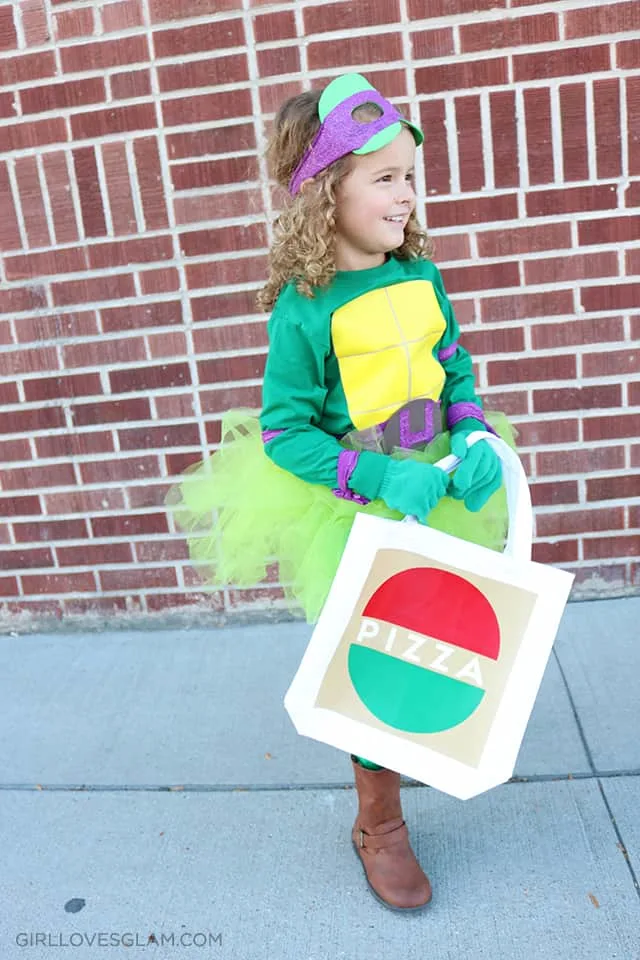
No Ninja Turtle is complete without some pizza! I love creating trick or treat bags to go along with the costume. The most simple version of a pizza for a bag was the pizza box! I didn’t want to spend more time on the bag than I did on the actual costume, so I went ahead with the pizza box plan.
To create this pizza box trick or treat bag, you need. These contain affiliate links.
–Heat transfer vinyl from Expressions Vinyl in tan, red, white, and green.
First, measure how big you want your “pizza box” to be. I just cut out the tan square with my paper cutter.
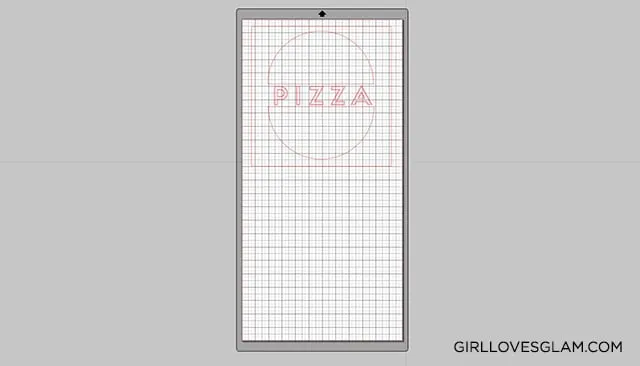
Then design your pizza box on Silhouette Studio.
Cut out each individual color on your Silhouette. DON’T FORGET TO MIRROR YOUR LETTERS! If you don’t mirror before you cut it out, it will come out backwards!
Place each layer onto your bag and iron it on using the multi use paper like you did for the shirt.
Now you’ve got yourself the cutest little Ninja Turtle on the block!
I just keep thinking that having four little girls all dress up as the Ninja Turtles together would seriously be the cutest! If you do it, you have got to show me! I can’t wait until I can show you our entire family dressed up as the ninja’s in a half shell this year!
Be prepared that as soon as this costume goes on, your kiddo instantly thinks they are part of the Ninja Turtle crime fighting team and they WILL act like ninjas! Get your camera out because you are bound to get some pretty great poses for your pictures!
Cowabunga dudes!
What do your kids want to be for Halloween this year?
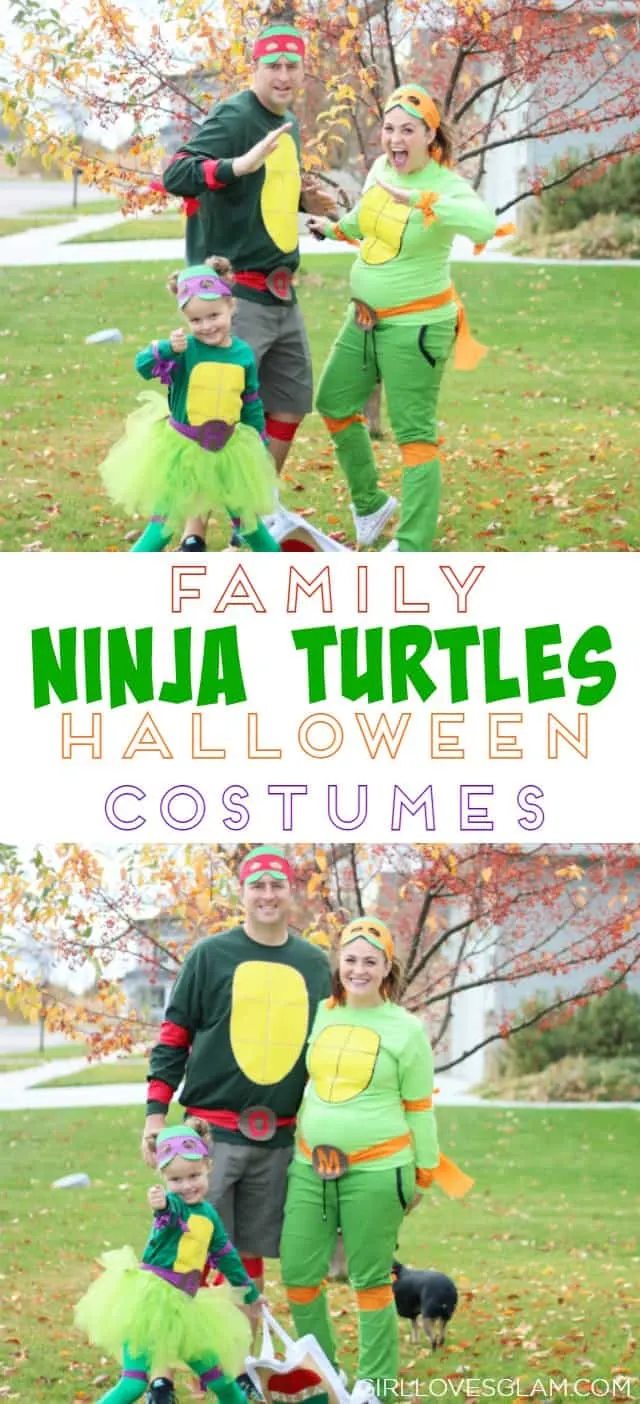
Update: Here is how our family costume looks when we are all together! We don’t have a Leonardo, but he’s our least favorite Ninja Turtle so we’re okay with that!
I love how this family Ninja Turtles Halloween costume turned out!
A look at more of our Halloween costumes here:


30+ Family + Group Costume Ideas
Tuesday 1st of November 2016
[…] […]
Amazing Family Halloween Costumes - Girl Loves Glam
Monday 31st of October 2016
[…] Ninja Turtle family Halloween costumes […]
Mandy Beyeler
Thursday 13th of October 2016
seriously about the cutest costume of all time - love it!!!