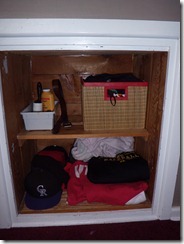
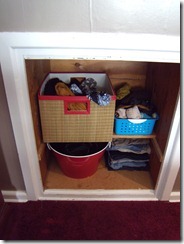
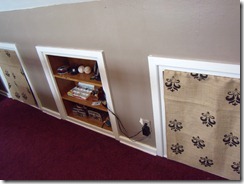
In our bedroom, we have little cubby areas that are great for storage. We don’t have many storage areas in our house, so this space is extremely valuable! The only problem is that you can see all of your ugly storage all of the time! This had to come to an end. That is why I decided to make some curtains! I will teach you how I did it.
Ugly before pictures…
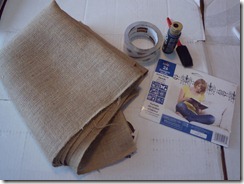
What you will need…
*Burlap (as much as you need for your area)
*Paint (Nothing special, just the cheap stuff in whatever color you want)
*Stencil (I got mine for less than $5 at Walmart)
*Foam paintbrush
*Broken down box (This is used to protect your table. You can use anything else that will work to keep the paint from getting on a surface you don’t want to be ruined)
As far as sewing them, of course you will need a sewing machine and thread, and then you will also need a curtain rod to suit your needs. I just got little spring rods for about $3.
#1 Look at your fabric as a whole and decide the general areas of where you want your stencils. I kind of wanted mine to be at random, so I got a very general idea and just went with the flow.
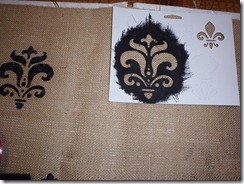
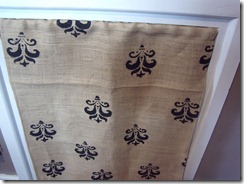
#2 Set your stencil on your fabric (you can tape it there, but I decided that it took too much time). Dip your brush in a small amount of paint and start tapping the paint onto the stencil. It is best to start with a smaller amount of paint and add more.
#4 After you have stenciled all of your fabric, let it dry.
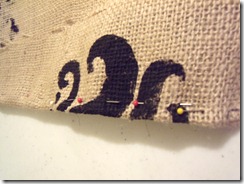
#5 Hem all sides of the burlap. This stuff frays like CA-RAZY! Make one thick hem on top of your curtain where your curtain rod will go through.
Easy as pie! I love them now!
They are the best way to cover our nasty storage areas!
This post is via www.girllovesglam.com

