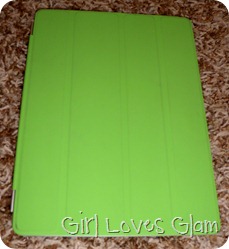
So my sweet husband surprised me with an iPad. He’s the best ever. He got me a screen cover that turns into an easel too. I love it, but the problem is that it doesn’t cover the back of the iPad too.
I looked on Etsy for some iPad sleeves that I could get, but they were all between $35-$40 before shipping. I didn’t want to spend that kind of money on a sleeve that I knew I could make myself, and that I had plenty of fabric scraps to do it. So I did just that! I made one. You can too!
What you will need:
1/2 yd Batting
1/2 yd Minky
1/2 yd Fabric
Velcro
Button (optional)
Thread, measuring tape, sewing machine, scissors, rotary cutter, and mat.
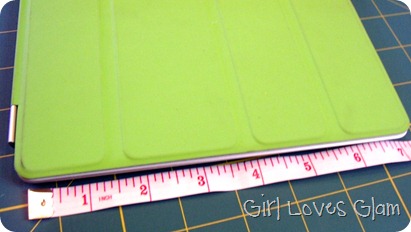
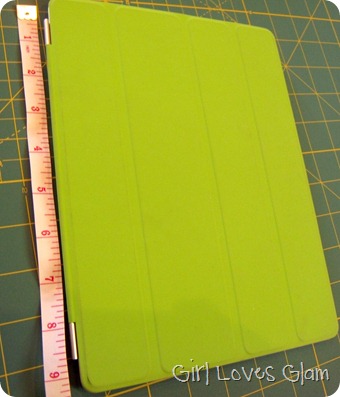
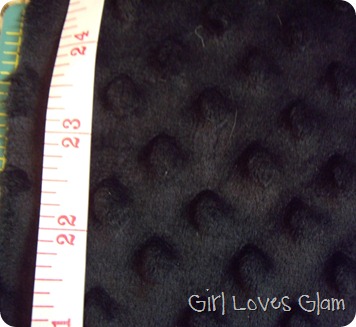
First, you want to measure your tablet. With my screen cover on it, it was about 9 1/2 x 7 1/2.
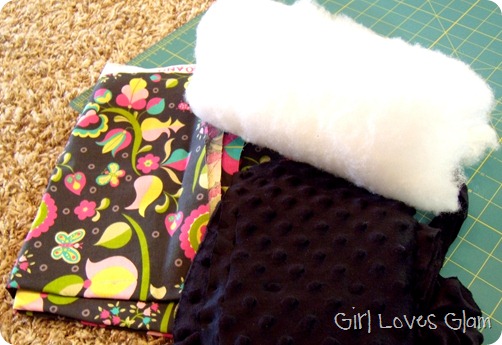
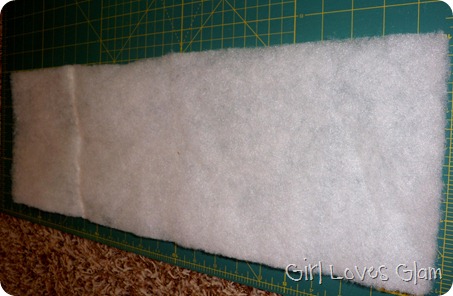
Now you will want to add about 2 inches to those numbers, so mine would be 11.5 x 9.5. Now you will take the number for your longer measurement and multiply it by 2. This will be how long your fabric will need to be cut. The other direction will be cut the size of your tablet with the added 2 inches. My fabric was cut to be 23 x 9.5. Cut out your minky, batting, and fabric all in that size.
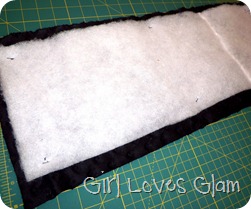
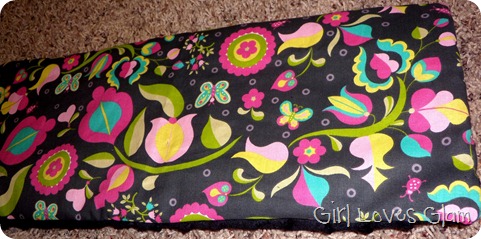
They will look something like this.
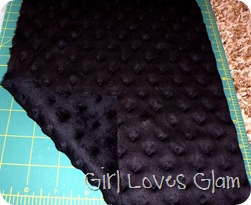
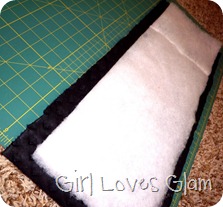
Now turn your minky right side down and lay the batting on top of the wrong side.
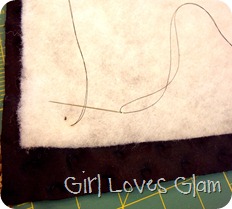
Tack your batting onto your minky so that it won’t scrunch up inside. I tacked it on the ends and in the center.
Now lay the right side of the fabric against the right side of the minky.
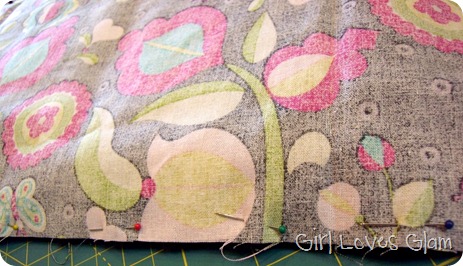
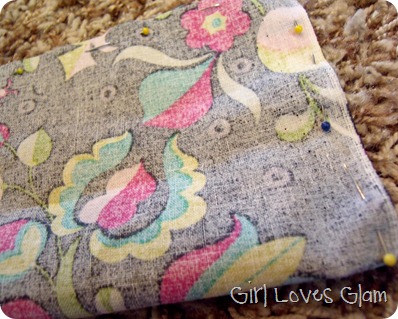
Pin them together on the two long sides and one of the short sides. Sew them together, leaving one of the short sides open. Make sure to sew fairly close to the edge so you don’t end up making your pocket too small for your tablet.
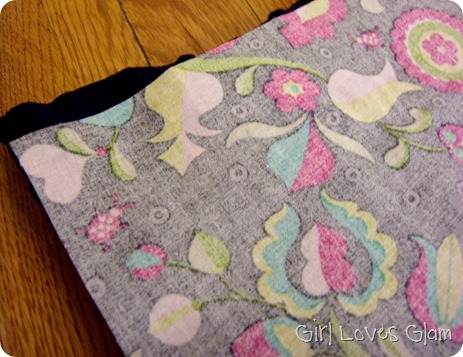
Turn your pouch right side out.
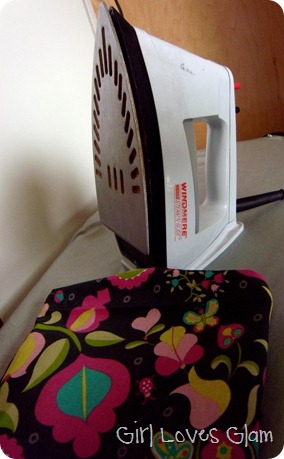
Now iron your entire pouch. This will make your batting go a little more flat so that it isn’t so puffy and will make your seams flat and easy to work with. Now you will pin your right sides of the printed fabric together (hamburger style) with the shorter ends together. Sew along the longer edges. Don’t flip back to the right side out yet. Leave the minky facing out.
Now cut out another piece of your fabric. I cut mine to be about 15×6. This will end up being your tab to close the pouch.
Fold your fabric in half hot dog style (the long way) with right sides together and pin together one of the sort edges and the long edge. Sew those 2 edges.
Flip your fabric right side out.
Fold your fabric in half, hamburger style. Pin your 2 side edges and sew them. This is the cheater way of not having to deal with interfacing.
Now you will stuff your tab inside of the big opening you left open at the top of your pouch. Pin your tab there, and sew it to your opening. While you do that, be sure to fold over your raw edges of the pouch. Sew along the entire top of the pocket to close edges. Be sure to sew over the tab a few times to make sure it is sturdy.
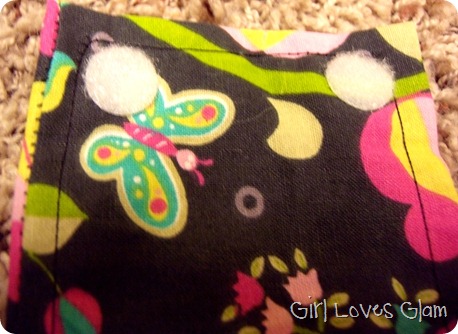
Put your velcro on the inside of the tab. I used the sticky kind so that I wouldn’t have to sew it.
Stick the other side of the velcro to your velcro pieces on your tab and fold over as if you were closing your pouch. Now stick the other side of the velcro down to the fabric. Rip apart the velcro and be sure the other sides are sticking to the fabric.
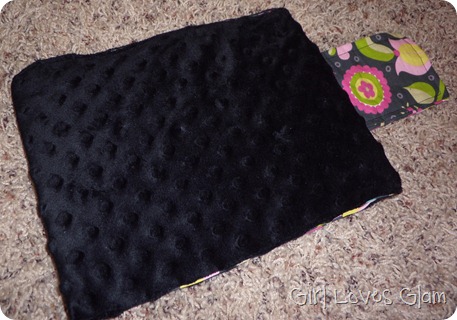
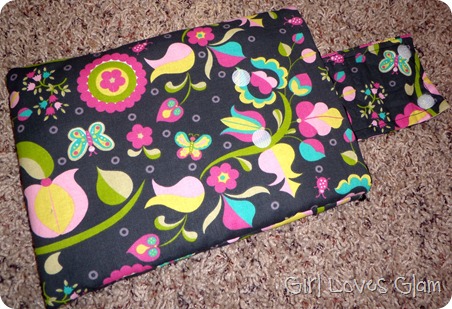
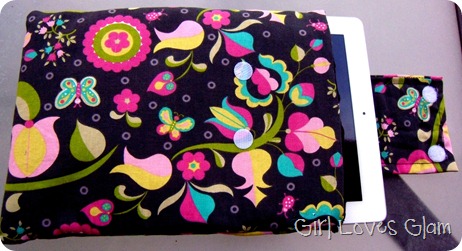
Your case should look like this now. You are done if you don’t want to add a decorative button to it.
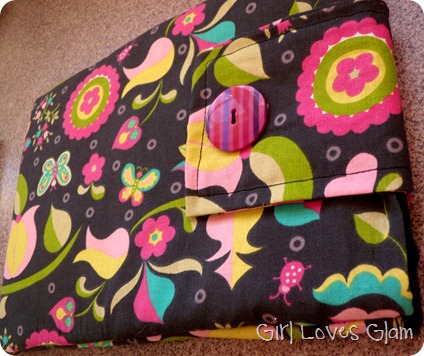
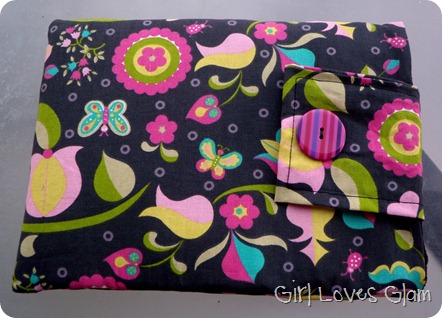
If you want to add a button, simply just sew a button to the front of your tab, by hand. I think it adds a lot of character to the case.
Now you are done and you have a protected tablet!
This post is via www.girllovesglam.com







Anonymous
Wednesday 2nd of January 2013
How did you find the self adhesive Velcro? I can't see it being strong enough to stay put for long.
Danielle Faith
Thursday 10th of May 2012
That is way cute! I need to make one for my Ipad!
Danielle Faith
Thursday 10th of May 2012
That is way CUTE! I need to make one for myself!
Alison @ Oopsey Daisy
Thursday 12th of April 2012
Great tutorial!! And I love that fabric! Thanks for sharing at oopsey daisy!
Amanda
Wednesday 11th of April 2012
Awesome, I am inspired to make one for my kindle. Thanks for sharing. www.newlifeovernight.blogspot.com