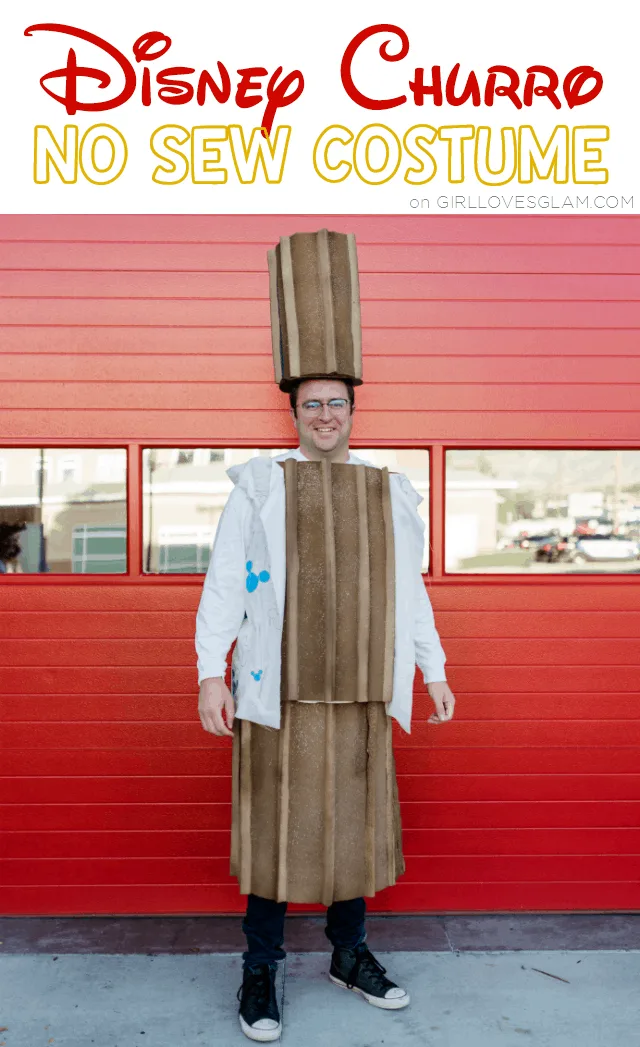
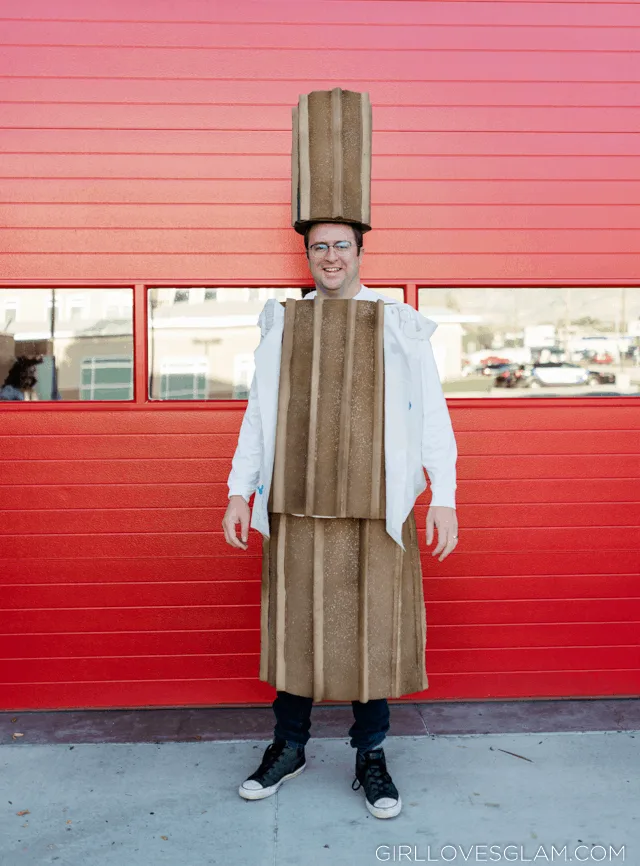
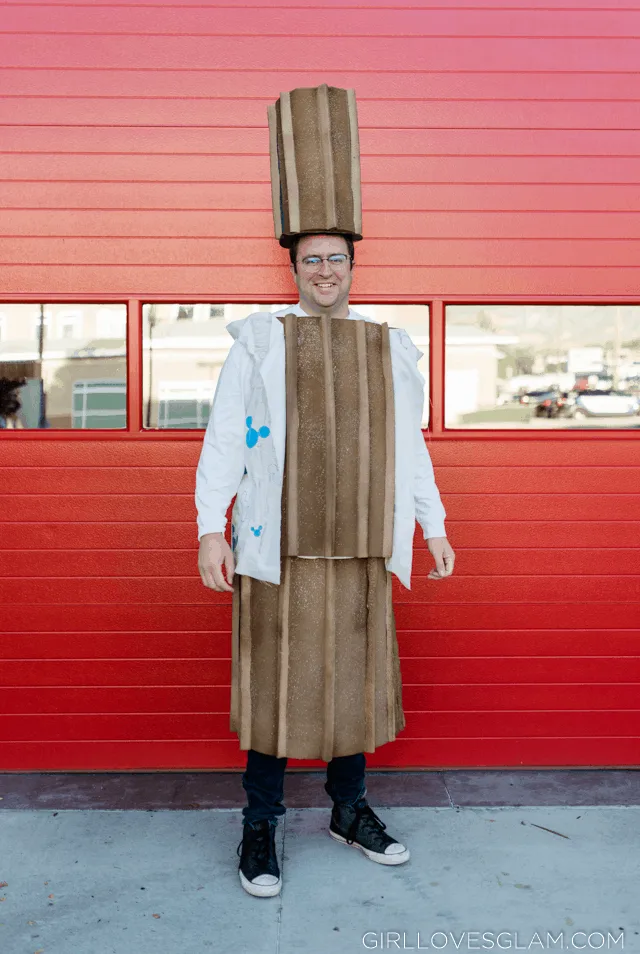
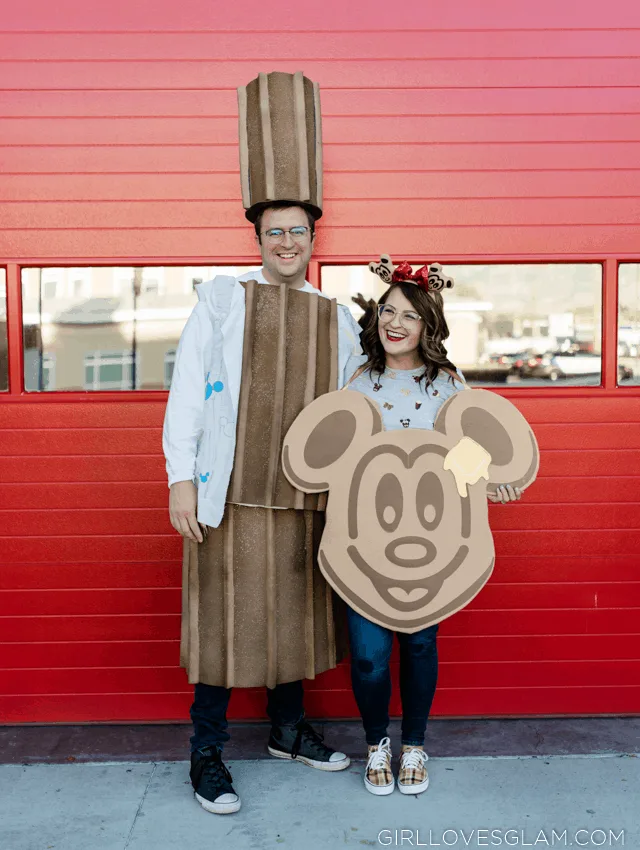
No Disney treats themed costumes would be complete without the infamous Disney churro! This churro costume was a lot of fun to make. This costume was by far the most planning that has had to go into a costume that I have made but it was worth it! It turned out exactly like I had planned. It didn’t require any major technical skills, just random supplies to come together to create this sugary goodness that is a Disneyland churro!
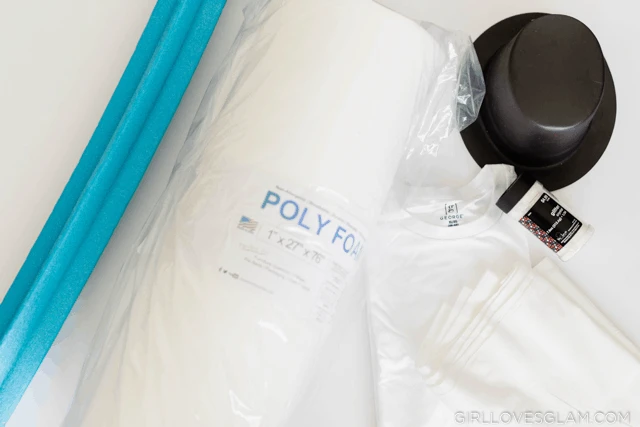
The great thing about this costume too is that unlike a few other renditions out there on the internet, this costume is easy to wear and can easily be removed, where it is made up of three major pieces. To create this churro costume, you need…
- White shirt
- Poly Foam roll (I got the 1”x27”x76” one. This is found in the upholstery fabric section. Don’t forget to use your craft store coupon on this!)
- Pool noodles (I was able to luck out and find these 6 prong star shaped ones that were perfect but round ones would work too)
- White cotton fabric
- Clear chunky glitter
- Plastic or foam top hat
- Elastic
- Hot glue gun
- Gorilla Heavy Duty Spray Adhesive
- Xacto knife
- Light brown paint (I got a sample size mixed)
- Paint sprayer (I linked the one I have because I LOVE it so much)
- IF NO PAINT SPRAYER, Light brown spray paint
- Dark brown spray paint
- Clear spray paint or sealer
- Blue heat transfer vinyl
- Multi-use paper
- Silhouette Cameo Use code GLAM for discount!
How to Make a Costume Using Pool Noodles
This costume is actually really fun to make. It is kind of like a giant puzzle to put together. The first thing you need to do is measure how big the pieces of foam need to be. You need one to go on the chest, one to go around the hat, and one to go around the waist. Cut down your foam to the sizes to fit all three of those spots.
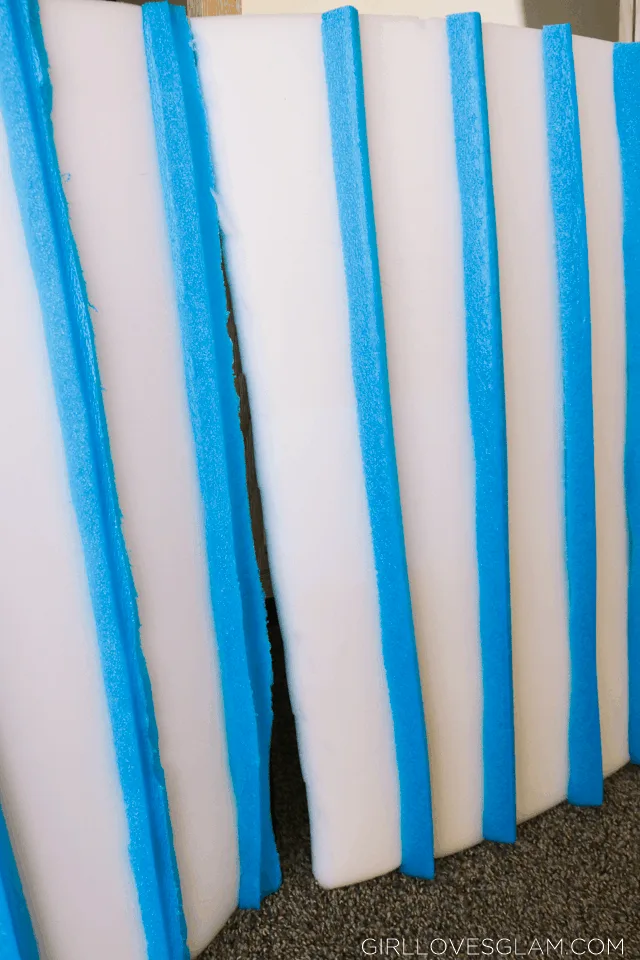
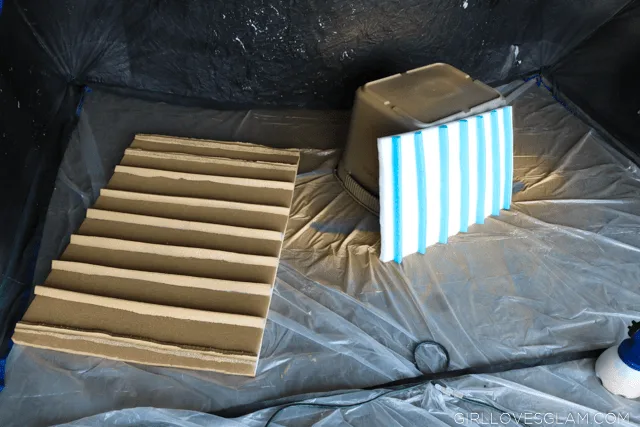
Next, you need to cut apart the pool noodle. If you luck out and find one shaped like a star, you can just cut apart the noodle and use the triangle pieces for the churro. If you don’t find one like that, just cut the round pool noodle into little triangle shaped pieces as you cut it apart. Cut the pool noodles using your Xacto knife. Be so careful!
After cutting the pool noodle apart, hot glue them to the foam pieces, evenly spaced apart. You will want to glue a small section at a time and hold it down until it dries a little. This will make it stay together a lot better!
How to Paint Poly Foam
Now it’s time to paint! This is really easy to do if you have a paint sprayer and a spray shelter. I LOVE my sprayer and shelter, but it isn’t necessarily required for the costume. I am renting, so I don’t have a space to spray paint other than my garage and I definitely don’t want to leave spray paint on the rental garage!
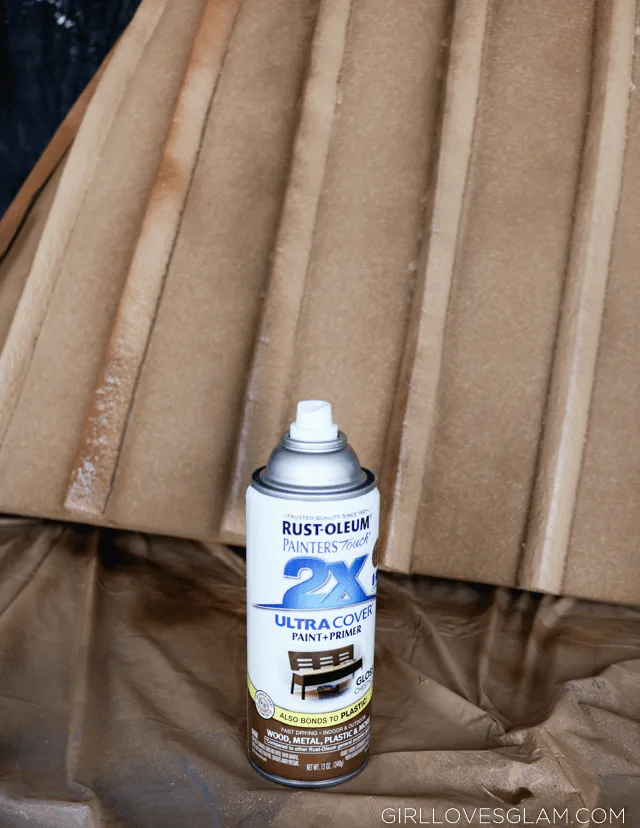
Spray all of the Poly Foam pieces light brown. Make sure you spray from lots of angles to cover every surface. Get the tops, bottoms, and sides of everything! You don’t want any Poly Foam or pool noodle showing! Spray the top hat brown as well.
After all of the pieces have dried completely, lightly spray the pool noodle pieces with dark brown spray paint. This gives it some dimension and looks more cooked. It adds A LOT to the costume, so don’t skip this part! Make sure you go with a fairly light hand because you don’t want the dark brown to be more prominent than the light brown paint.
How to Keep Glitter from Falling Off
The glitter “sugar” is literally the detail that adds all of the sweetness to this costume. The problem is that glitter gets EVERYWHERE! I wanted to do all I could to prevent the glitter from being a major problem that gets all over my house. While it is impossible to keep every single piece of glitter on the costume, I came up with a solution that has done a pretty good job of staying on the costume, rather than getting all over the place.
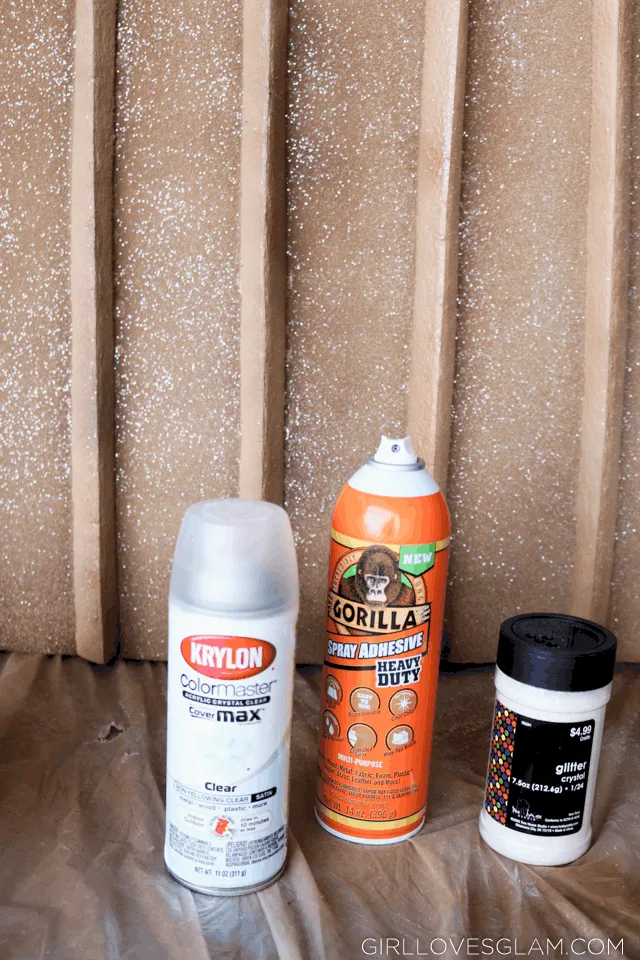
Start by spraying a section of the churro with the spray adhesive. I love this Gorilla Spray Adhesive. It is no joke! After you have sprayed the spray adhesive, sprinkle the glitter on. Don’t be afraid to go wild with the glitter. It adds a lot to the costume. If you feel like you need more glitter, spray more adhesive and sprinkle more glitter. There is no wrong answer here. Continue this process for the entire costume.
Once you have put glitter on everything, spray it all with clear spray paint. If you can’t find any, find a sealer spray. Spray everything with this at least two times. This will help keep all of that glitter on the costume and not all over your carpet inside!
How to Make a Churro Costume
To assemble the churro, you will start with the hat. Spray the hat with the spray adhesive and roll the Poly Foam piece for the hat around it. Hot glue the edges together in the back of the hat. I recommend gluing the entire seams together and hold it together, while following with even more hot glue. This may require two people to do. It was kind of hard to do alone.
Take the bottom piece and hand stitch the elastic to the top of the back of it, so the bottom churro piece can easily slide on and off. It is like a backless skirt, basically. It almost comes all the way together, but leaves some space so that it is easier to walk. Make sure you stitch the elastic on really well so that the weight of the Poly Foam is held up well.
For the shirt part, spray the back of the chest piece with the spray adhesive and sit it on the front of the shirt. Place something heavy on top of the churro part so that it is glued on really well.
For the wrapper, it doesn’t need to be scientific at all. Just measure how big around you want it to be and cut the white cotton fabric down to size. Cut two holes in it to fit like a vest. The Mickey heads aren’t necessary, but they do add a lot. I recommend cutting out Mickey shapes with the Silhouette cameo onto blue heat transfer vinyl and ironing it onto the wrapper in random spots. Use the multi-use paper to cover any vinyl that has already been ironed on to prevent it from melting when the iron touches it.
After you have made the wrapper, place the arms of the shirt through the holes and glue the wrapper front pieces to the chest part of the churro. This is where I wish I would have used the spray adhesive or fabric glue instead of hot glue. You can just see the hot glue lines on mine but if you aren’t a perfectionist, you can go with the hot glue like I did.
Disney Churro Costume
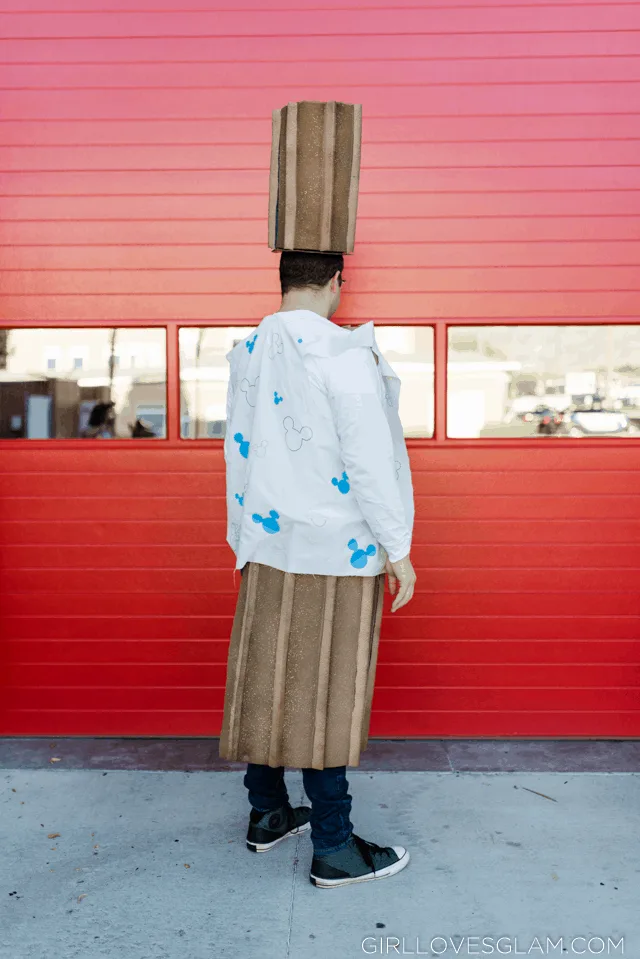
This is just such a fun costume! I had my doubts about how it would all turn out but I can’t believe how good it all looks together. It is so easy to wear too. Just wearing a shirt with the center part of the churro, a churro “skirt” over regular jeans, and a churro top hat, makes for an easy to wear costume!
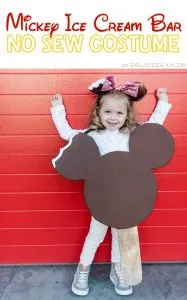
The churro costume gets even better when it is paired with one of our other Disney Treats costumes! It makes the perfect couple’s costume! I love the Disneyland Churro and Mickey Waffle together!
Tomorrow is the big reveal of all of our Disney Treats costumes together! I can’t wait to show you how great they look together! Don’t forget to check out the other Disney Treats costume tutorials!

