This tutorial is about a year old. That is why the pictures in it are pretty nasty, but with Snap conference coming up, I thought it would be appropriate to share it! I wrote it originally for the Expressions Vinyl blog. This bag was a huge hit at Snap last year and I am making a different one for this year! I am still working on the design, but I will post all about it after I go to Snap! If you are coming to Snap, make yourself a bag! It is a great way to brand yourself!

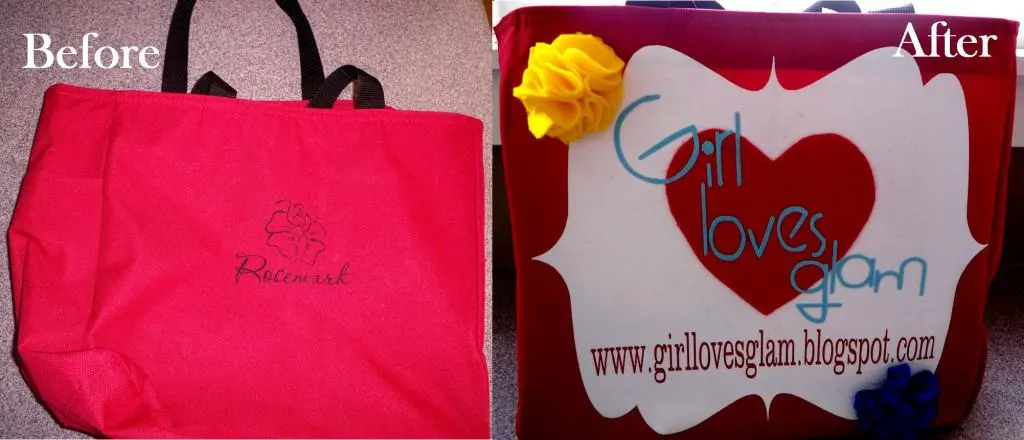
How many doctor’s offices have you been to that give you a free bag filled with advertisements that you probably won’t ever use? I just recently had a baby and got my fair share of these bags that I didn’t quite know what to do with. I couldn’t really throw a perfectly useful bag away, so I decided to give it a little facelift.
I had the opportunity of going to the Snap! Blogger Conference last month and wanted a way to showcase my blog name without having to talk to every, single person. Putting my name on a bag was the perfect way to do this! To make your own personalized bag you will need…
*Canvas tote
*Iron on vinyl (2 colors)
*Mulit use paper
*Cricut using Sure Cuts a Lot or Silhouette
*Felt
*Iron
First, you will want to measure your bag to see how large your background vinyl piece needs to be.
Go on your cutting program and create the background piece that you want. I wanted my website to be shown too so I put that in there too. Be sure to make the text flipped before cutting it out though. Having the vinyl cut out this way, will make it so the color of your bag shows through the holes that the text will be cut.
Now you wantto peel off the vinyl from your letters and iron your vinyl onto your bag. The vinyl is a little harder to get to stick to the canvas, so be sure to press really hard and to let it sit a little longer than you typically would for other materials.
Your bag will now have your background piece on it.
I have a heart in my logo and I wanted to have my logo look the same on my bag that it does on my blog. Because the bag had it’s own logo on it, I couldn’t have the heart cut out of the background, so I cut it out of felt and hot glued it onto my vinyl.
Now you want to cut out your letters for your bag. I made sure to measure how large I could have them on the background, then typed them in, flipped them, then cut it out.
Cut your vinyl words apart and lay them out where you will want them to be.
Be sure to use the multi use paper when ironing over the hot glued piece so that you don’t get hot glue on your iron.
One by one, iron your words where you want them to be.
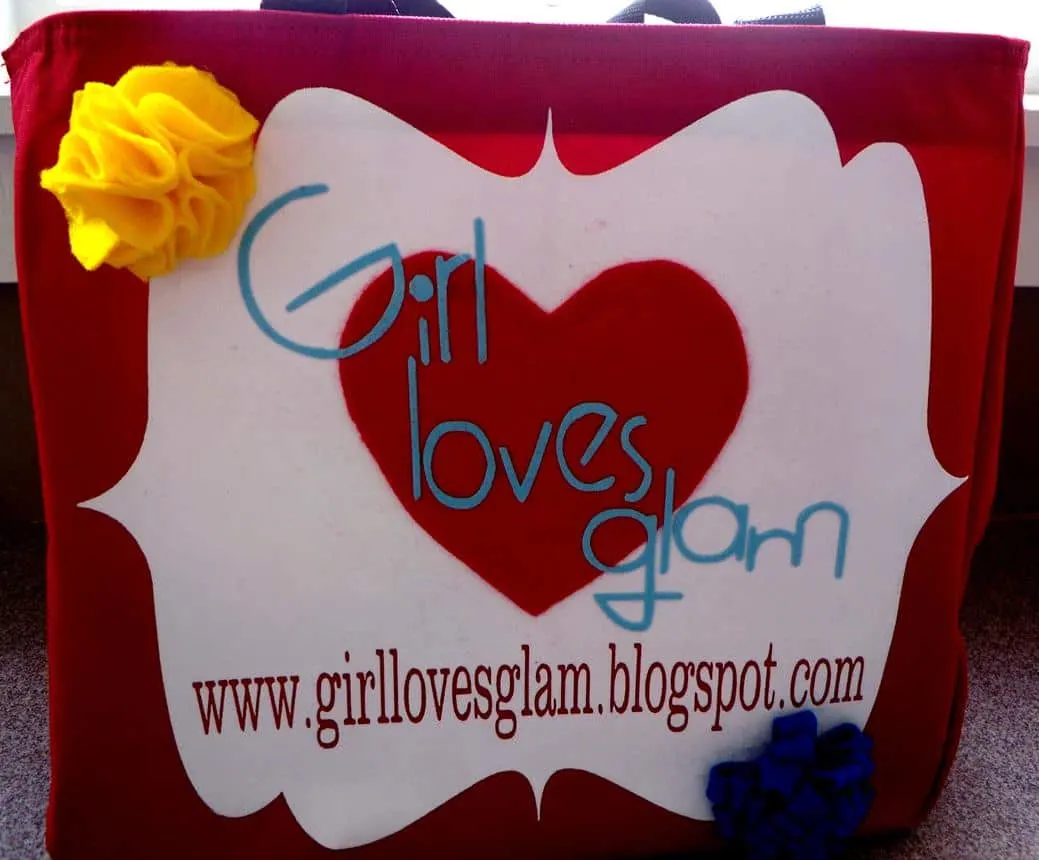
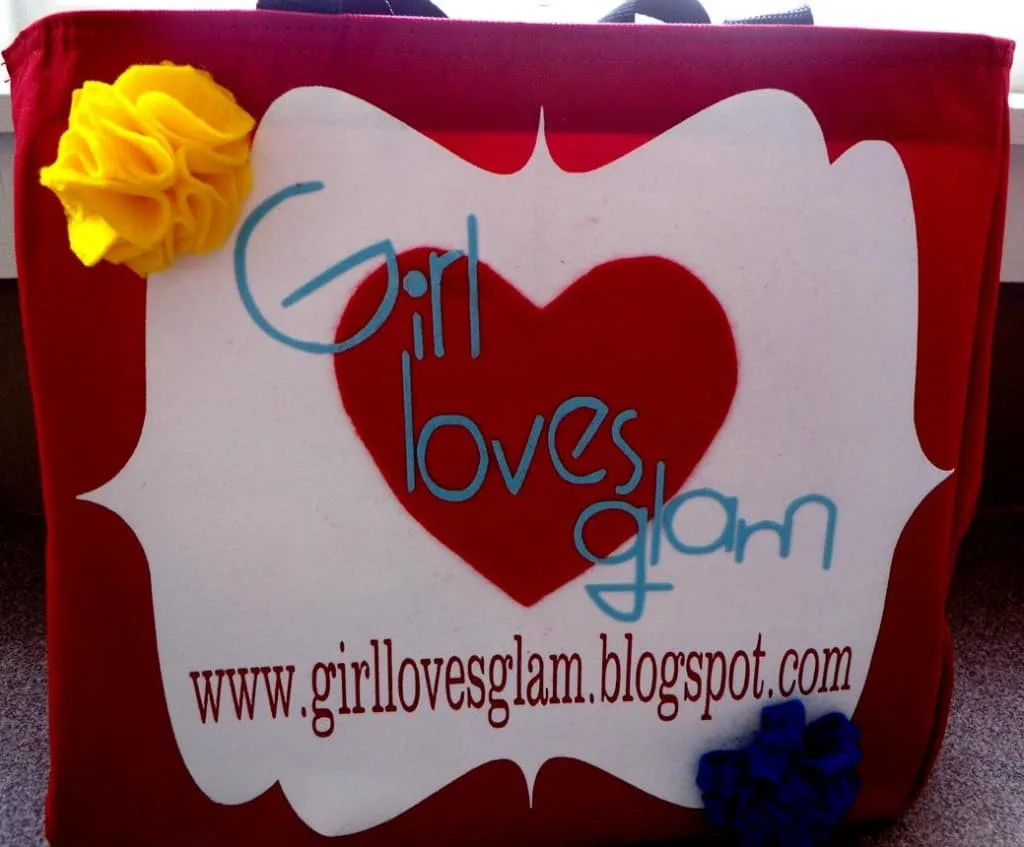
I added felt flowers to give it a little flair and now I have a unique, personalized bag that is both stylish and totally affordable!
I will be linking to these great link parties here.


Tanya
Sunday 14th of April 2013
What a fabulous idea McKenzie!! I have a few of these and they sure could use a redo :) Thank you so much for linking up to Pretty Things at twelveOeight this week! Hope to see you again tomorrow night :)
xo, Tanya twelveOeight
Ruthie
Friday 12th of April 2013
I remember the adorable one you had laste year at Snap... so fun! Thanks so much for sharing at Super Saturday Show & Tell… I’m SO glad you came to (link) party with me! http://www.whatscookingwithruthie.com Come back again tomorrow to share! xoxo~ Ruthie
Lolly Jane
Saturday 6th of April 2013
There were a lot of these kinds of bags there now that I think about it! Can't wait to meet you for a second time, lol!! XO
McKenzie
Saturday 6th of April 2013
Haha I know! Maybe this time it will be like we ACTUALLY met instead of a business card trade only!
amy
Saturday 6th of April 2013
Cute idea! I'm going to be heading to my first blog conference this fall and I'm going to want a personalized bag! Thanks for sharing! I'd love it if you'd link this to my party, going on now, if you have a chance: http://www.oneartsymama.com/2013/04/shine-on-fridays-74-and-grab-bag.html