This post is sponsored by Home Depot. #DIHWorkshop #sponsored
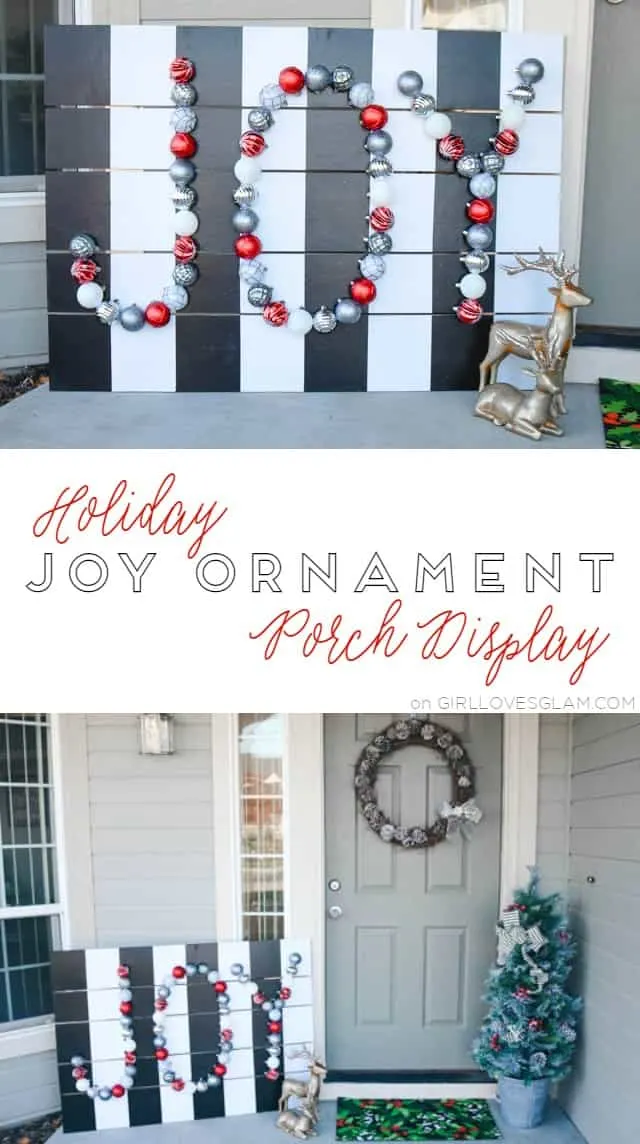
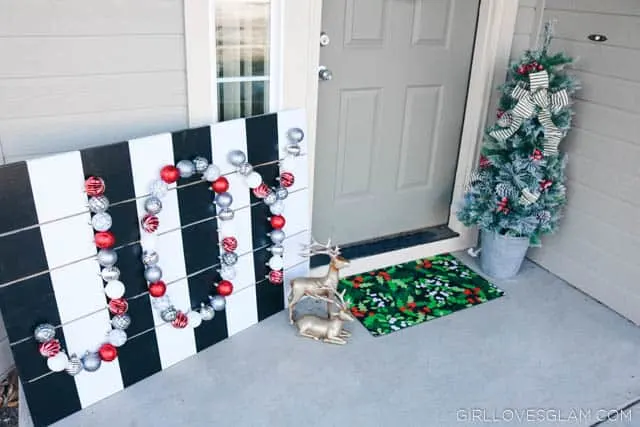
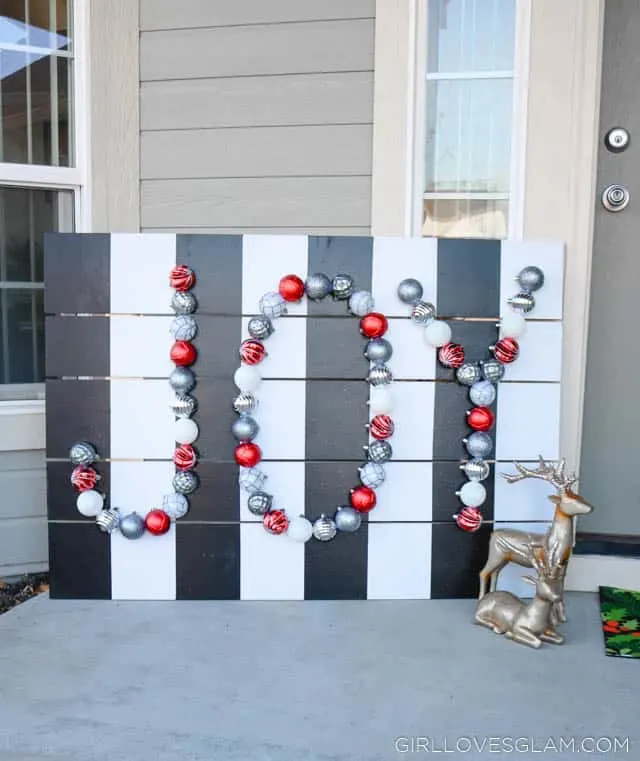
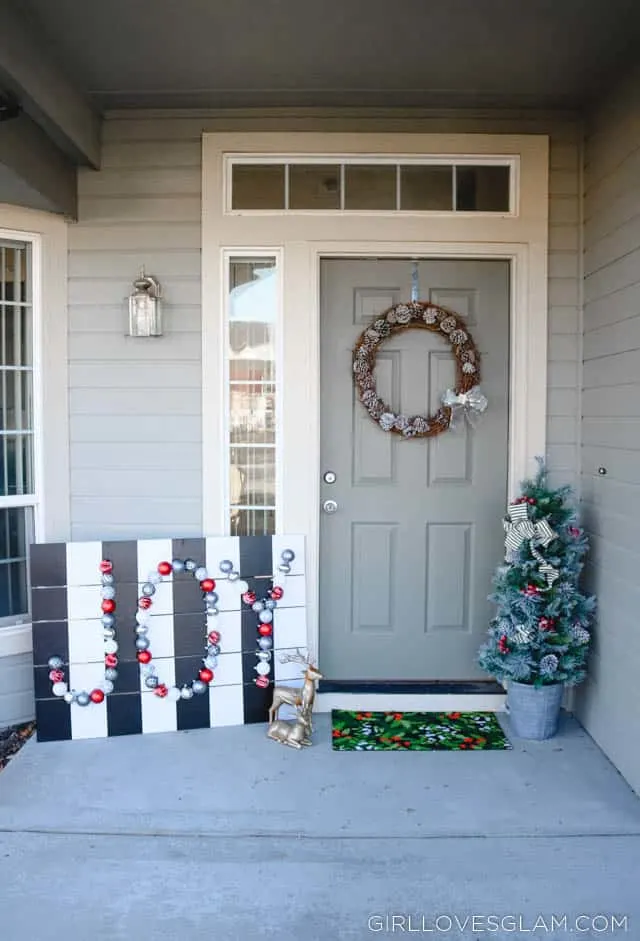
Remember when I was a bit of a tease and shared the fun Home Depot DIH Workshop project that I was working on? The big day is finally here! It is time to finally share my final project with you! Here is my Joy porch sign ornament display, inspired by the Home Depot DIH Workshop project!
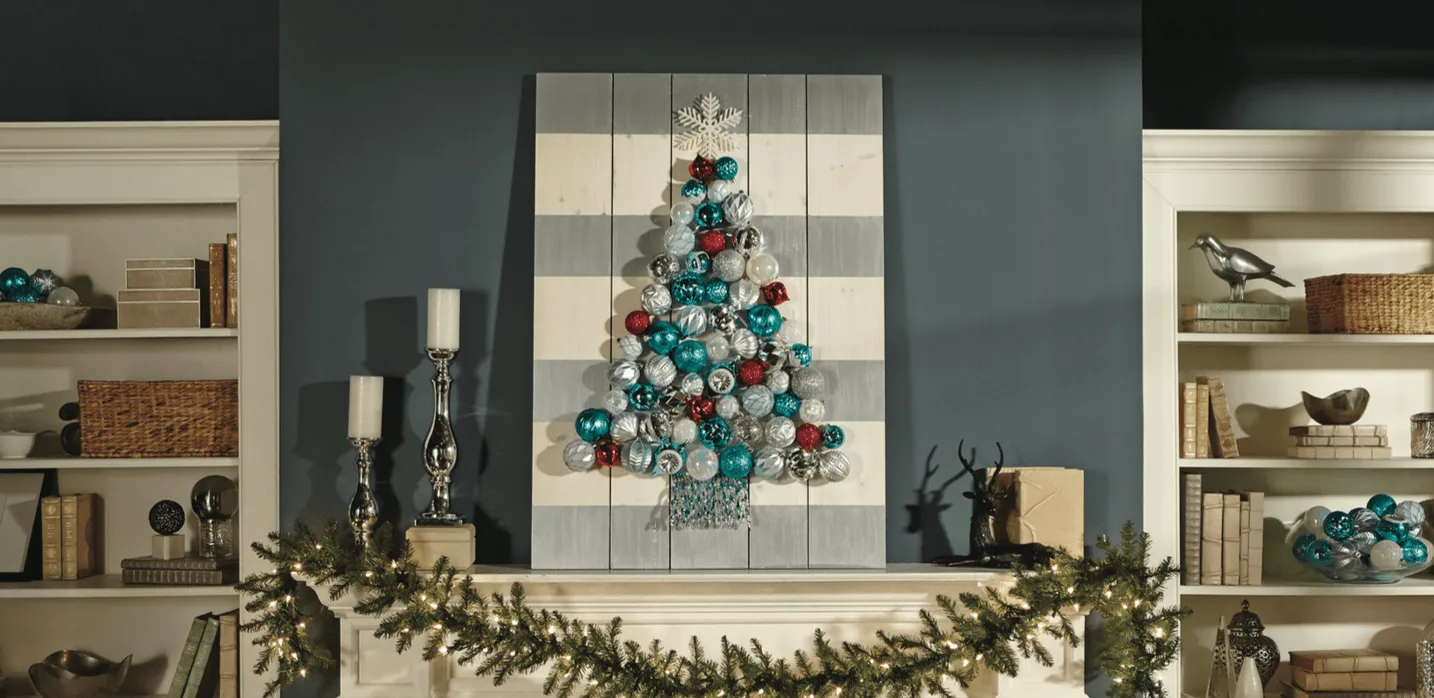
If you can’t remember the original inspiration, it was this Christmas Tree design.
As much as I loved the original design, I wanted to create something unique for my porch. I loved the idea of having a giant word that could be seen from the street, so I went with the word, “joy”.
Making this sign was incredibly easy! I headed to Home Depot for all of my supplies. This is what I got…
-Ornaments
-1”x 8” x 12′ common board
-1” x 6” x 8′ common board
-1” x 4” x 6′ common board
-Screws
-Black and white paint samples
-Paint brush
-Painter’s tape
-Sanding Block
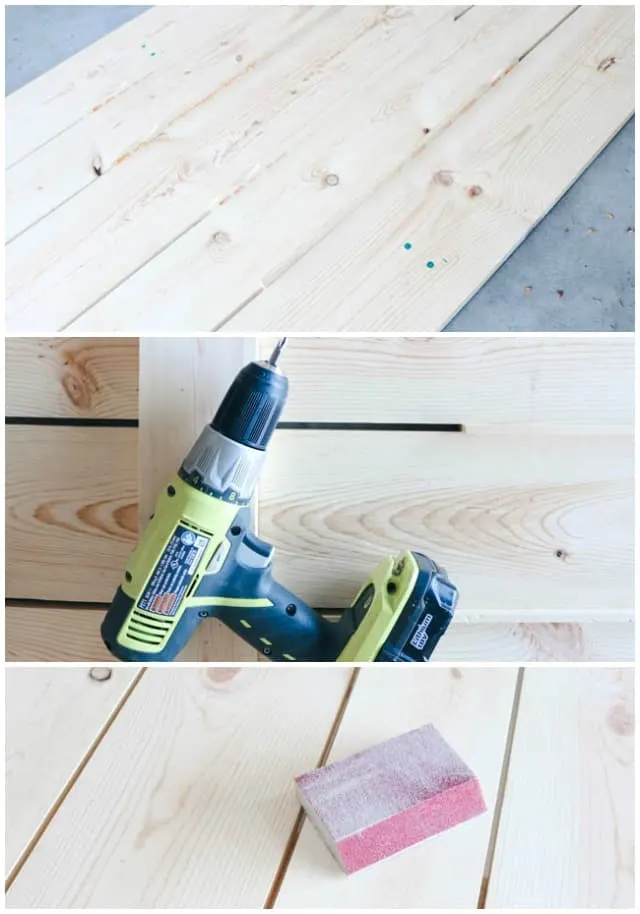
First, I cut down the 1”x 8” x 12′ common board and the 1” x 6” x 8′ common board into 48” long pieces, leaving me with 5 pieces. I also cut the 1” x 4” x 6′ common board into two 30” pieces, with a small scrap at the end. I had them cut this right at Home Depot so that I wouldn’t have to try to fit these long pieces of wood into my car. It worked out quite nicely, but if you needed to cut them at home, they are such simple cuts that it wouldn’t be hard.
I then put the pieces down and switched between the 6” and 8” pieces to make every other piece a little wider. I put paint sticks between the boards to evenly space them apart. Pu the 30” pieces onto the boards and put two screws into each board to secure it all into place.
Now you have yourself a nice wood sign!
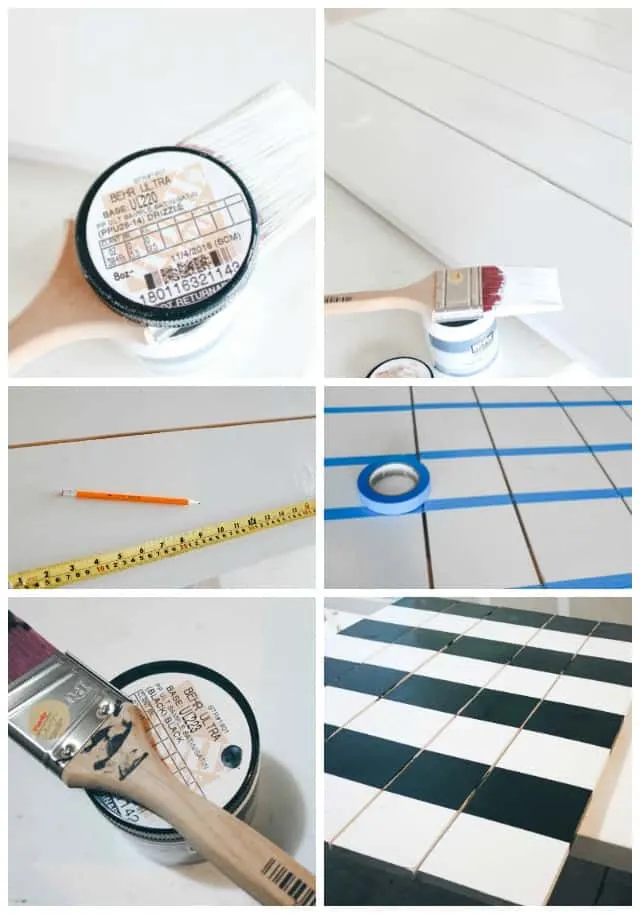
I then painted my entire board white with two coats of paint and let it dry. Then I went and measured every six inches and made marks for my stripes. I put the tape down on the little marks I had made and painted the black stripes with 3 coats of paint and let it dry completely.
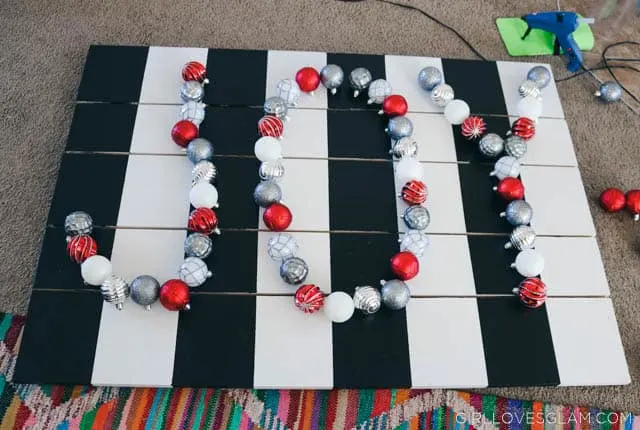
I took my ornaments and laid them out in to create the “Joy” and played around with what order I wanted the ornaments to be in until I found the order I liked the most.
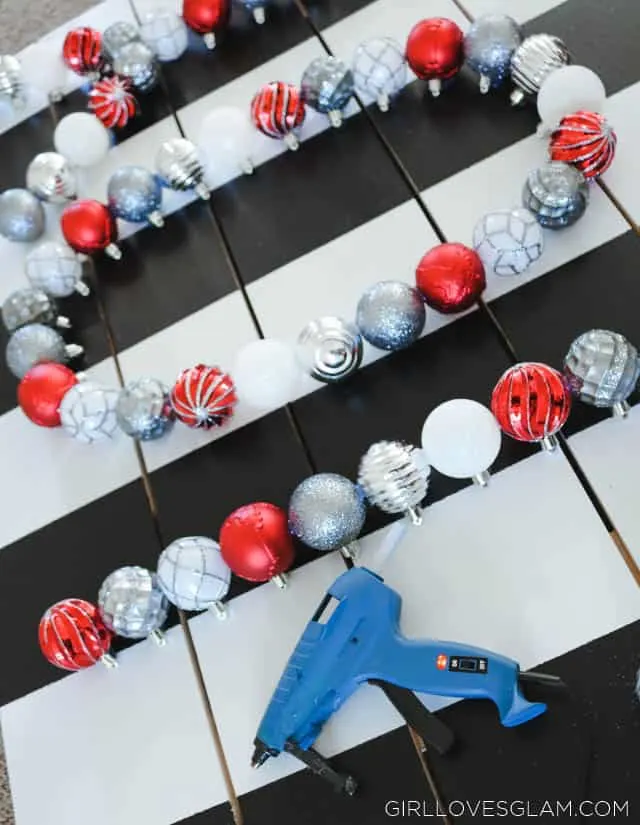
I then went and glued each ornament onto the board. I glued the bottom onto the board and then glued the sides of the ornaments to each other so they would really stay put. Just make sure that you try and keep your letters really straight when you are putting the ornaments on!
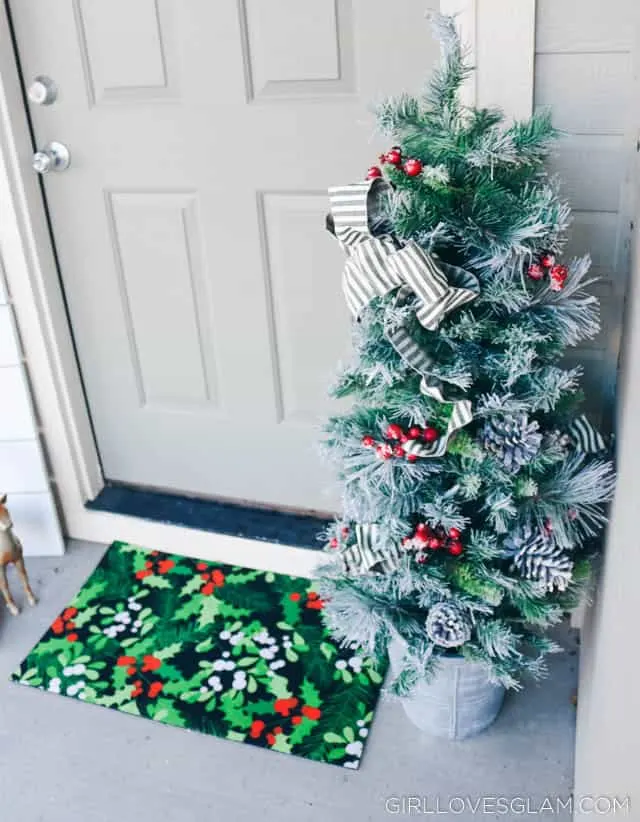
The thing I love about this sign is that it could easily go inside as well. I love the idea of putting it next to the Christmas tree or above the fireplace! It was so fun to set my sign up outside, along with all of the other great holiday items I found at Home Depot.
Now that my front porch is feeling the holiday spirit, I can’t wait to start decorating the inside!
You can sign up for this Holiday Ornament Display DIH Workshop at Home Depot. You can make it just the way they did, or you can let your creativity come through and create something unique like my sign! You can find out more about how to sign up by following this link.
Now get even more inspired by these other bloggers who have taken this Home Depot project as inspiration and made it their own!

DIY Rustic Holiday Ornament Decor
Thursday 16th of February 2017
[…] Rowe | Blooming Homestead | Refresh Restyle | Infarrantly Creative | Simply Designing | Girl Loves Glam | The Rustic Life | The Glam Farmhouse | She Leaves A Little […]
Holiday Ornament Display with The Home Depot - A House and a Dog
Sunday 15th of January 2017
[…] Infernally Creative | Simply Designing | Girl Loves Glam […]
DIY Ornament Tree Display - One Artsy Mama
Tuesday 13th of December 2016
[…] Pennies Live Laugh Rowe Blooming Homestead Refresh RestyleInfarrantly Creative Simply Designing Girl Loves Glam The Rustic Life The Glam Farmhouse She Leaves A Little […]
Holiday Ornament Display~ Home Depot DIH Workshop ~- Designed Decor
Monday 14th of November 2016
[…] Creative Simply Designing Girl Loves Glam The Rustic Life The Glam Farmhouse She Leaves A Little […]
Home Depot DIH Workshop Holiday Ornament Display - SheLeavesALittleSparkle
Monday 14th of November 2016
[…] Girl Loves Glam […]