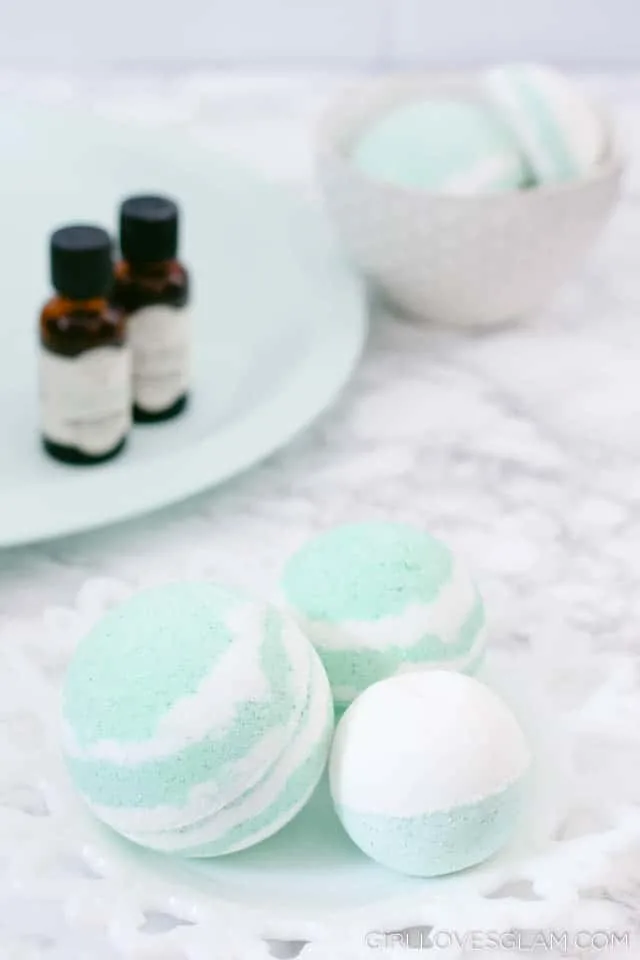
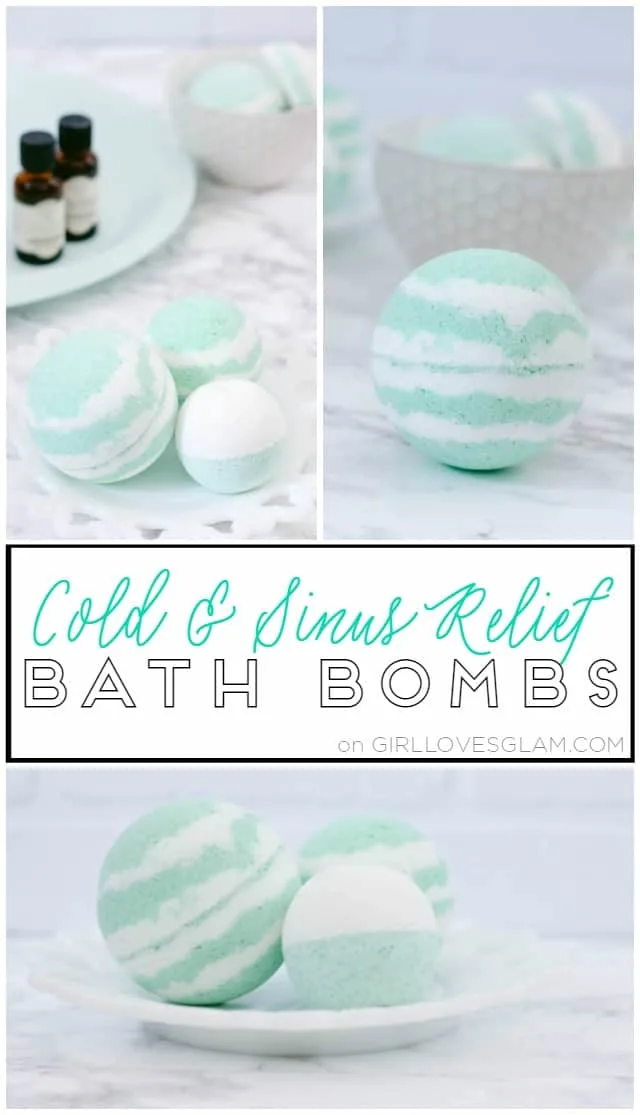
I am SO excited to announce something pretty huge coming this year! After receiving several requests to share bath bomb recipes, I will be sharing a new bath bomb recipe once a month! Each month in 2017, I will bring a new bath bomb recipe that is themed for the month. I have some really fun bath bomb recipes and ideas in the works for you! To kick it all off, I have the perfect bath bomb recipe for cold and flu season! This bath bomb helps clear out sinuses and relieves achy muscles at the same time. They can be used like traditional bath bombs or they can be put in the shower to steam up and clear out your sinuses if taking baths isn’t your thing.
To make these bath bombs, you will need…
(affiliate links included)
Green food coloring
To learn to make these bath bombs, watch the video I made when I made these! I will also have written instructions below the video so that you can go back and get any instructions that you need, without having to watch the video again.
First, add all of your dry ingredients (baking soda, citric acid, corn starch, and Epsom salt) into a bowl and mix them together. Put coconut oil in the mixture and mix together by squishing it with your fingers. Do this until there aren’t any big clumps of coconut oil in the mixture.
Put half of the mixture into a different bowl. Add peppermint essential oil to one bowl and eucalyptus essential oil to the other bowl. Don’t put too much of the oil in because both of these oils are pretty strong. If you are using an oil that isn’t 100% pure and is more of a fragrance oil, you can use about 10-15 drops of each oil. If your oil is pure oil, I would cut that amount in half. In the mixture that the eucalyptus is in, add green food coloring. I used about 7-10 drops. Make sure to quickly mix the food coloring into your mixture or else it will start reacting to the moisture.
Spray about 4 sprays of witch hazel into your mixture at a time. Spray and then mix it up and spray more, until your mixture is the right consistency. You want it to be slightly damp, but not wet. Damp enough that it will stick together when you grab a handful of it, but you don’t want it to be as wet as sand when you are building a sand castle. Only spray about 4 sprays of the witch hazel at a time, or your mixture will start reacting to it.
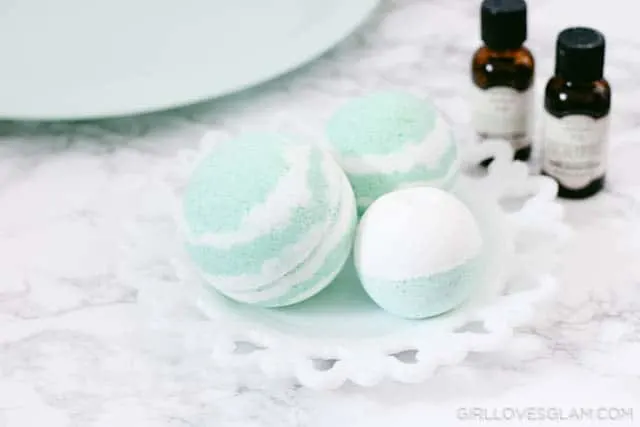
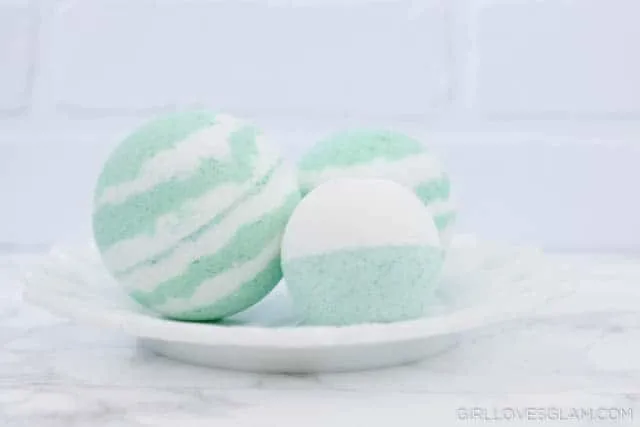
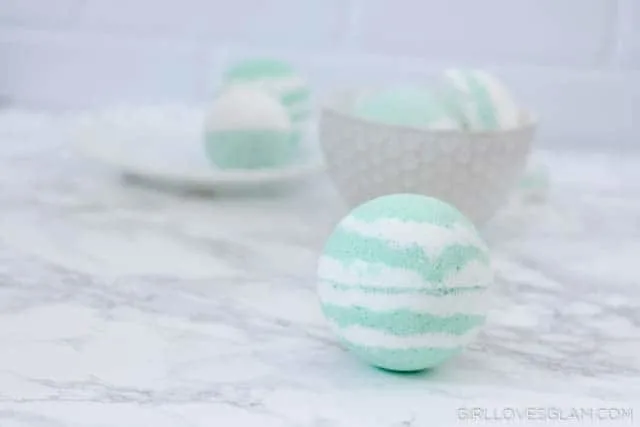
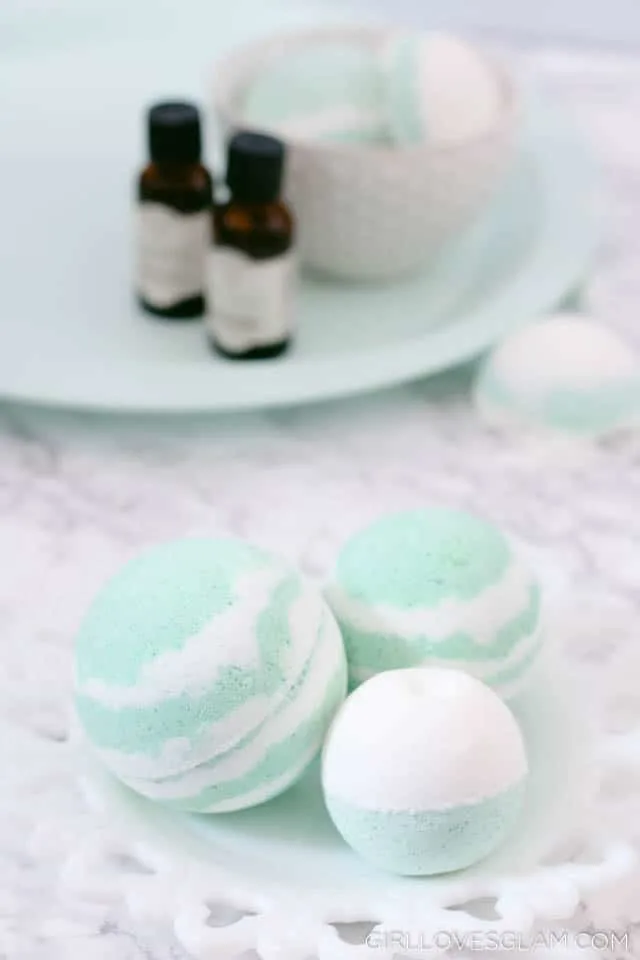
Take turns layering the different mixtures into the bath bomb molds. This creates the fun stripe design on them! Of course this is totally optional, but it makes you feel a little fancier to do it this way. You could also fill up half of the bath bomb mold with one color and the other half with the other color and get the same effect, just not quite as fancy. Once your molds are full, put them in the freezer for about an hour. Carefully take the bombs out of the molds. You can use them right away, but if you are planning on packaging them up to give away let them dry for a few more hours.
I think that making these monthly themed bath bombs and packaging them all up together would make such a fun Christmas gift! You would be able to give someone a fun bath they can indulge in each month for a full year!
Be sure to check back next month for another fun bath bomb recipe!
Here are the bath bomb recipes shared so far this year…

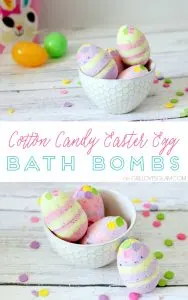


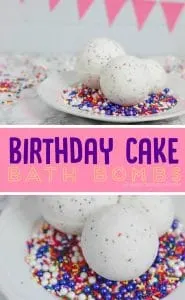

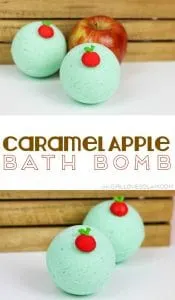

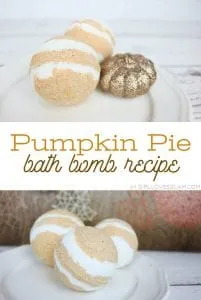
Tracy
Thursday 6th of August 2020
This was my first time to make the bath bombs but when I took them out of the freezer and out of the mold they broke in half each half stayed together so what do I need to do to get it to stay together?
15 Homemade DIY Bath Bombs
Tuesday 25th of September 2018
[…] source […]
17 DIY Bath Bombs & Homemade Bath Bomb Recipes Lauren J – Hot Pomelo – Internet Portal..
Thursday 6th of September 2018
[…] Cold and Sinus Relief Bath Bombs Photo by Girls Love Glam […]
17 DIY Bath Bombs & Homemade Bath Bomb Recipes – DIY AND SHARE
Thursday 6th of September 2018
[…] Cold and Sinus Relief Bath Bombs Photo by Girls Love Glam […]
Cold and Sinus Relief Bath Bombs – DIYFix.org
Tuesday 30th of January 2018
[…] Cold and Sinus Relief Bath Bombs […]