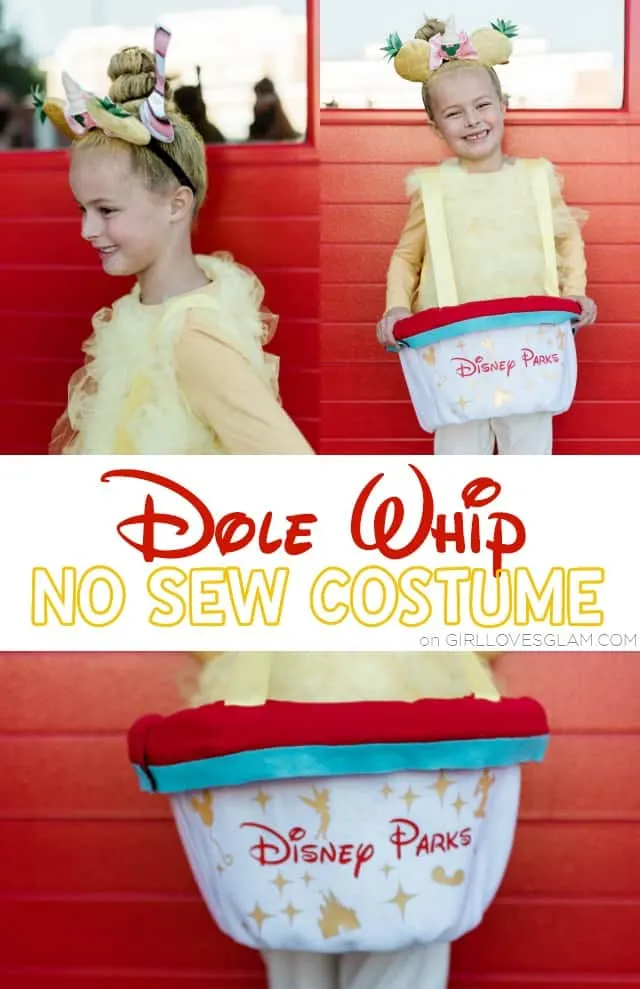
There aren’t many Disney treats as iconic as the infamous Disneyland Dole whip. It is absolutely one of my favorite treats at Disneyland! When we were deciding which Disney treats costumes to include in our family costume, we absolutely knew that a Dole Whip costume needed to be included.
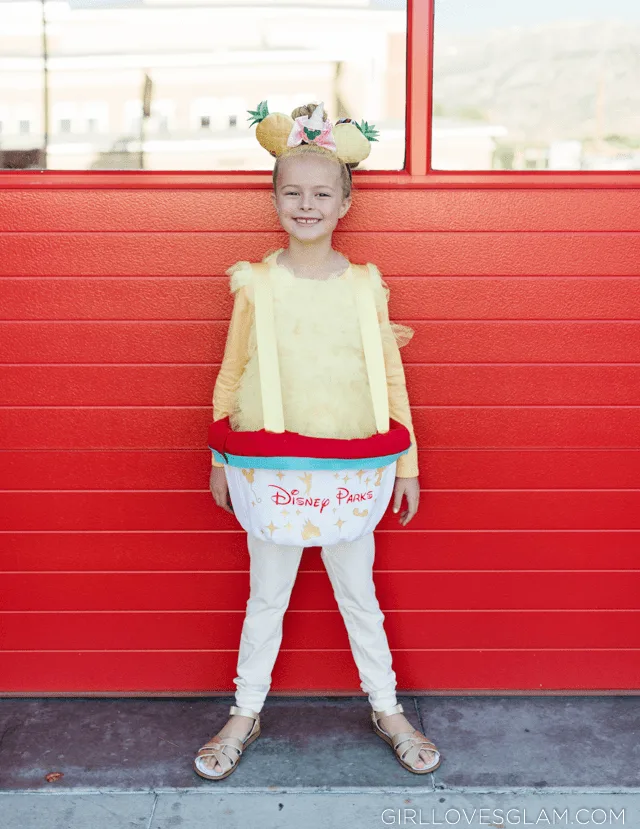
Every detail of this Dole Whip costume is spot on. From the cup to the spoon in the hair! The best part of this costume is that it didn’t require any sewing! Here are the materials I used to create this Dole Whip Costume…
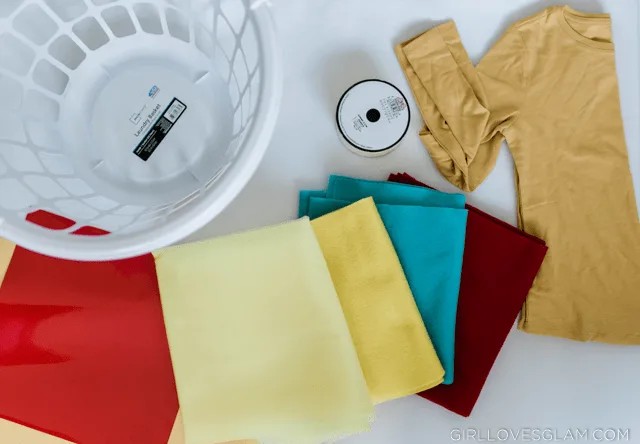
Dole Whip Costume Materials
- Small round laundry basket
- Yellow shirt
- Yellow ribbon
- Fabric glue
- Yellow tulle (I bought 3 yards)
- White felt (I bought 1 yard. It needs to be long enough to fit around the laundry basket)
- Turquoise felt (I bought 1/4 yard)
- Red felt (I bought 1/4 yard)
- Red heat transfer vinyl
- Yellow heat transfer vinyl
- Multi-use paper
- Silhouette Cameo Use code GLAM for discount!
- Plastic serving spoon
- Hair clip
- Yellow hair spray (I linked some, but Walmart has some for cheaper in their Halloween section.)
- Hot glue
- Dole Whip ears (optional)
How to Make a Ruffle Shirt
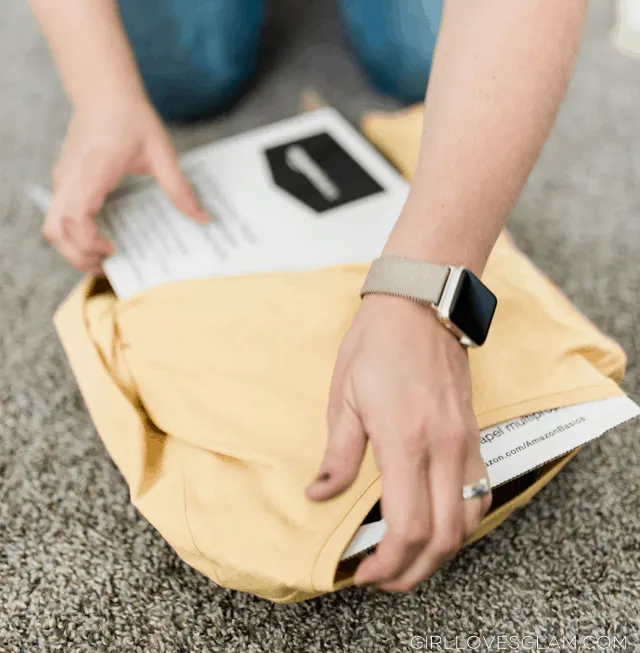
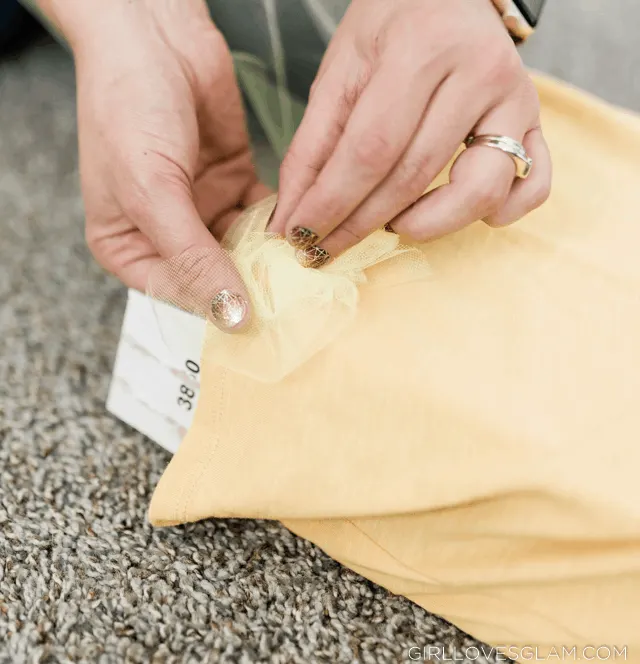
Creating this costume isn’t something that you can do in an afternoon, but it isn’t hard to create at all. First, you will want to start working on the fluffy shirt. Start by putting a piece of cardboard in the shirt to keep the glue from bleeding through the shirt. Cut the tulle into long strips. I kept the strips about 8 inches wide.
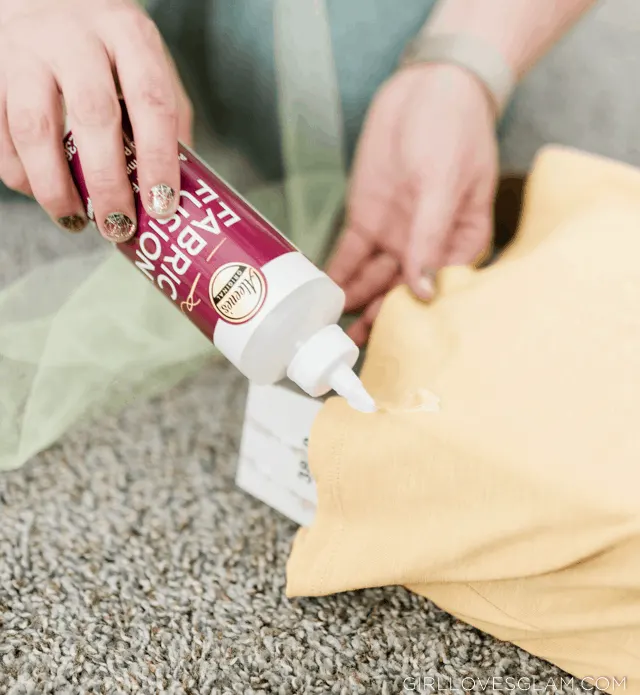
Starting from the bottom, squeeze a line of fabric glue onto the shirt. Fold the tulle in half, so it ends up being around 4 inches wide, then stick it to the glue. Because tulle is so fluffy, it will want to just fluff up. I had to find something to sit on top of it as the glue dried. You could place a piece of parchment paper with a book on top of it and it would work well.
Work your way up the front of the shirt, until it is completely covered in tulle ruffles, then flip the shirt around and do the same for the back. This is the first project you want to work on because it will take the longest. Because you need to wait for the glue to dry before moving onto the next part, you can glue a section and work on something else while the glue is drying.
How to Make a Dole Whip Costume
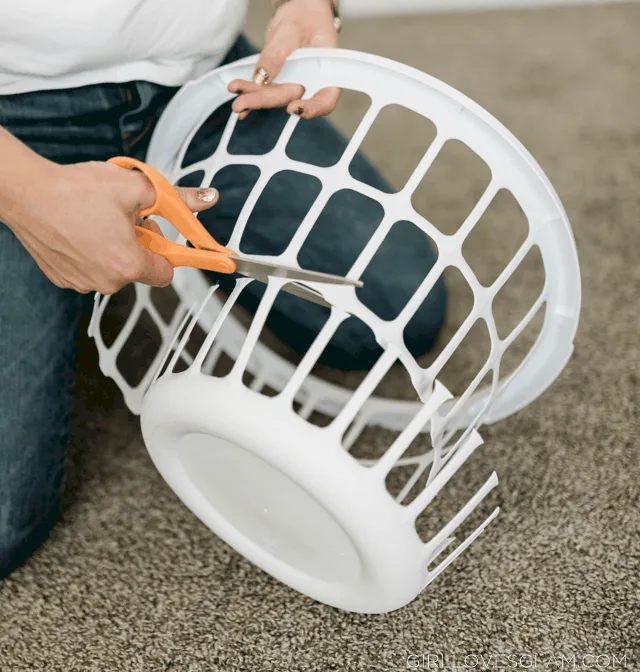
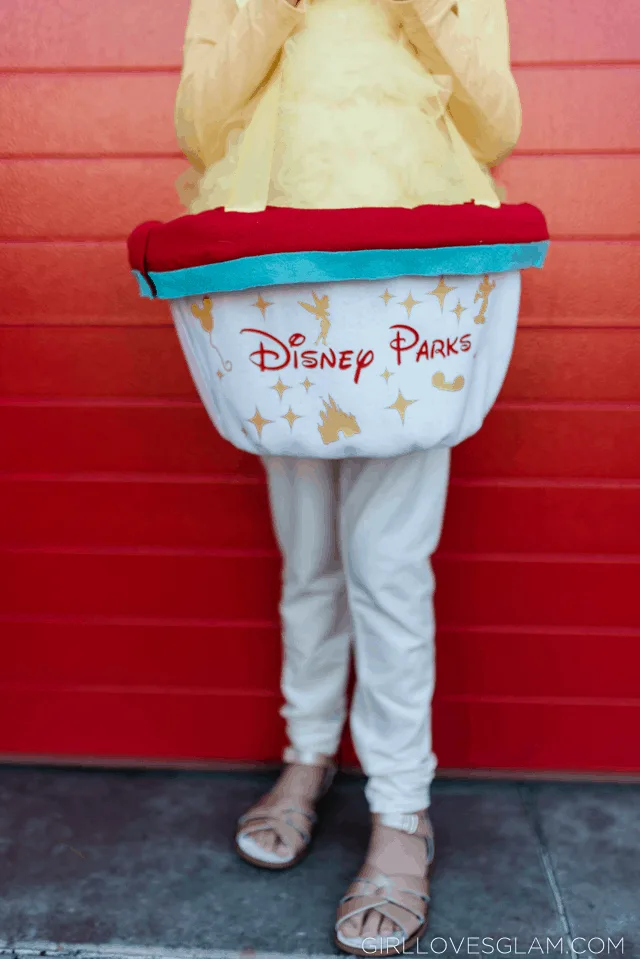
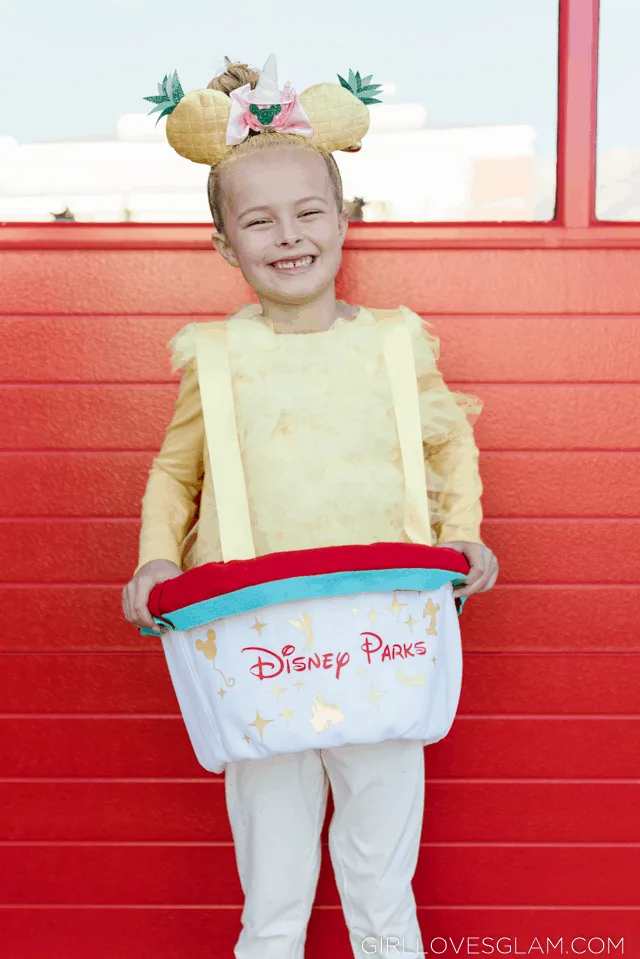
My favorite part of this entire costume is the bowl. It is just too good! I found a picture of an actual Disneyland Dole Whip and I followed the basic design to make this bowl as authentic as I could. To start, I cut off the bottom of the laundry basket.
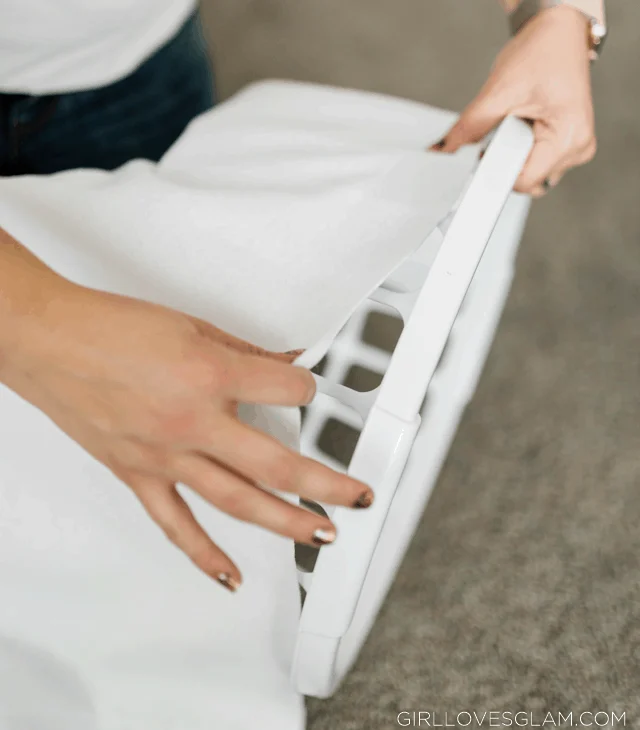
Then, measure the white felt to see just how much of it is needed. Cut down the felt so that you have just enough to wrap around the entire laundry basket, allowing it to wrap up around the bottom, through the inside as well.
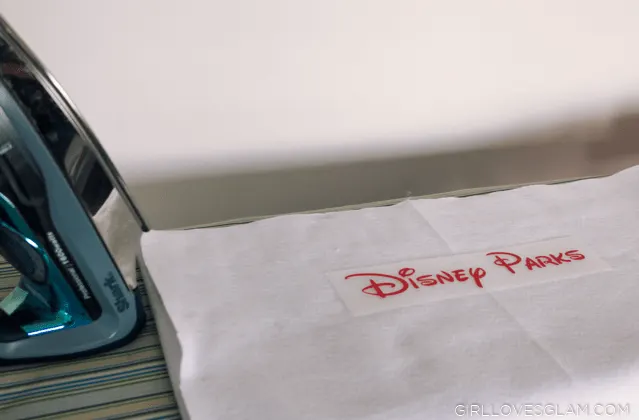
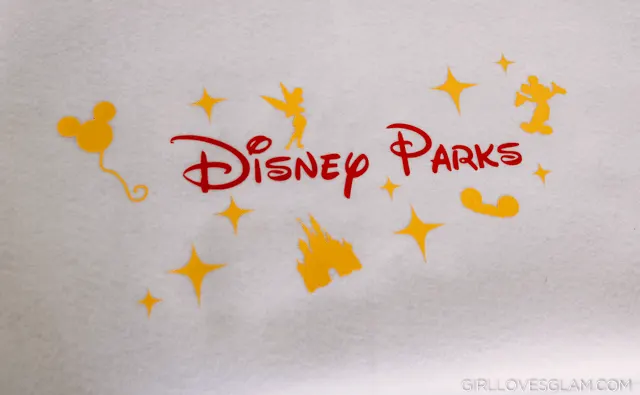
Next, I went to my Silhouette Studio and typed the words Disney Parks with the Waltograph font that I purchased. I mirrored the words and cut them onto red heat transfer vinyl. I cut two of them for the front and the back of the bowl.
When ironing on the vinyl, I measured out to see where exactly the words needed to be in order for them to show up on the front and back of the bowl. I placed the vinyl on the felt, laid the multi-use paper over the top, and ironed it on. When ironing on heat transfer vinyl, you want to iron with a decent amount of pressure, for about 30 seconds.
I was able to find some Disneyland SVG files on Etsy that I used for the details on the bowl. Some of them were purchased in sets and others were on their own, but they were all very inexpensive. I placed them on the felt, laid the multi-use paper over the top, and ironed them on the same way I did the words.
To attach the fabric to the bowl, I just wrapped it around the laundry basket and hot glued it into place. Then I wrapped the bottom up and around the inside and glued it into place. Then I cut the blue felt into a small strip and the red fabric into a strip that was large enough to go over the top of the lip of the laundry basket. I glued the blue strip to the red strip and then glued the entire thing to the top of the laundry basket.
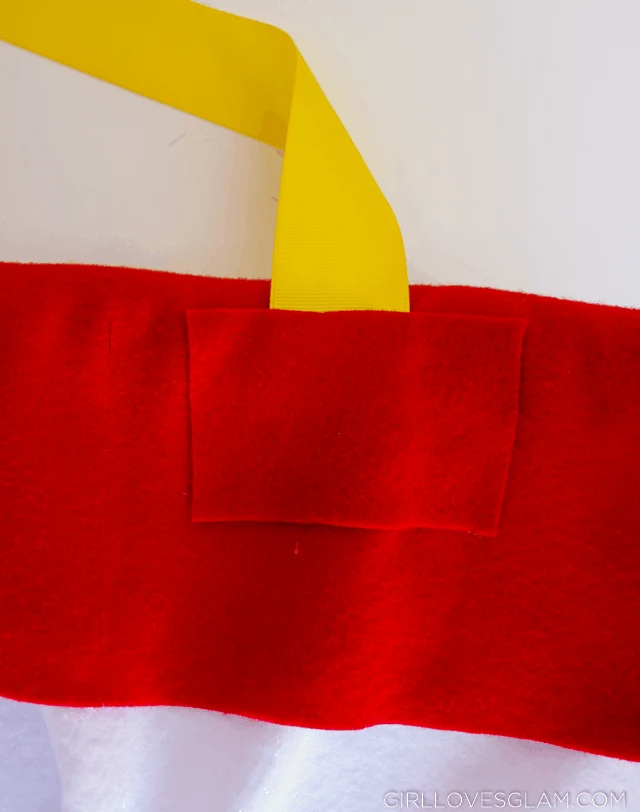
For the straps, we measured where we wanted the bowl to hit and cut ribbons that would hold the bowl right where we wanted it. I hot glued the ribbon to the inside of the bowl and backed the ribbon with small red felt squares so it all blends in.
How to Do Dole Whip Hair
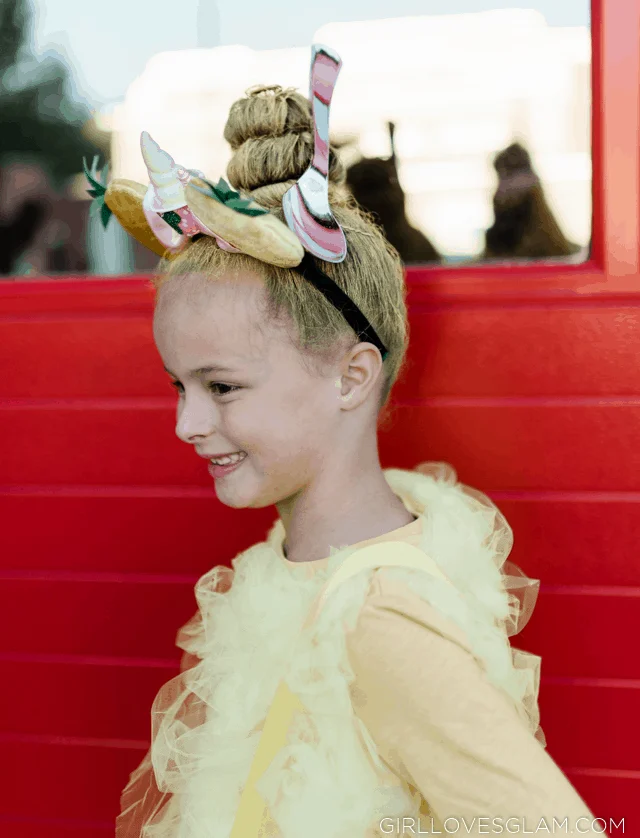
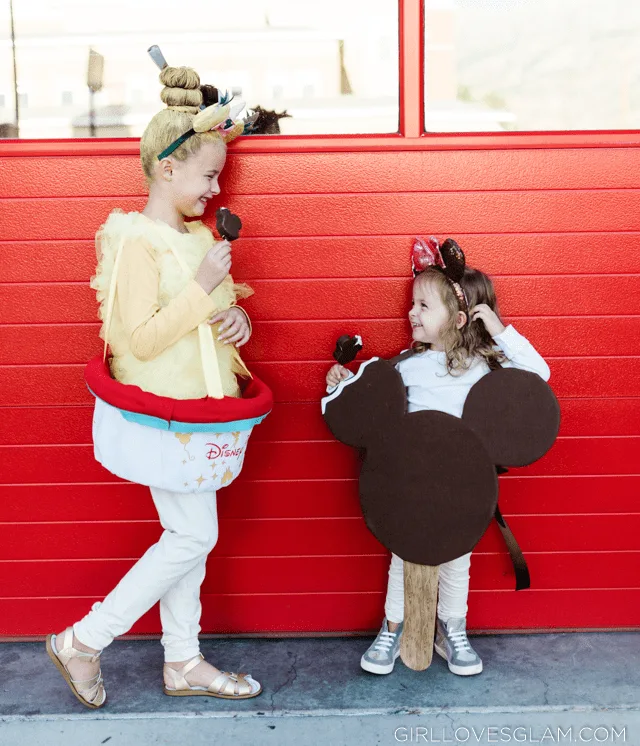
For the hair, we used the tutorial that I created for the poop emoji crazy hair day hairstyle. I have photos and a video you can follow along for that. After we styled the hair, we sprayed it with yellow hairspray and put a giant serving spoon in by gluing hair clips to the back of the spoon.
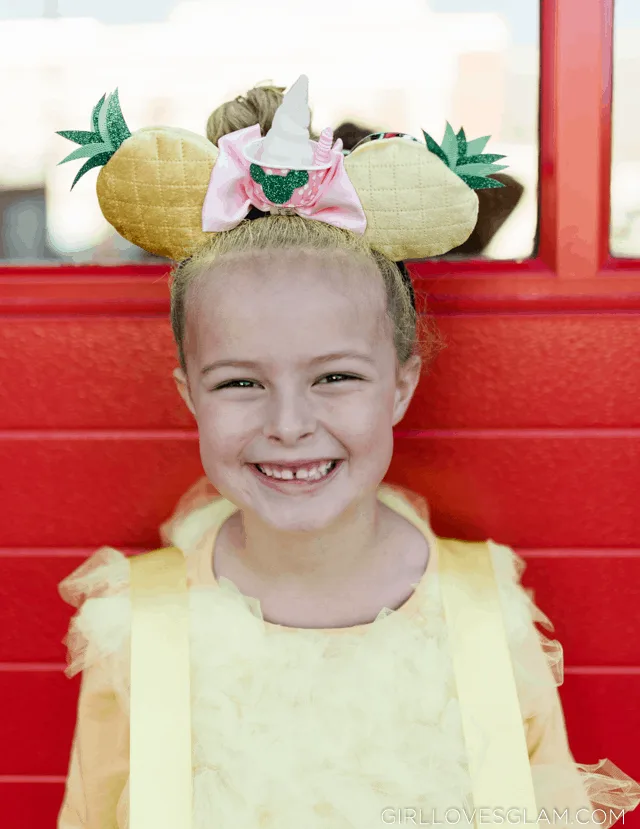
The Dole Whip headband is totally optional. This was my form of convincing her 100% that she wanted to be a Dole Whip for Halloween. She had seen these ears online and totally fell in love with them, but I didn’t want to buy them for her for no reason. But when we had a reason to buy them, I was up for it and she was down for being a Dole Whip! It was a little compromise for both of us, but I think they are darling with her costume.
Easy Dole Whip Costume
Overall, this costume is easy to create. The shirt does make it take a little time, but it is totally worth it when it all comes together.
This Dole Whip costume would be absolutely perfect to wear to Disneyland or Disney World when you go to their Halloween festivities! We will make it there someday!
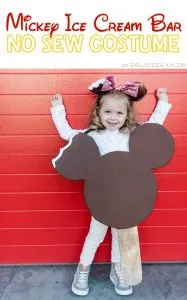
Want to know what makes this Dole Whip costume even better though? Pairing it with a Mickey Ice Cream Bar costume! They look like two peas in a Happiest Place on Earth pod! You can find the Mickey Ice Cream Bar costume on my site as well!
Don’t forget to check out the rest of our Disney Treats costumes coming this week!

No Sew Mickey Waffle Costume: Disney Treats Costume - Girl Loves Glam
Wednesday 25th of September 2019
[…] ever worn! This is totally a costume that you can make in an afternoon and it pairs nicely with our Dole Whip costume and Mickey Ice Cream Bar costume! There is another Disney Treats costume coming tomorrow! Any […]