Ah! You guys. I did something totally crazy in my enclosed porch makeover.
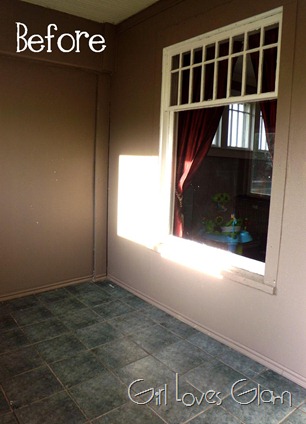
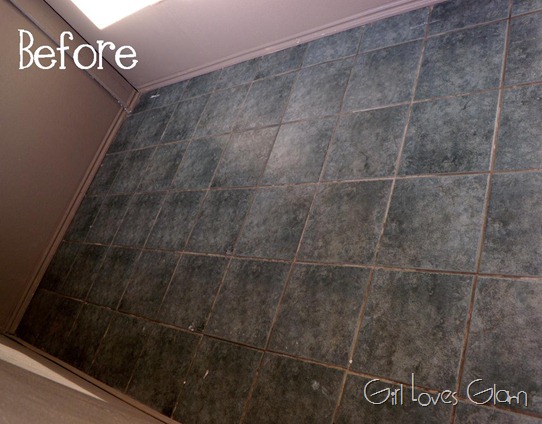
Do you guys remember my ugly “before” tile?
Hello, nasty! Let me take you back a little bit and tell you a little story of how I thought to do what I did to this tile. When I was at Snap Conference, I went to some AMAZING classes. At one of those classes, Mandi from Vintage Revivals who I BEYOND adore, talked about making your house, YOUR OWN! The entire conference was themed “Just Be You”. Mandi talked about how important it is that you love your house for what it is and not worrying about what future home buyers think. It is your house and you need to love living there. That got my wheels spinning. That is when I went to another totally awesome class. This time, it was given by Melanie from Royal Design Studio. This lady is a total stencil ninja. That was a comment in the class. I was sitting next to Cassity from Remodelaholic during the class when I had this idea and I asked her what her thoughts were. She said it sounded awesome and she gave me a few tips. Well, that is all I needed before I decided it was time to take the plunge and makeover my enclosed patio. This ENTIRE makeover has been centered around the FLOOR. I know that is kind of a weirdie focal point, but it is what it is!

Can you even believe it is the same room? It is going to be so amazing when I get the trim up and furniture in (once I get furniture! That is for a later post).
Here is what I used…
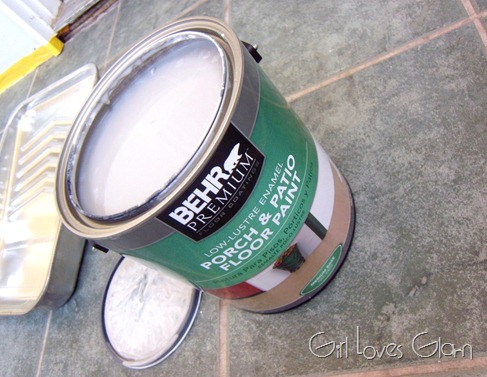
Behr Porch and Patio Floor Paint
Behr Paint and Primer in One
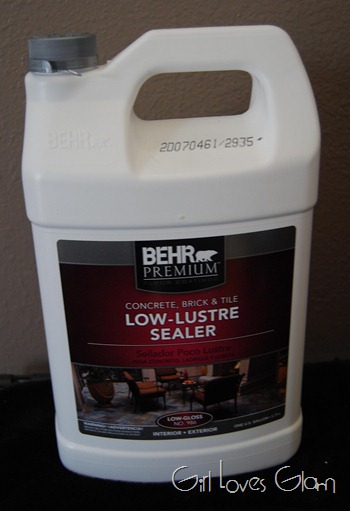
Behr Low Lustre Sealer
No, this project was NOT sponsored by Behr. I went to Home Depot and that is the brand they had. I WISH this had been sponsored by them!
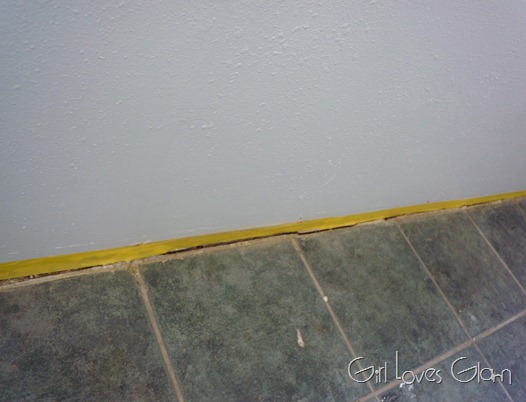
First, I was sure to tape off all of my walls so that I wouldn’t get any of the floor paint on my freshly painted walls.
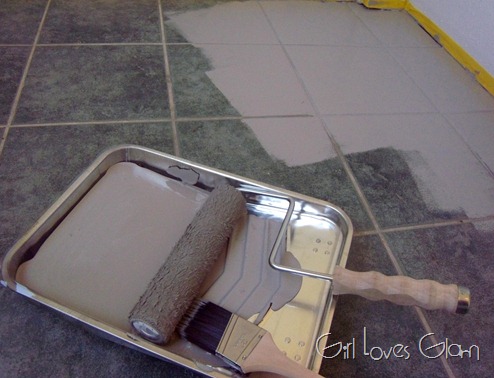
Then, I lightly sanded my tile with a sanding brick and swept all of the dirt and junk off of the floor. At this point, my heart was beating fast. It was beginning to be the moment of truth. I went into the other room and grabbed the floor paint. I had this tinted to “Cement Gray” by Martha Stewart Living.
Now it was the moment of truth. Was about to ruin this tile that was doing just fine doing its job as being tile? I could always just turn back and forget that I ever thought of doing such a crazy thing. Then I looked at that ugly tile again and realized that I wouldn’t like this room UNTIL this green was gone. I dumped the paint in the tray, dipped my roller in it, and started rolling away.
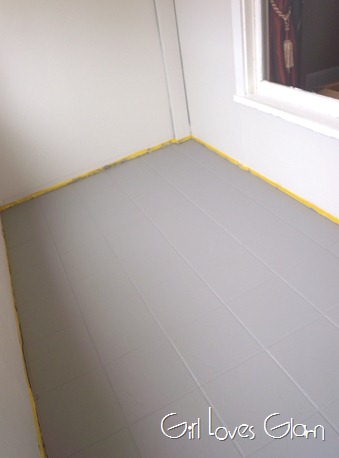
Talk about instant gratification! It felt so good to tell that nasty tile goodbye. I put two coats of the floor paint on and I fell in love.
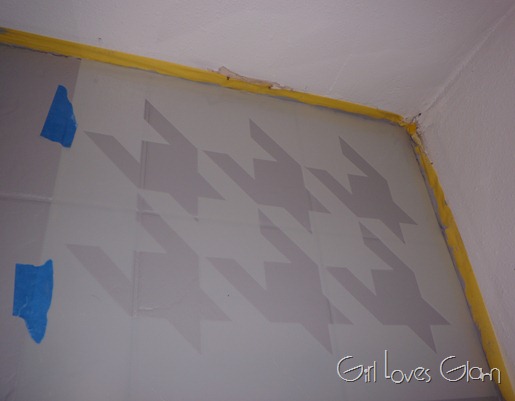
That is when the paint plus primer and the houndstooth stencil came into play. I got the paint tinted “Seal” by Martha Stewart Living.
I started the stencil over in a corner and laid it down against the corners of the room.
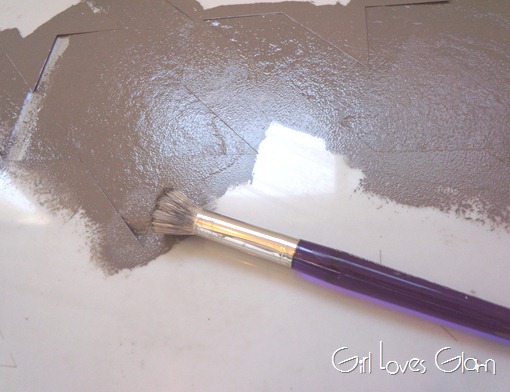
I painted the houndstooth print in, took off the tape and realize that it took a little of the floor paint off, so I stopped using tape after this and touched up my floor paint after stenciling the entire room. The great thing about the Royal Design Studio stencils is that they have markings on their stencils that show you EXACTLY where to lay your stencil. I have used other stencils that have marks on them, but there are only 1 or two of them and it still makes it very difficult to match up. These ones are all over the stencil and are perfect for all over stencil work.
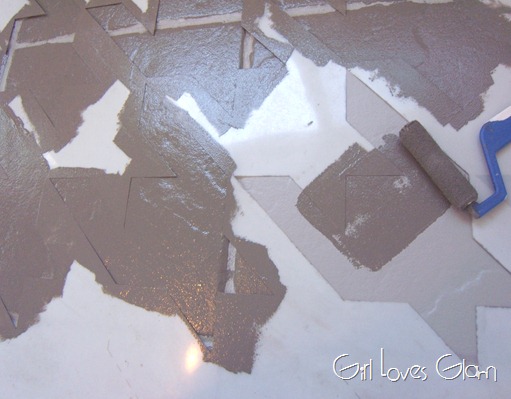
I stenciled a few of the patterns on the floor using a technique I learned at Snap, but because the paint was pretty thin, it didn’t work as well as it would with thicker paints and the paint bled a little and the technique wasn’t as quick as I had hoped, so I decided to use my mini roller!
When I had to go over the grout lines of the tile, I would use a stencil brush to get deep in those cracks.
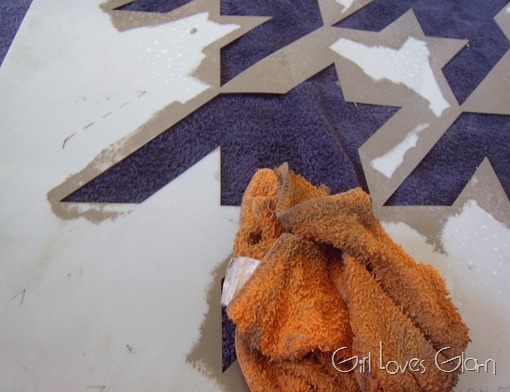
After 1-2 uses of the stencil, I would lay it on a towel, spray it off with all purpose cleaner, and wipe it clean with a damp wash cloth to keep it nice and clean to work with.
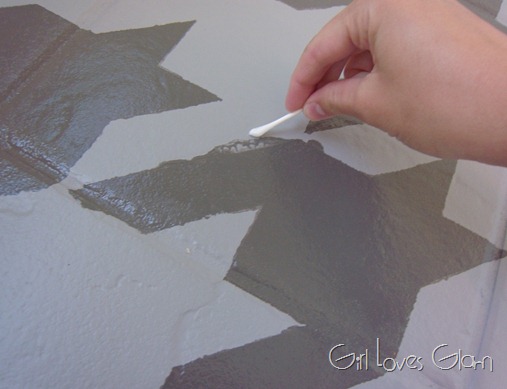
To clean up bleed spots, I used wet Q Tips and wiped the extra paint off of the floor. Do this lightly, so you don’t wipe the floor paint off too.
I repeated these steps over and over again until I had the room covered. I thought I loved it before, but I know I am in love now.
I am now in the process of putting a few coats of the sealer on it to protect it from damage. That is put on just like paint is, just be sure your surface is dry and very clean!
Are you as in love with this floor as I am? I love the contrast of grays in the room. It really may be the most beautiful floor I have ever seen. Dave even told me that he loves it and that he’s pretty sure that it is the only floor like it in the world. That made me feel pretty special. Who wants to try their very own Royal Design Studio stencil now? Well, you are in luck! They are giving a lucky reader one. Go enter the giveaway!
UPDATE!! Here is the AFTER of it all! If you want to see the full post about my reveal, look here!
I am linking to these great link parties here.
Due to the risk of stolen content, full posts are no longer available via RSS feed.
This post is via www.girllovesglam.com
This post is via www.girllovesglam.com







Katie @ Little House of Four
Sunday 26th of October 2014
Oh, the floors look Ah-mazing!!! I love that you completely transformed the room with a little hard work and paint! We just added a 2 car garage and addition to include a mudroom and future kitchen expansion. I've been looking for temporary fixes to update the plywood floor during the transition stage and this is perfect. Thanks so much for sharing!
capturing joy with kristen duke
Tuesday 12th of August 2014
this looks so amazing! I want to paint my bathroom tile now!
Barrett Elmore
Thursday 21st of February 2013
Oh yes, I agree that the contrast of gray made this room intriguing especially when you added all those colors in. You made your porch so charming that you can just relax there and have fun reminiscing the good old days. It’s actually a refreshing place to invite your guests in. It’s really magical, McKenzie!
Regards, Barrett Elmore
gail@My Repurposed Life
Thursday 28th of June 2012
I painted my floor a couple of years ago, and I'm still loving it! (about to change the colors maybe) :)great job with your stencil!thanks for linking back to MRL in your post!
gail
melissa @ mamamiss
Wednesday 27th of June 2012
I love it!!!! ♥♥♥ Thanks for sharing! :)
xx melissa @ mamamiss.com