Getting organized seems to be the theme in January each year. After the resolutions have been made, it seems to be the time when people clean out closets and label everything in their houses. I am no exception. I like to think that I am fairly organized all year, but I will admit, I catch the January bug too. This year, my first order of business was getting my home office that is also my craft room organized. You can see how it all went down here.
One of my favorite parts about my newly organized home office, is my curvy framed chalkboard. I love that I can have my blog goals written down so that I can see them and remember just what I want to be doing this year. I also love that the chalkboard is vinyl! I didn’t have to paint anything and I can use chalk markers instead of having chalk dust everywhere! Making this is chalkboard is easy!
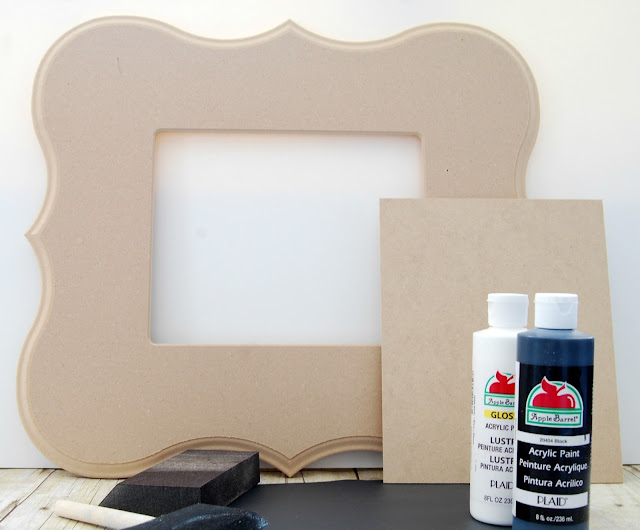
Here’s what you’ll need…
Chalkboard Vinyl (it can be found in the Specialty Vinyl section)
Paint in 2 colors
Sandpaper
Chalk or chalk marker
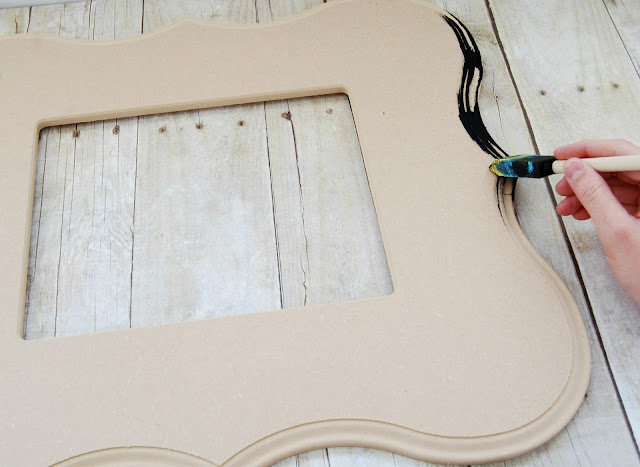
First, you want to paint the edges of your frame the color that you want to pop out from underneath your main frame color.
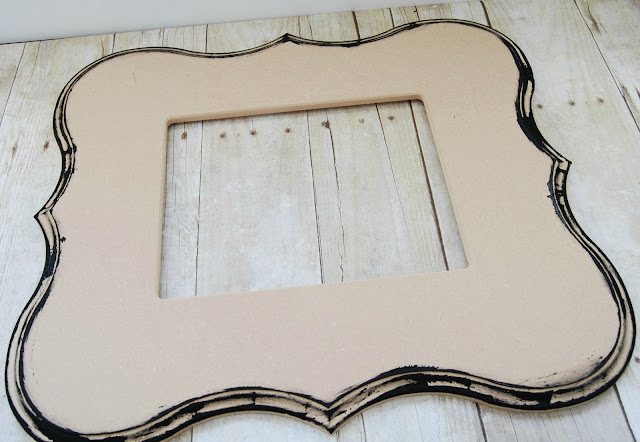 |
The painted edges don’t need to be perfect, just get a little paint on all of the edges. I chose to paint mine black so that when the rest of my frame is white, the black will help accent the curvy edges.
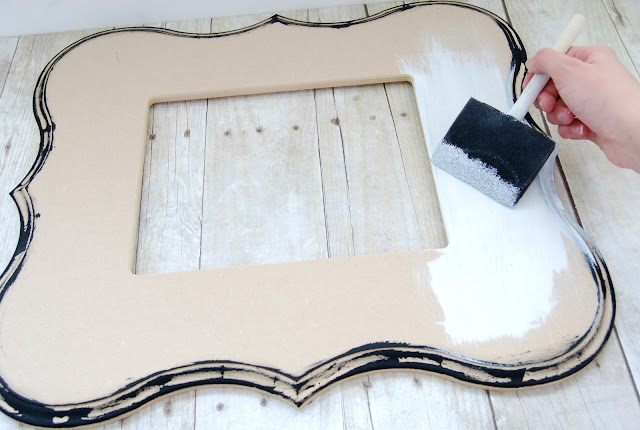
Paint the entire frame the main color you want it to be. Be sure to paint over your already painted edges.
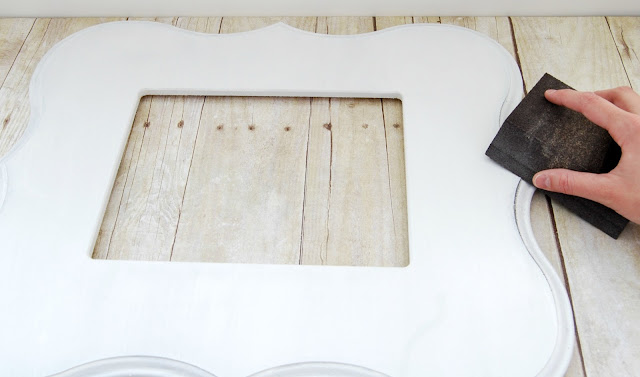
After your paint has dried, go back over the edges of your frame with sandpaper. Sand off the main color so that your painted edges will pop through.
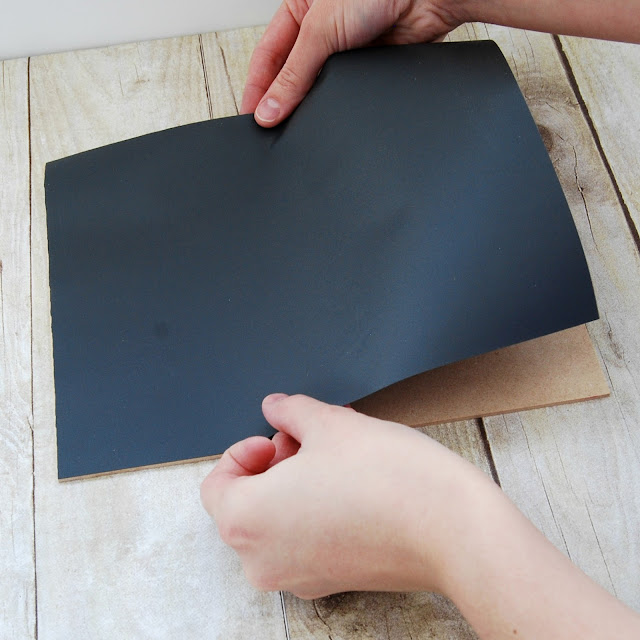
Measure the backing of the frame where the picture would be. Cut your peel and stick chalkboard vinyl out to be the same size as the back of the frame. Peel the chalkboard vinyl off of the backing and stick it onto the part that would be behind your picture normally. Use a credit card to get any bubbles out of the vinyl. Put the backing in the frame. These frames don’t have the little pieces that hold this part onto the frame, so I just taped mine on with duct tape behind the frame.
I hung mine up using the Command picture hanging strips. If you are a long time reader, or even a not so long time reader, you know how much I adore those things. They are so easy to use, and I didn’t have to damage the wall.
Is organizing part of your new year’s resolutions?
I link…
The DIY Dreamer
Skip to My Lou
Chef in Training
Rae Gun Ramblings
Lil Luna
Snap
Someday Crafts
The 36th Avenue
Love and Laundry
See Vanessa Craft
Tidy Mom
Create Craft Love
Whipperberry
Tatertots and Jello
Funky Junk Interiors
Six Sister’s Stuff
Be Different Act Normal
It’s Overflowing
Or So She Says
Artsy Fartsy Mama
What’s Cooking with Ruthie
Your Home Based Mom
Flamingo Toes
Craft O Maniac
Classy Clutter
I Heart Naptime
Lines Across
Keeping it Simple
Under the Table Dreaming
Home Stories A to Z
Today’s Creative Blog


Due to the risk of stolen content, full posts are no longer available via RSS feed.
This post is via www.girllovesglam.com
This post is via www.girllovesglam.com



61 DIY Projects You May Have Missed on Girl Loves Glam - Girl Loves Glam
Saturday 10th of August 2013
[…] Headband Holder | Beach Bag and Towel in One | Padded iPad Case | No Sew Fabric Banner Vinyl Framed Chalkboard | 10 Handmade Teacher Gifts | Doily Lamp Knockoff | No Sew Banner | Pattered Cabinet | Dresser […]
Leigh Anne @Yourhomebasedmom
Wednesday 30th of January 2013
I have a few of these frames waiting for me to do something with them - thanks for the inspiration! Thanks so much for linking up over at Finding the Pretty & Delicious Link Party. Hope you'll join in again this Saturday!
sew sweet vintage
Monday 28th of January 2013
Didn't know about the chalk board vinyl. Cool. Pinning:) Stop by my new post http://www.sewsweetvintage.com/2013/01/his-and-her-pillows.html
Leslie Germain
Monday 28th of January 2013
Love this project. thanks for sharing. found you on Craft-o-Maniac Monday.
Natasha SerenityYou
Monday 28th of January 2013
love your frame and great goals!!
your newest follower
would love it if you could share this on my link party
Natasha @ www.serenityyou.com