“Back to life. Back to reality.” That is how I am feeling. I just started catching up on household chores a little more today, and am starting to feel like I am getting more into the groove of things. That means you get to hear more from me again! First thing you get from me… a tutorial! It is small, simple, and sweet!
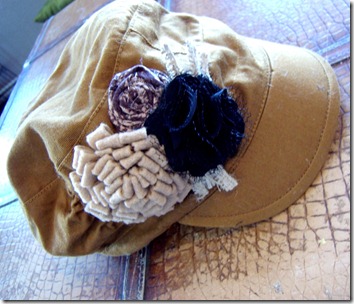
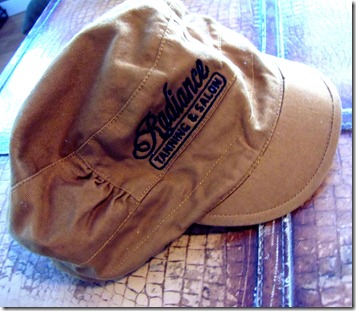
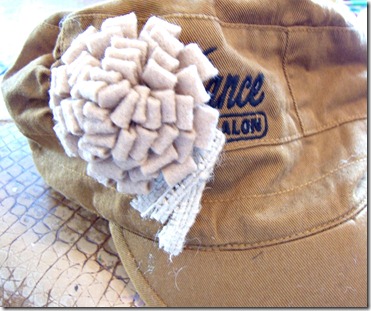
I love this hat. I love the shape and how it fits when I wear it. What I don’t love is that it has the logo from a salon I worked at years ago. I needed to do something to change that.
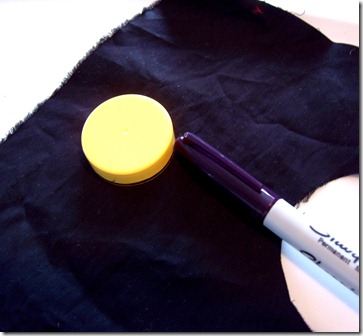
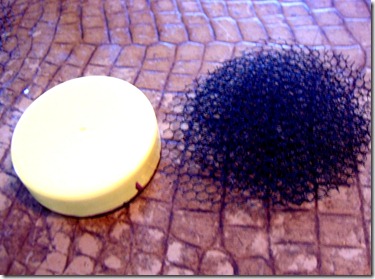
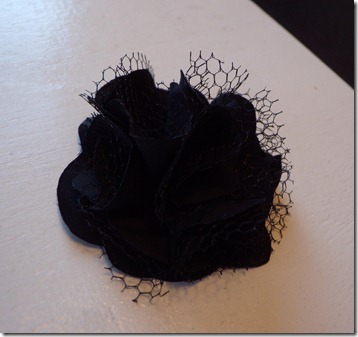
I am going to teach you how to make the black fabric and tulle flower I used on this hat. What you need to do first, is trace 7 circles onto the fabric you are using. I used the lid from some of my vitamins that is about 1 1/2 inches.
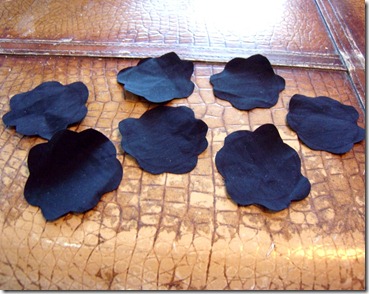
Cut out your circles. When you do, scallop the edges with your scissors. They don’t have to be perfect at all.
Cut out 12 tulle circles in the same size as your flower petals. I folded over the tulle so I only had to cut it once, but I got enough circles. If you cut out too many, that is alright. You can use them to make your flower more voluminous.
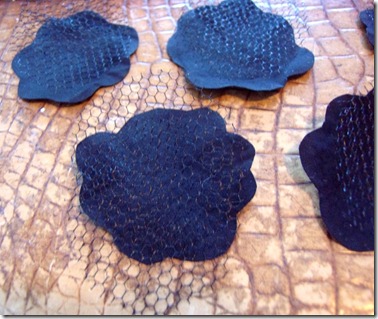
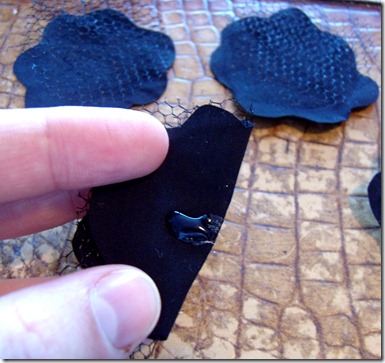
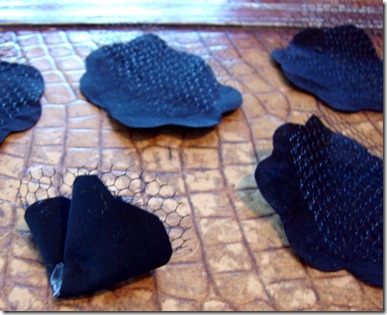
Place your tulle circles on top of your petals (All but 1 of them. The last one will be the base of your flower). I put 2 on each, but you can do any number of tulle layers that you would like.
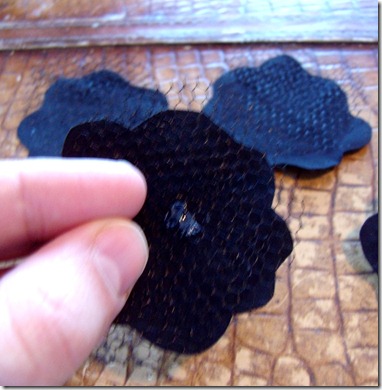
Put a dot of hot glue in the center of your flower.
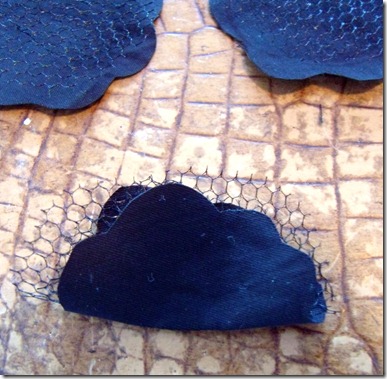
Fold flower in half and let the glue dry.
Put another dot of glue on the bottom, center of the flower.
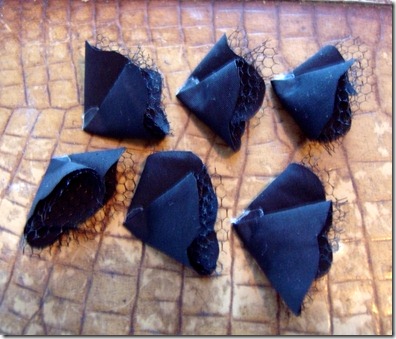
Fold in half again and hold until glue dries.
Repeat those steps for all 6 of your petals. Remember not to do it for all 7 of your cut outs because one of them will be the base of your flower.
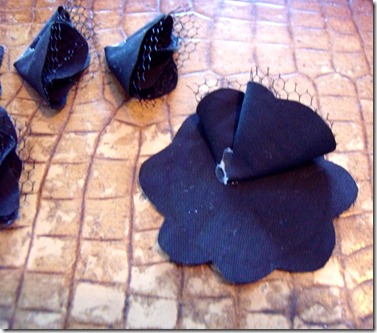
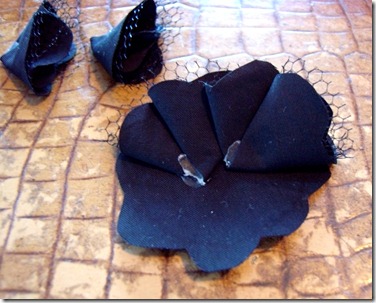
But a dot of hot glue on the center of your fabric base. Put one of your petals on the glue and let it dry. You may want to add more glue to keep it secure after you have it where you need it.
Add your second petal by putting another dot or line of glue on the base and placing the petal on top until the glue dries. Don’t worry if your petals overlap a little or are a little uneven.
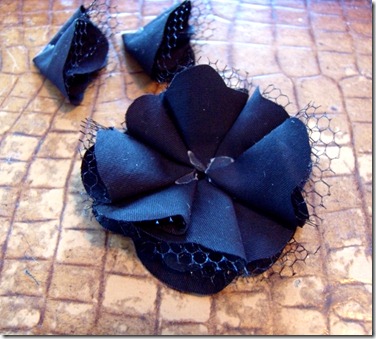
Repeat the last few steps 2 more times so you have 4 petals glued to your flower base.
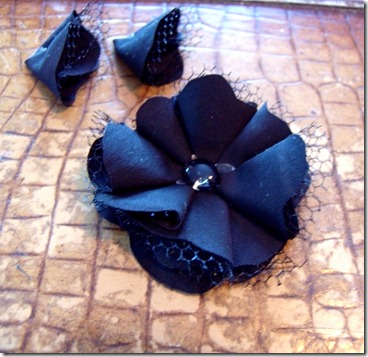
Put a glob of glue in the center of your flower.
Take last two petals and put pointed ends down in the glue. Hold them together until glue has dried. You can add more glue around the flower to make them more secure.
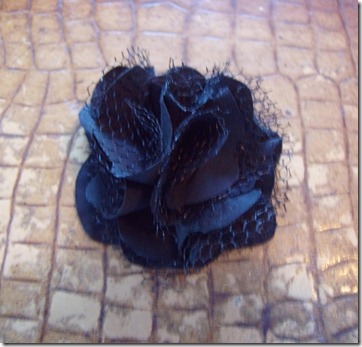
Now you have an adorable tulle and fabric 3D flower!
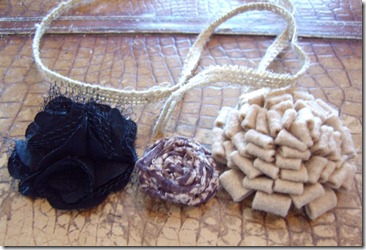
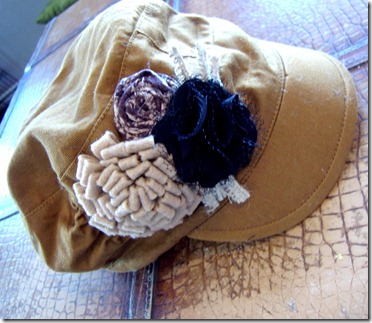
Now back to the hat… For the rest of the embellishments, I used a little strip of burlap, a rolled rose, and a felt flower that I made from this tutorial.
I decided where I wanted my flowers and burlap to go and then I went to town gluing them on!
I am so happy with the end result! I made this the day that my water broke. I haven’t been able to wear it yet, but I may or may not be planning my entire outfit around this hat today!
This post is via www.girllovesglam.com

Satin Ribbon Flower Tutorial - Cooking With Ruthie
Sunday 23rd of November 2014
[…] I love making these flowers. Once you make a few, it comes really easily too! Come see my other flower tutorial and hair accessory tutorial […]
Sewing A Purse - Water Rolls Uphill
Sunday 20th of July 2014
[…] added an embellishment to the outside of the bag, using this tutorial for a flower from Bead and Cord. Instead of hot gluing the petals, I used fabric glue and for […]
61 DIY Projects You May Have Missed on Girl Loves Glam - Girl Loves Glam
Saturday 10th of August 2013
[…] Light Lemonade | Lemon and Strawberry Lemon Fizz Drinks Clothing/Accessories Ruffle Scarf | Hat Makeover | Embellished Shoes | Chevron Cardigan Organize Laundry Organization Center | Organization […]
DIY Fluffy Fabric Flowers | SavvyExpression
Tuesday 21st of May 2013
[...] post from Girl Loves Glam was a great step-by-step guide for making fabric flowers. You only need a few [...]
Satin Ribbon Flower Tutorial
Monday 8th of April 2013
[...] I love making these flowers. Once you make a few, it comes really easily too! Come see my other flower tutorial and hair accessory tutorial too! I’m linking to these great link parties [...]