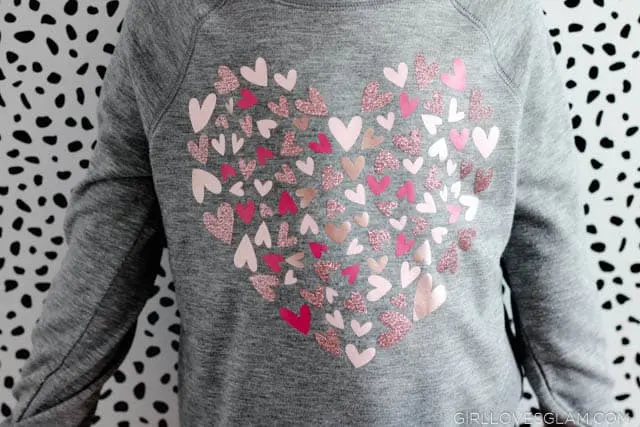
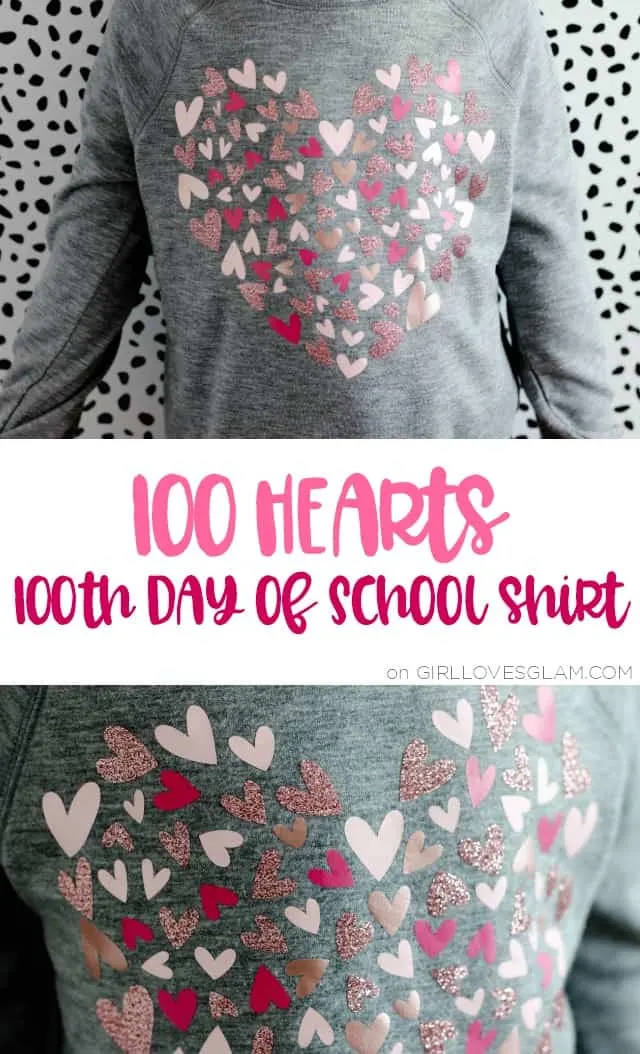
It was the 100 day of school recently and we had to make a shirt with 100 of something on it. When I talked with my kindergartner, she instantly knew she wanted 100 hearts on her shirt! Instead of cutting and gluing 100 hearts on a shirt, I wanted to make a shirt that she could wear again and again… without totally wasting a shirt.
100 Day of School Shirt Idea
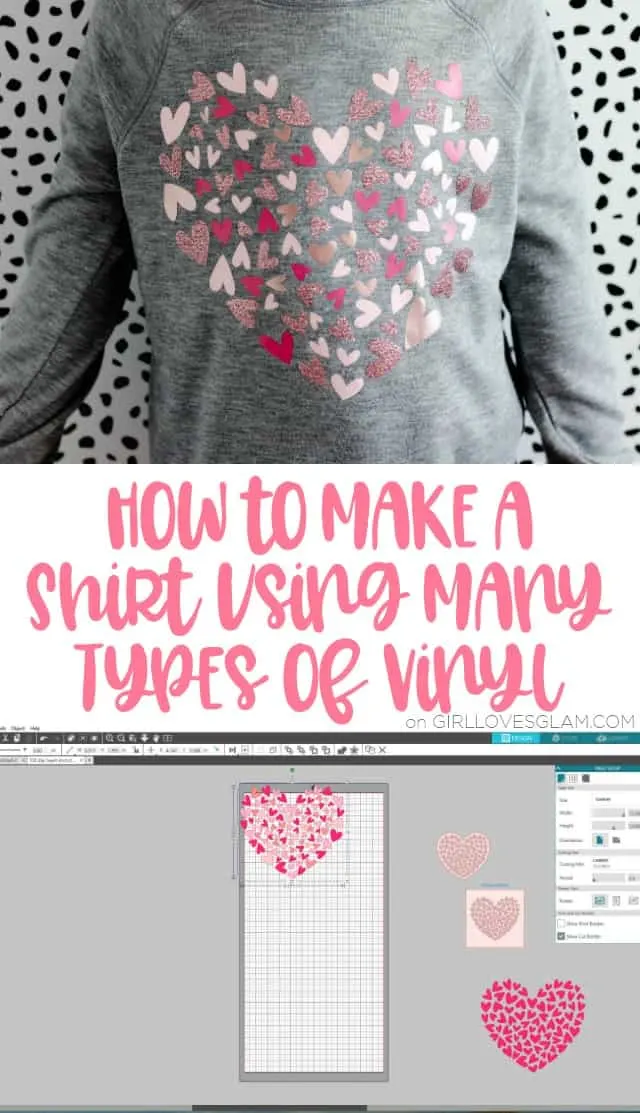
This shirt looks a lot more complicated to make than it actually was. Here is what I used to make the 100 day of school shirt…
(affiliate links included)
-Shirt (we got ours on clearance from Walmart)
–Heat transfer vinyl from Expressions Vinyl. This can be one color, but we chose to use a few different types of vinyl.
We used…
–Rose Gold Glitter Heat Transfer Vinyl
–Light Pink EasyWeed Heat Transfer Vinyl
–Pink EasyWeed Heat Transfer Vinyl
–Rose Gold EasyWeed Electric Heat Transfer Vinyl
How to make a shirt with different types of heat transfer vinyl
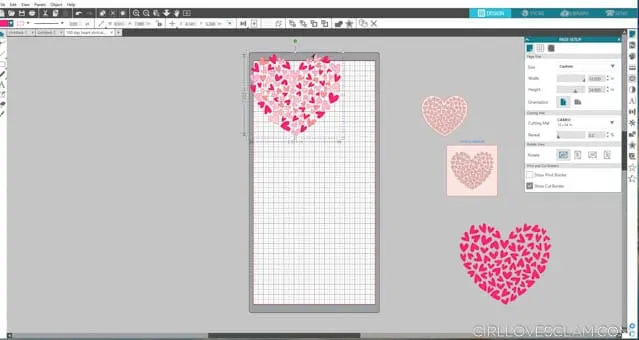
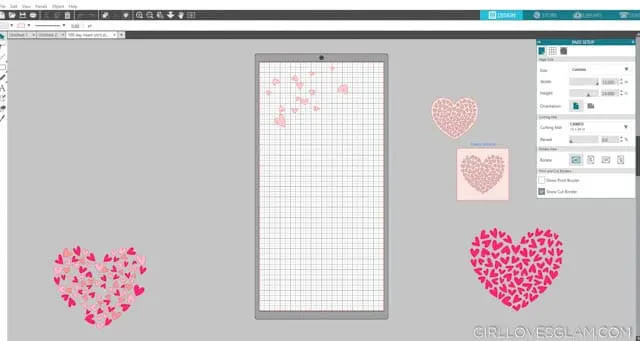
As I started looking through the Silhouette Studio images, I thought about how cute it would be to have 100 hearts in the shape of a heart! I found an image of a heart made of hearts that I bought from the Silhouette Studio store that had 74 hearts on it. To make it with 100 hearts, I just duplicated the image, right clicked on it and ungrouped it, then grabbed 26 individual hearts to go all around the edge of the heart and just kind of spaced out all of the hearts to make it all even and make it so it kept its shape.
Next, I took that heart and I ungrouped it. I then selected all of the individual hearts that would be one type of vinyl. I just clicked on them at random and held down the Ctrl button as I selected them. When I had enough of them, I clicked on a color that would represent the color of vinyl I would be cutting them. I then would drag them out of the way and group them back together. After I would do one color, I would repeat that step with all four types of vinyl I was using and made sure I covered every heart on my picture. I then drug all of the different colors together just to make sure I liked how it all looked together and made it the exact size that I needed it to be.
I drug the heart out of the way and only put one color at a time on the cutting mat. I cut each of the colors out individually with my Silhouette Cameo. Although you would normally need to mirror any image when using heat transfer vinyl, I didn’t worry about it with this image since a heart is the same either way. After I would cut one color, I would move onto the next one until all four colors were cut out.
After the hearts were all cut out, I peeled the excess vinyl off of the sheets. I kind of stuck the sheets together to get a general idea of them all together so I could see where to put them exactly on the shirt. Then I took one color sheet and make sure to lay it right where I wanted it and ironed it on. To iron any heat transfer vinyl, you want the iron to be set to the cotton setting, unless you are ironing on something more delicate. I use pressure and move the iron around for about 45 seconds and slowly peel the backing off. If the vinyl starts to come up with the backing, lay it back down and iron again. Then add the next hearts down and cover any hearts from your previous color up with the multi use paper so that the iron never touches the vinyl directly. Iron that next layer on. Repeat these steps until you have ironed on all 4 colors.
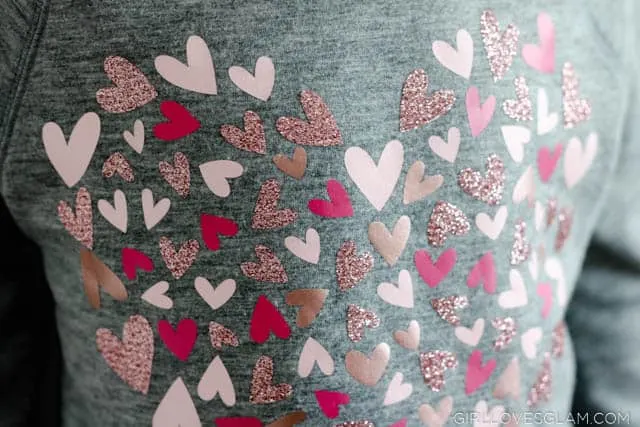
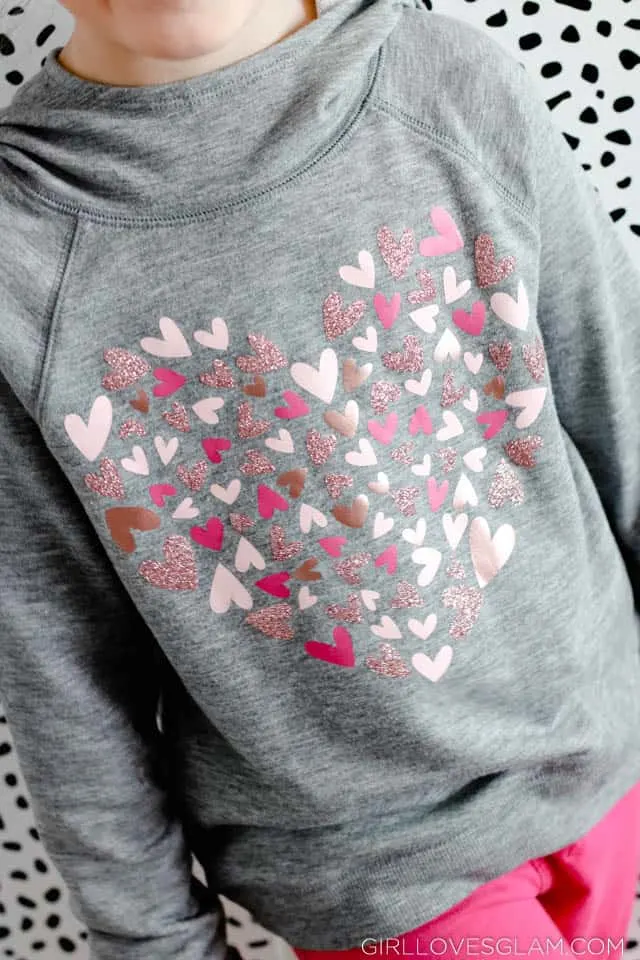
I LOOOOVE how this shirt turned out! My daughter was so proud of her 100 day shirt at school and she has worn it every week since then! It really was such a simple process and it looks like a shirt you would buy from the store. I also love that it isn’t all the same color, but the vinyl didn’t need to be layered at all. Sometimes I feel like the layering can cause the vinyl to peel off more easily and this will avoid that issue, with having a very similar effect!
I would love to hear how you use different types of heat transfer vinyl on a shirt too!

Rachel
Tuesday 8th of January 2019
I love how this turned out! So cute!