The 4th of July is my favorite holiday! I love enjoying the summer sun, going to the parade, watching the hot dog eating contest, and of course the fireworks! Sometimes it is hard to find just the right patriotic shirts for my family to wear. I feel like a lot of them are really cheesy, or super trashy. So, I have to rely on myself and make my own! I will show you how to make patriotic shirts, too!
Patriotic Shirt Supplies
To make your own patriotic shirts, you will need…
-Assorted red, white, blue, and silver heat transfer vinyl. I got some Easyweed and glitter. There are so many different kinds, you could do it however you want! This is also a great project for any heat transfer vinyl scraps you have laying around.
–Silhouette CAMEO machine (You can use the code 10OFF to get 10% off regular priced items, or they always have killer deals on their bundles that you can use the code GLAM for)
How to Buy Silhouette Studio Images
The first step you need to take is to have star images! I absolutely love the Silhouette Studio software. It is what REALLY makes the Silhouette machines stand out above the crowd.
The Silhouette Studio software has loads of designs to choose from and they are priced so well! I was able to search for stars and find images of different stars that were perfect for this project! I sized them to many different sizes and made sure that I had a good selection of each design of star for each color of vinyl.
I cut out the variety of stars from each sheet of vinyl that I had so that I would have plenty of selection for my shirts!
How to weed heat transfer vinyl
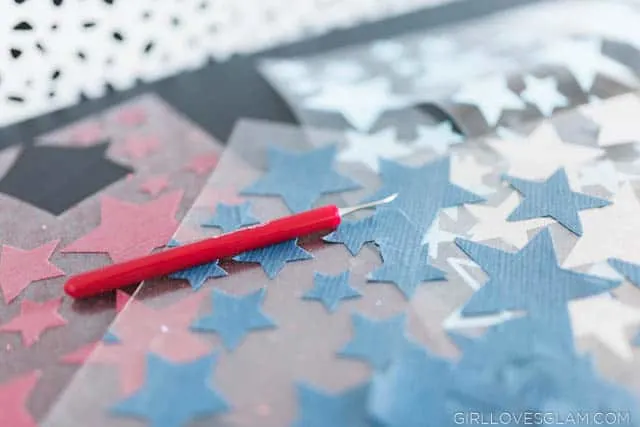
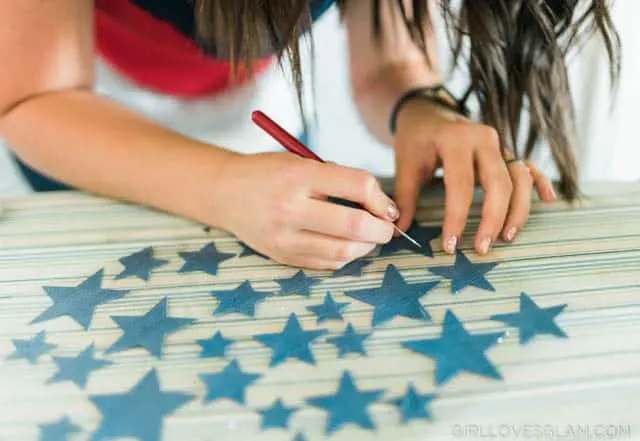
Weeding vinyl might seem like a tough task at times, but it is so much easier when you have a weeding tool! To start weeding, I recommend starting on a corner and pulling off all of the outer edges. Be careful when you get close to the designs. Work slowly when you are around the design. Sometimes the design can catch onto the rest of the vinyl and will rip off with the rest of it.
Once all of the outer pieces are gone, you can work on weeding out the centers. This is where the weeding tool really comes in handy! Use it to stab and grab the centers and they will come right off!
How to Iron on Heat Transfer Vinyl
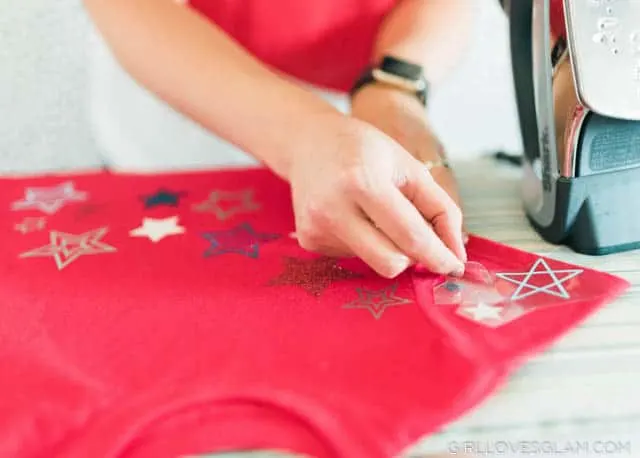
When you are designing your shirt, cut out the stars individually and place them on the shirt in the way that you want them. If you want them to overlap at all, you will need to iron them on in layers.
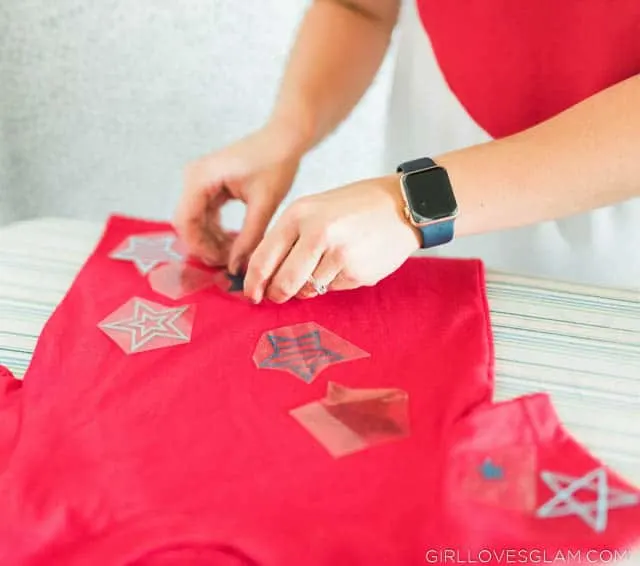 Once you place your vinyl on for the first layer, iron them on. You will want the iron to be set to the type of fabric you are ironing on. The amount of time you need the iron to be on the vinyl really varies based on the material you are ironing on. It is usually around 15-20 seconds. Try peeling off the backing while the vinyl is still hot. If the vinyl starts coming up with the backing, put it back down and iron more.
After the first stars have been ironed on, place your next layer of stars on your shirt.
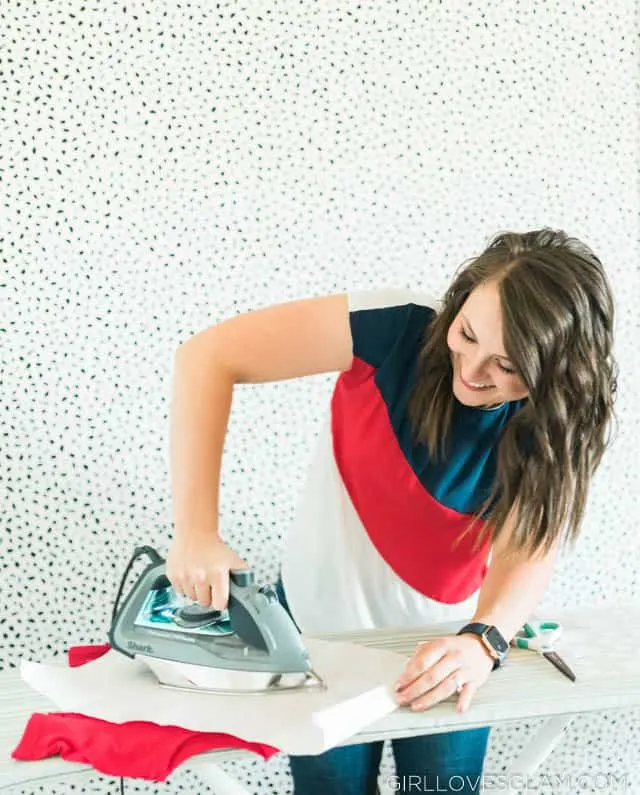
Because you will now have vinyl that you have peeled the backing off of already, you are going to need to use your multi use paper when you iron. This just protects the vinyl that is already on your shirt, preventing it from melting.
After I peel off all of the backing on the vinyl and the shirt is complete, I like to put the multi use paper back on it and go over the whole design with the iron one more time.
How to Make a 4th of July Shirt
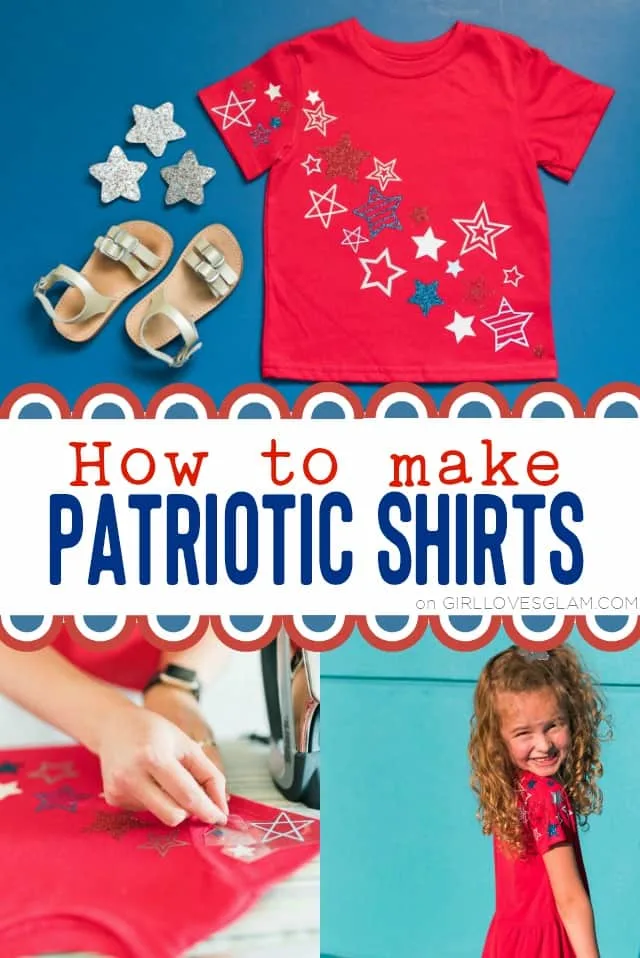
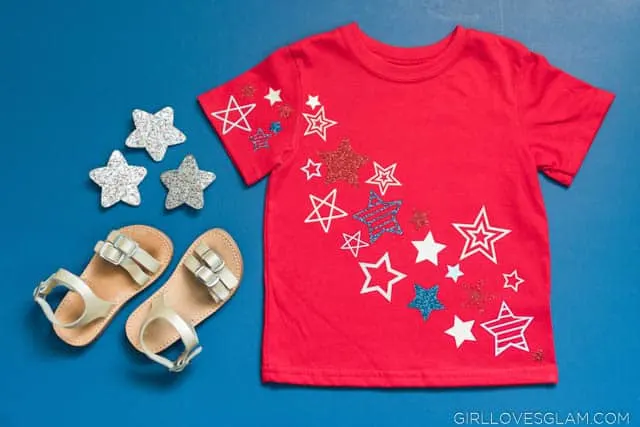
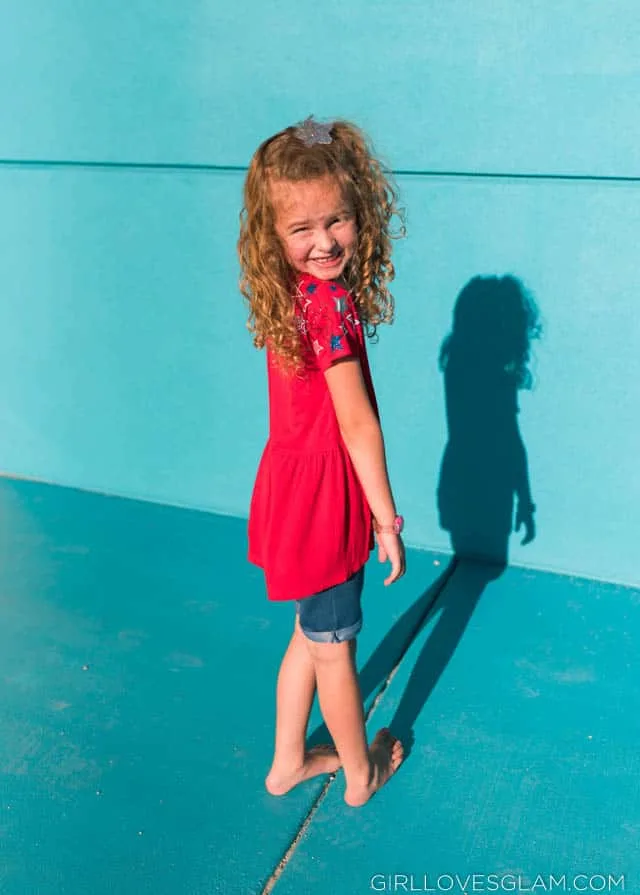
For one of our patriotic shirts, I just put the stars going across the shirt in a diagonal design. For the other one, I added the stars to the sleeves. They are both the same process, but I wanted to try different designs. I love how they each turned out!
If you are like me and can’t seem to find any cute patriotic shirts out there this year, take matters into your own hands and make your own! It is a fun way to make your family dressed coordinated too!
 Have a happy Independence Day! It is the BEST!

