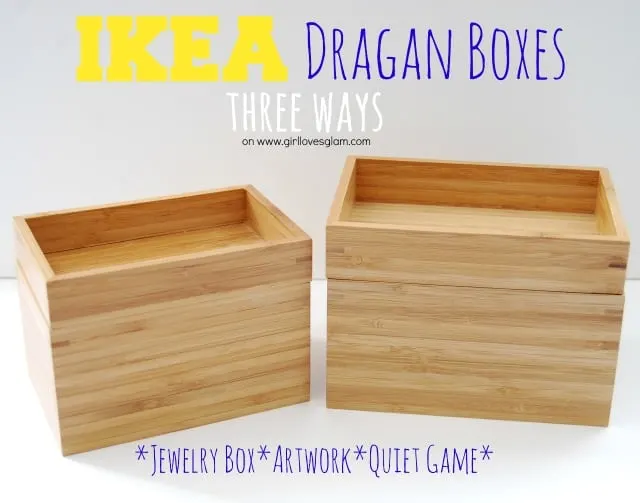
Have you ever looked at a typical item at the store and thought, “Hey! I can do something special with that!” like some of we crazy bloggers do? Well, Studio 5 gave me the challenge to do JUST that with an Ikea item of my choice. I chose the Ikea Dragan wooden bathroom boxes. I knew there was a lot of potential! I came up with 3 different things to do with these awesome boxes!
Just wait til you see what the other bloggers who took this Ikea challenge came up with too! First up for me… A jewelry box!
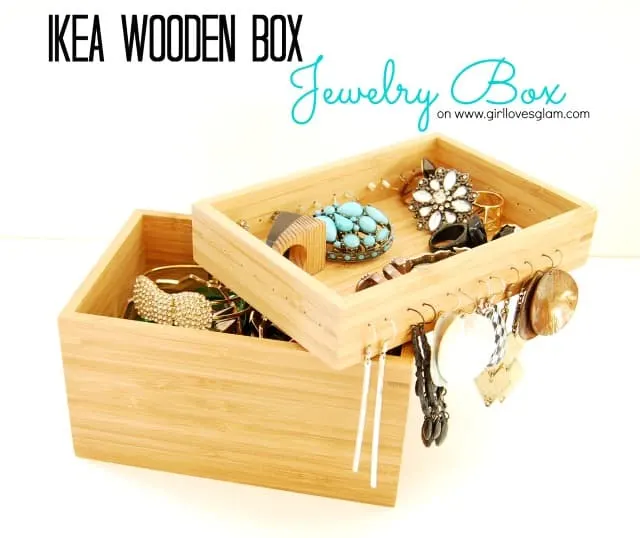
I love how it turned out. It is chic, modern, and brings all of my favorite pieces of jewelry right up front and at my fingertips. To make your own, you need…
*Ikea Dragan Box
*Drill
*Jewelry
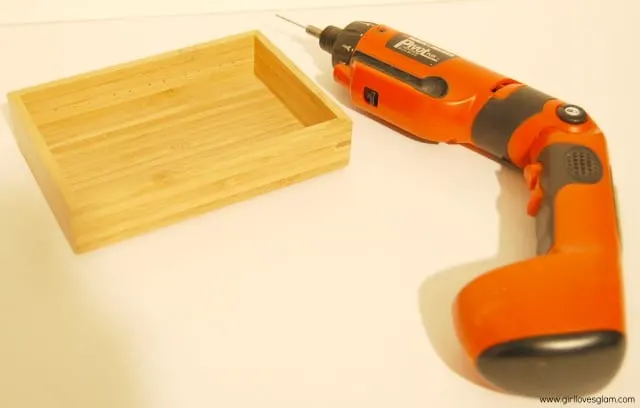
Use a small drill bit to drill holes into the sides of the lid of the box. Do them in pairs. These will be the holes for the earrings. I put holes in all four sides, but only recommend putting them in 2 sides. Having earrings on all four sides made it hard to put the lid back on the box.
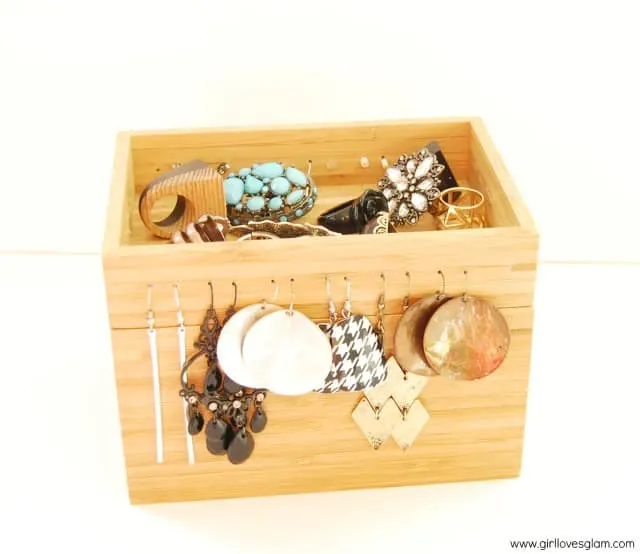
Now put earrings in the holes that you drilled. Put rings in the lid and bracelets in the box! I chose to put some of my favorite items and other items that I forget to wear so that I can see them and get to them more easily!
Now for the artwork!
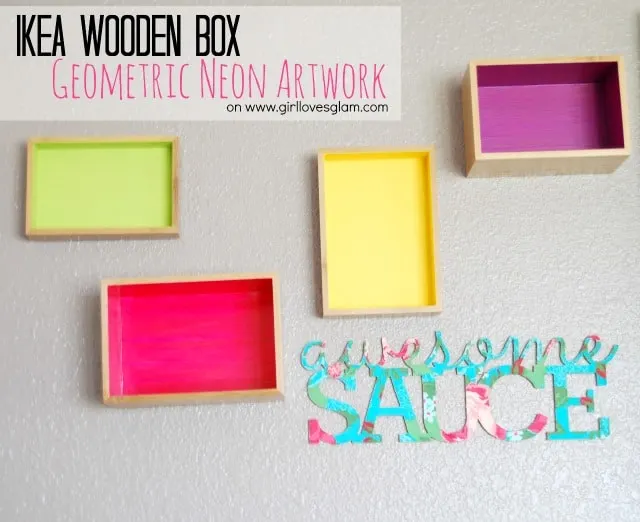
This is totally the best part of my new gallery wall! It was so dang easy to make too! Here’s what you need…
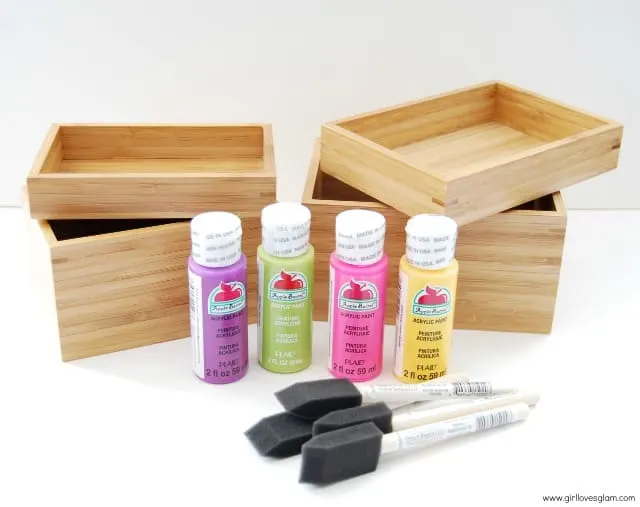
*Ikea Dragan box set
*Neon paint colors
*Paint brushes
*Picture Hanging Command Strips
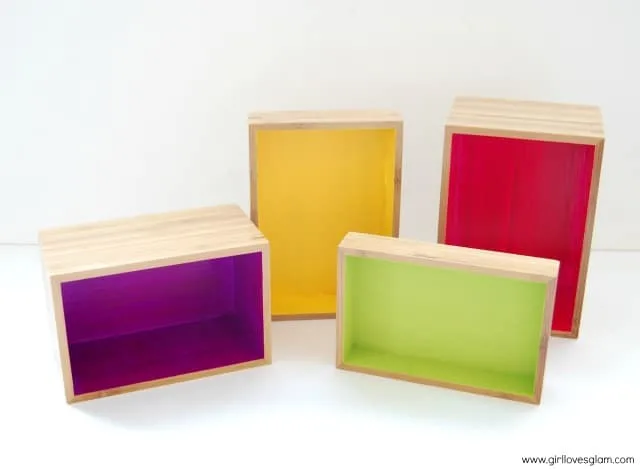
Take your neon paint and paint the insides of the boxes. These took quite a few coats of paint. Then take the Command Strips and stick them to the back.
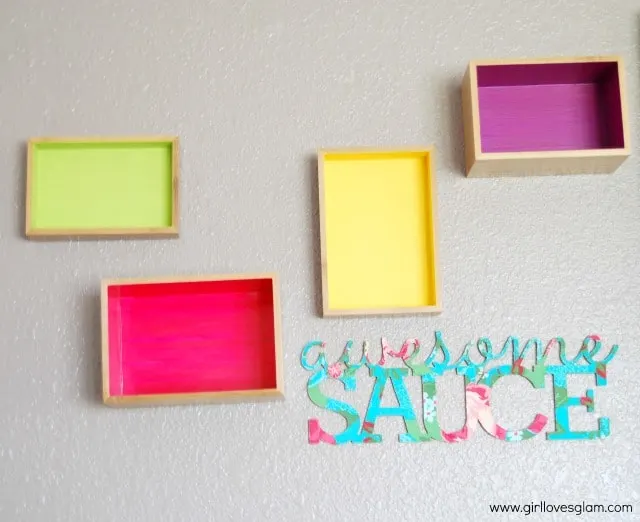
Stick it to your wall in whatever order you want them to be in! Even better? Add a cute Salty Bison sign next to them. Amazing, right?
Now for the last one… The car quiet game!
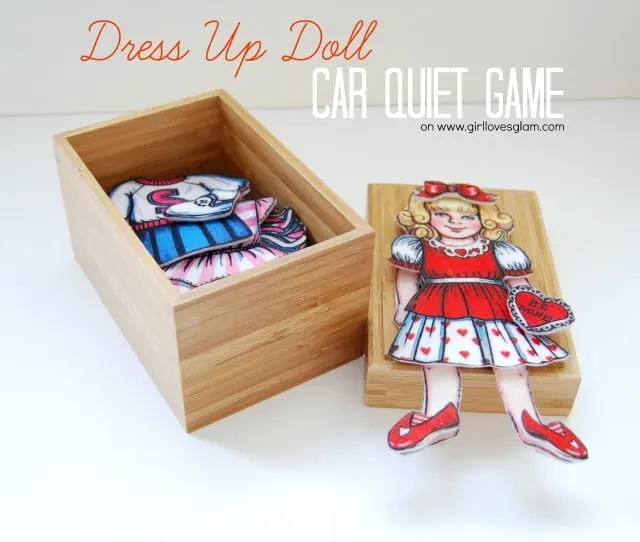
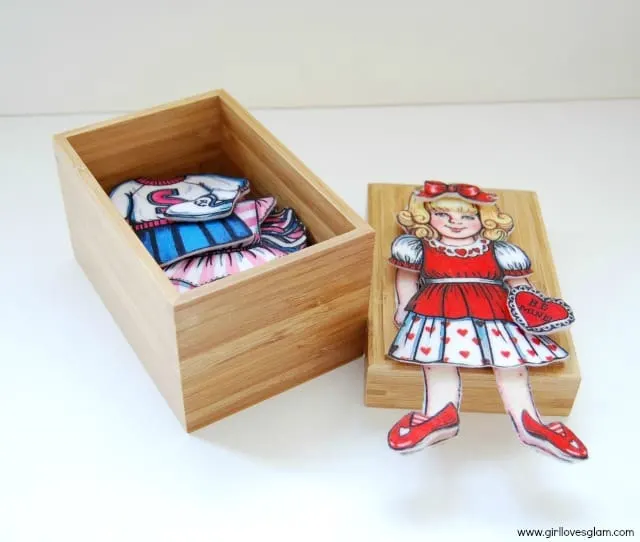
I have been on the hunt for a fun quiet game to entertain my 19 month old on our long car rides. I made a dress up doll for her to play with to keep her nice and entertained! Here is what you need to make your own…
*Ikea Dragan box
*Velcro
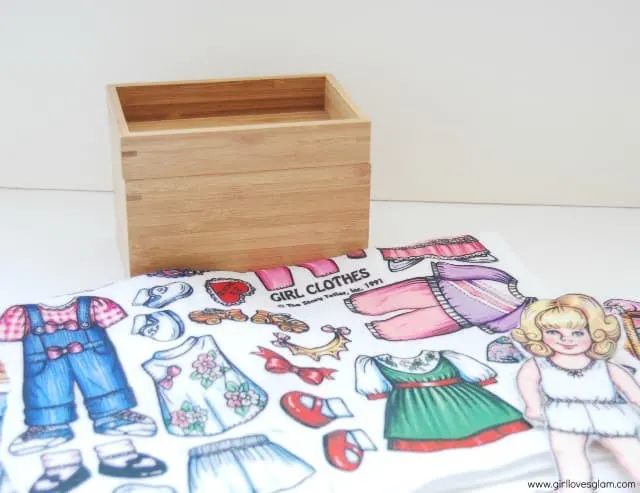
*Dress up doll- I got my dress up doll kit at a yard sale, but you could buy your own or even use pictures of your family members and cut the heads, bodies, and legs apart that you can mix and match.
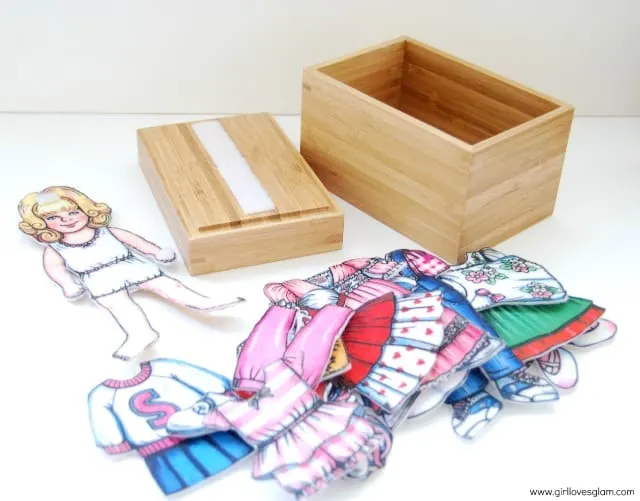
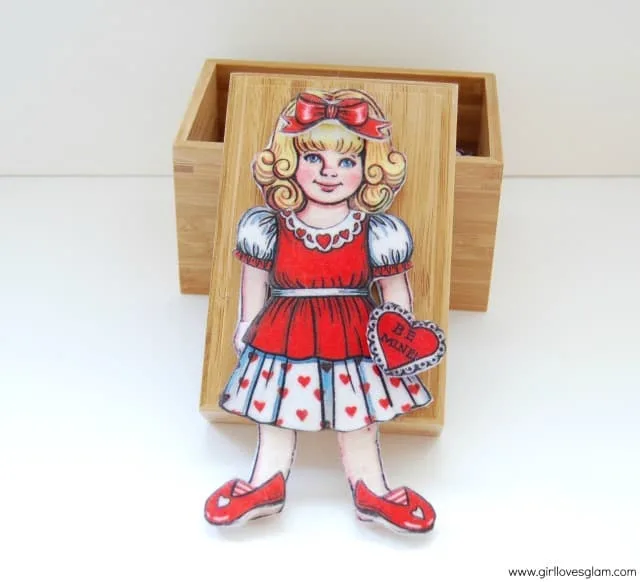
Cut apart your dress up doll and add Velcro to each of your pieces. Put a piece of Velcro on the bottom of the lid and one on the back of the doll to stick onto the Velcro. This is so that you can take the doll off and play with it anywhere!
Now it is the fun part. Dress the doll up however you want!
The really awesome part? You store all of the dress up clothes in the box and close the top of it to store in your car for the days your kids are in need of some entertainment!
Now you can see all of the great projects from the other bloggers too! Here is our Studio 5 segment…

Sarah B
Friday 29th of January 2016
Is there a brand on that doll set? I had it as a kid and I'm trying to find a set for my daughter.
McKenzie
Monday 1st of February 2016
I actually got it at a yard sale! It was mostly all cut out when I bought it and it didn't have a brand on it. Sorry!
Krista @ the happy housie
Friday 9th of August 2013
Such fun ideas!
Yvonne @ TriedandTasty
Friday 9th of August 2013
Ohmygosh - I LOVE the first suggestion!!! I was just at IKEA last Saturday - too bad I didn't see this beforehand, I totally would have picked up one of those boxes to make the jewelry box. I love it!!
Lindsay @Artsy-Fartsy Mama
Friday 9th of August 2013
Great ideas!! I need to head to IKEA asap :)
Jonie @ Just Between Friends
Friday 9th of August 2013
What cute ideas! We must be on the same wavelength for doing jewelry organization:) Studio 5 was smart to ask you to come on because you did a GREAT job!