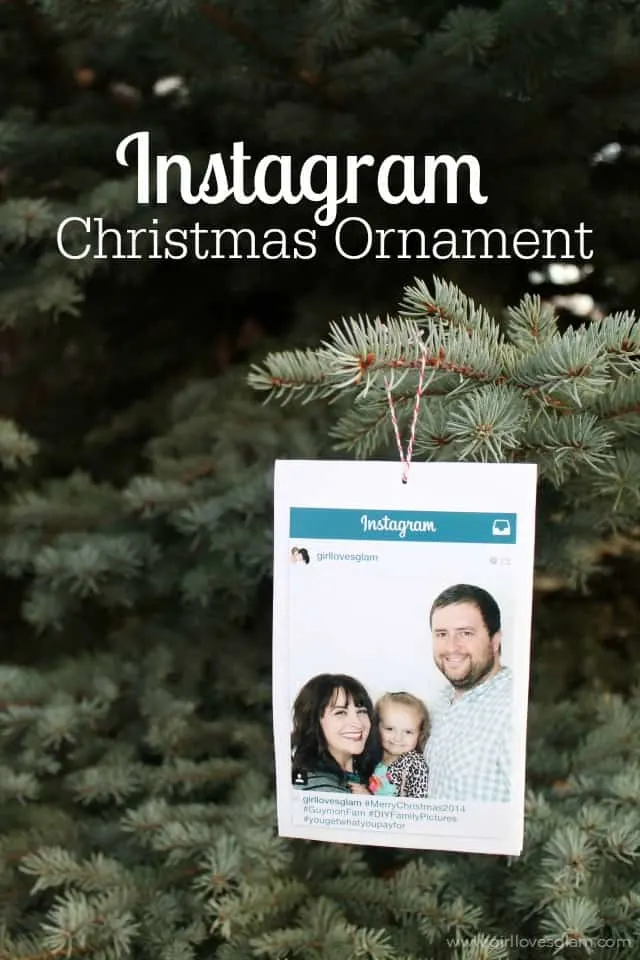
It is probably no surprise to you that I am a huge fan of Instagram. It quickly became my favorite form of social media and is still my very favorite! I love the gorgeous photos people put on their feed. I also enjoy finding new, interesting people to follow as well. I am also a sucker of hashtags when it comes to Instagram. I use them in their proper form so that my photos will be categorized, but I am also a fan of the “tongue in cheek” hashtags that happen within the Instagram culture. That’s why I knew that I needed an Instagram Christmas ornament for my tree this year!
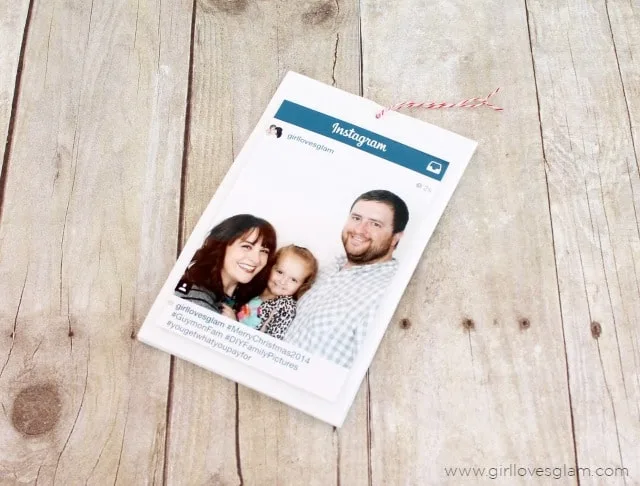
This ornament turned out just the way I imagined it! It took me about 15 minutes to make it and it costs less than $2! These would be perfect gifts to make for your friends and family.
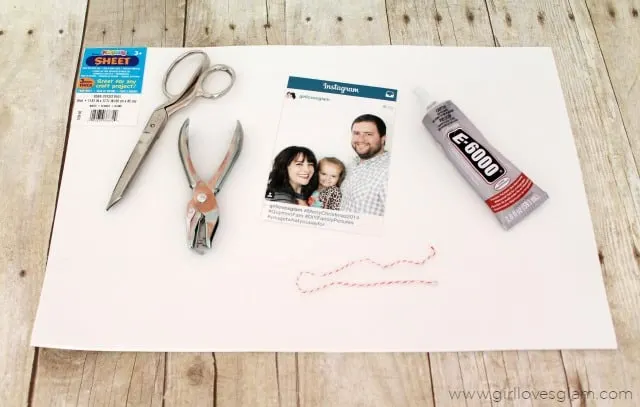
Here’s what you need…
White sheet of craft foam
Printed photo of an Instagram post (I will go in further detail about this in the instructions)
E6000 Glue
String or twine
Hole Punch
Scissors
The first thing you need to do is find the photo you want to include in your ornament and post it on Instagram. Post it with whatever captions you want to show on your ornament. I thought it would be funny just to have hashtags on mine so I posted mine to look that way. As soon as you post it, go to your timeline and take a screenshot of your phone with the photo pulled up. I really wanted to have the Instagram logo on top, but that only shows up if the photo is the top one on your timeline so I had to hurry and take the screenshot before someone else posted a photo that would bump mine to the second spot.
After you take the screenshot, get your photo printed off as a 4×6 photo. Make sure to check to see how it is cropped or else it will take off part of the Instagram logo. I had to manually crop it on the Walgreens website once I chose what size of photo I wanted. It cut out the bottom bar and the top part of my screenshot with all of my phone’s info on it. I sent it to one hour photo, but they had it done in about 20 minutes! It was around 30 cents to get it printed.
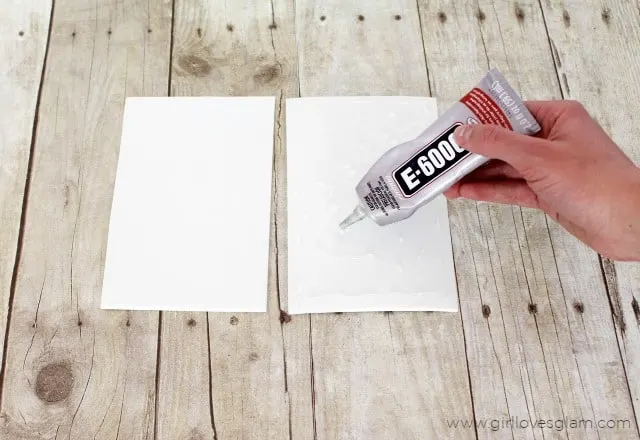
Cut the craft foam to be about 7×4.5 inches. I just placed my photo on the foam and decided what amount of white space I wanted around it and went with that. Keep in mind that you will need to have a hole punched above the photo so plan enough space for that. Glue two pieces of foam that have been cut to that size together. This isn’t necessarily required, but I fell like it looks better when it is a little thicker.
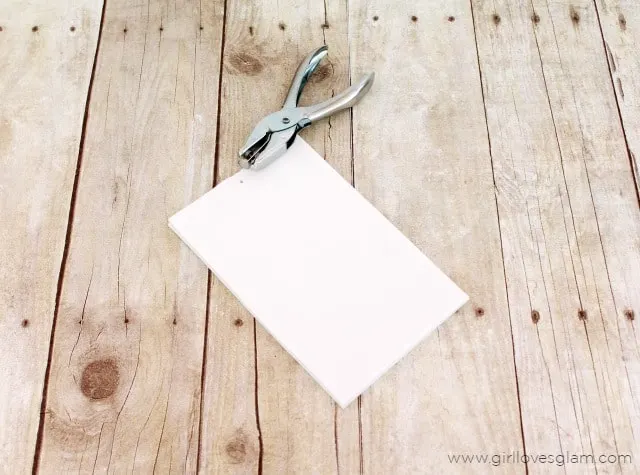
Punch a hole through your rectangles.
Use the E6000 glue again to glue the photo to the foam. This glue is safe on photos, so don’t worry about it ruining your picture. Tie the string through the hole and place your ornament in a book or under something heavy until it has dried completely or else it will start to curve.
Hang it in your tree and enjoy it for years to come!
I’m excited to be a part of Bake, Craft, Sew today! I’m guest posting over at Thirty Handmade Days with a craft post. Check out my idea:
To make things just a little sweeter, you can enter to win this awesome giveaway from Cricut!

- 1 Cricut Explore $399 MSRP
- (1) $250 Holiday Crafting Bundle!
If you are having trouble viewing the widget, please be patient as it loads. Thanks!
Make sure to follow the entire series because you can get a new entry each day by visiting the featured blogger! And they are sharing some awesome ideas for the holidays. A special thanks to Cricut for encouraging a creative holiday season with this cool giveaway.


Puffy Paint Snowman Kid Craft - Girl Loves Glam
Monday 15th of December 2014
[…] […]
Marni @ Haberdashery Fun
Tuesday 2nd of December 2014
saw this on craft gawker. Super cute.
Crystal
Thursday 27th of November 2014
So cute, McKenzie!