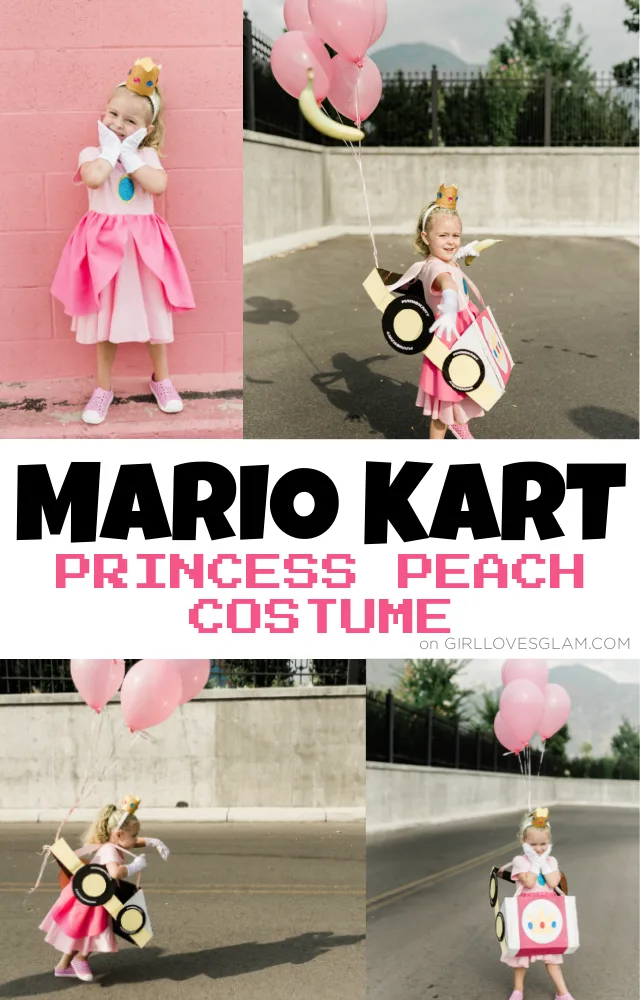
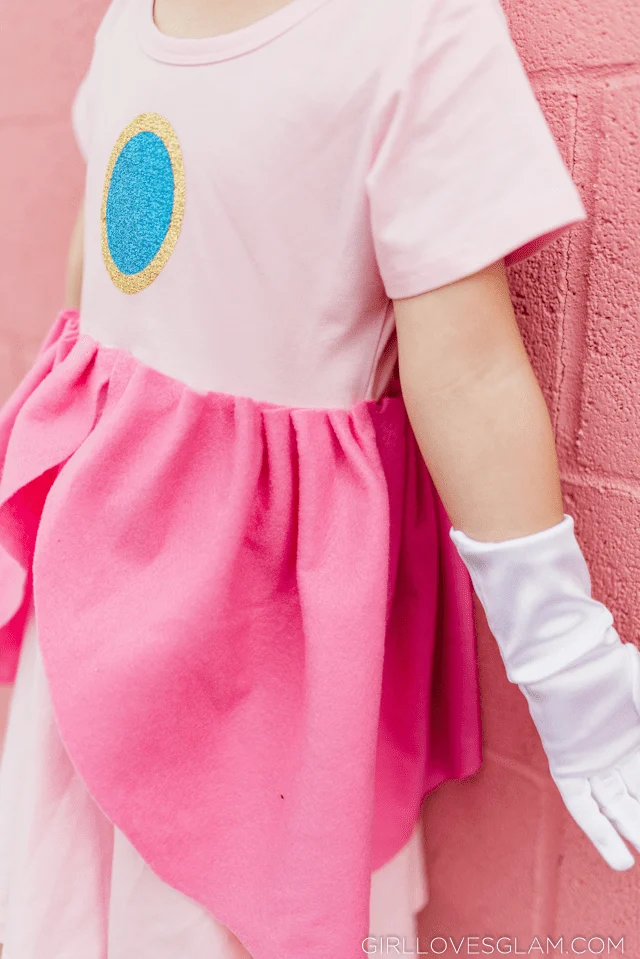
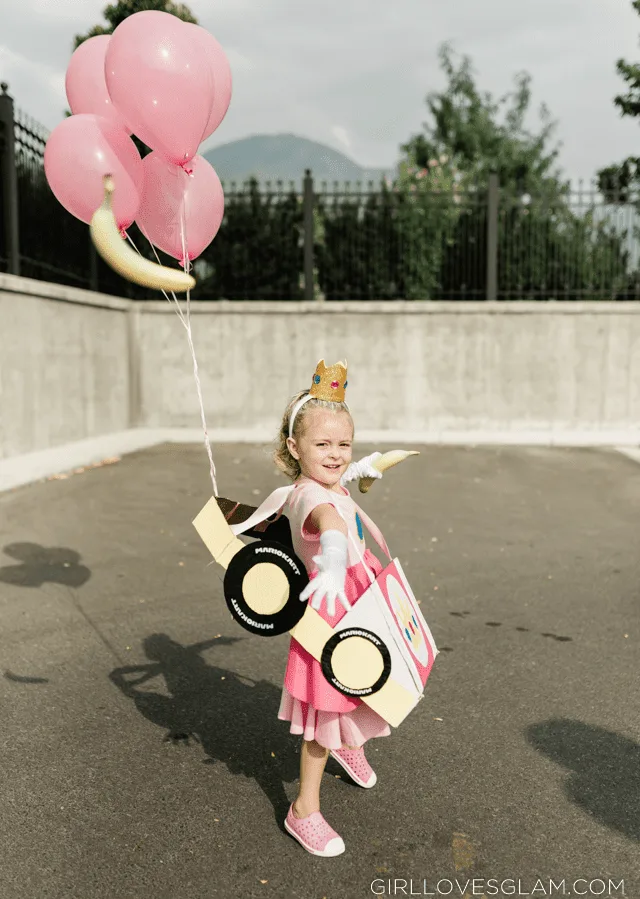
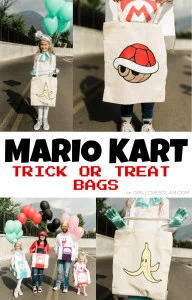
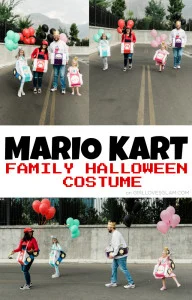
The world of Mario isn’t complete without a Princess Peach! When we chose Mario Kart Halloween costumes this year, my 3 year old was all on board with having a Princess Peach costume. The best part is that I was able to make her costume without any sewing!
Princess Peach Halloween Costume
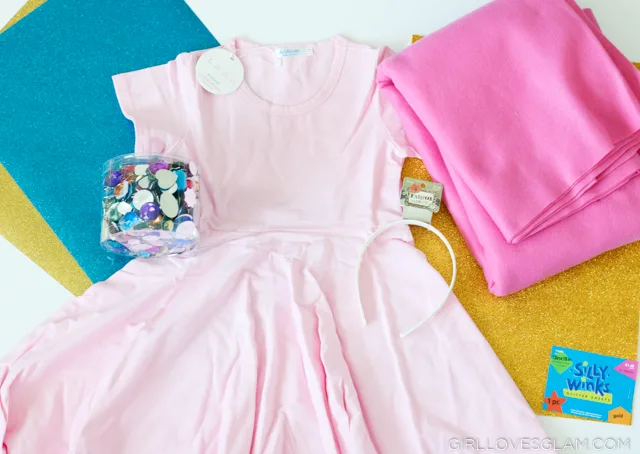
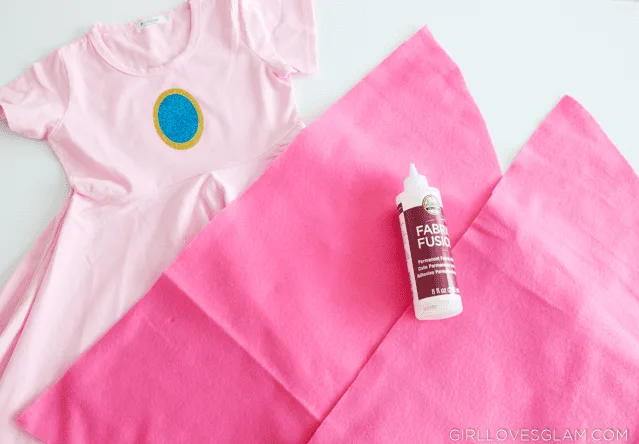
To make a Princess Peach costume, you need:
- Pink skater dress
- White gloves
- Pink flannel fabric (The amount will depend on how large of a costume you are making. You will need enough to wrap around the entire body, while puckering the fabric. I got a yard for my 3 year old.)
- Clear fabric glue
- Gold glitter craft foam sheet
- Craft jewels (I found mine at Hobby Lobby)
- Headband
- Gold glitter and blue glitter heat transfer vinyl (use code girlglam for 10% off)
- Weeding tool (use code girlglam for 10% off)
- Multi-Use paper (use code girlglam for 10% off)
- Silhouette Cameo (this isn’t required but it is really nice to have for this costume)
- Iron
- Hot glue gun
- Scissors
- Yellow hair spray (This is cheapest at Walmart, in the costume section)
How to Make a Princess Peach Costume
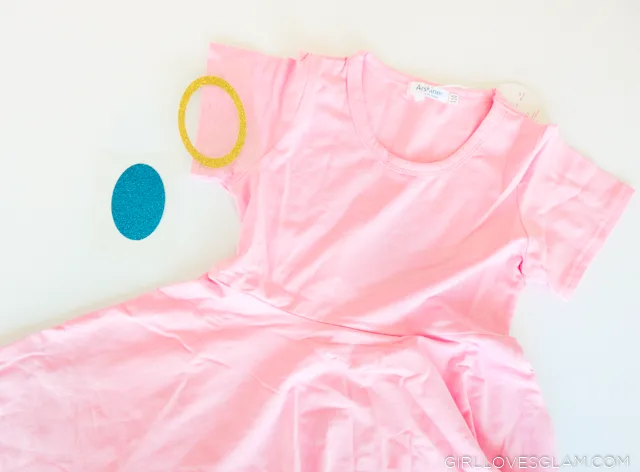
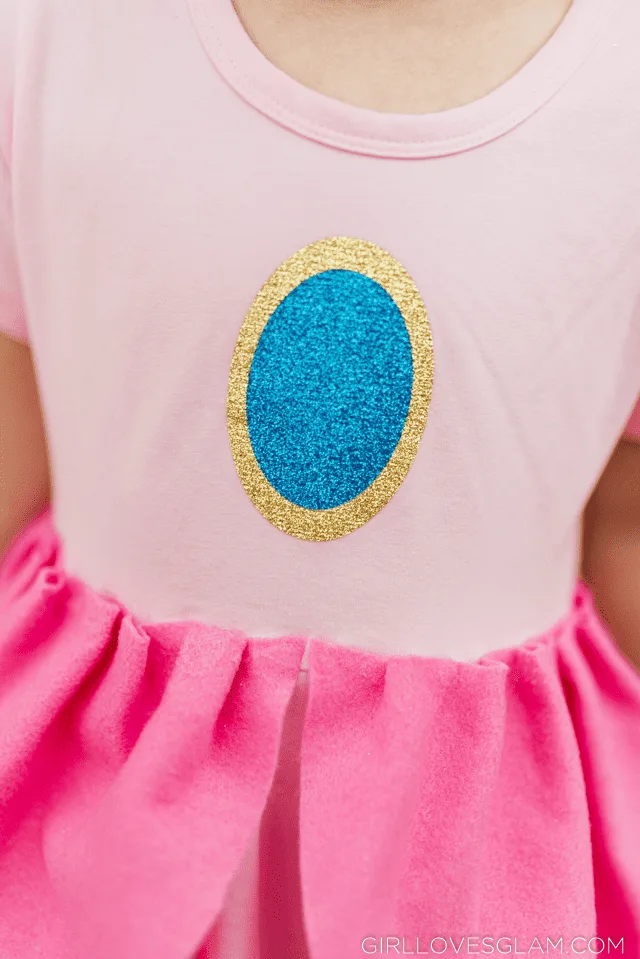
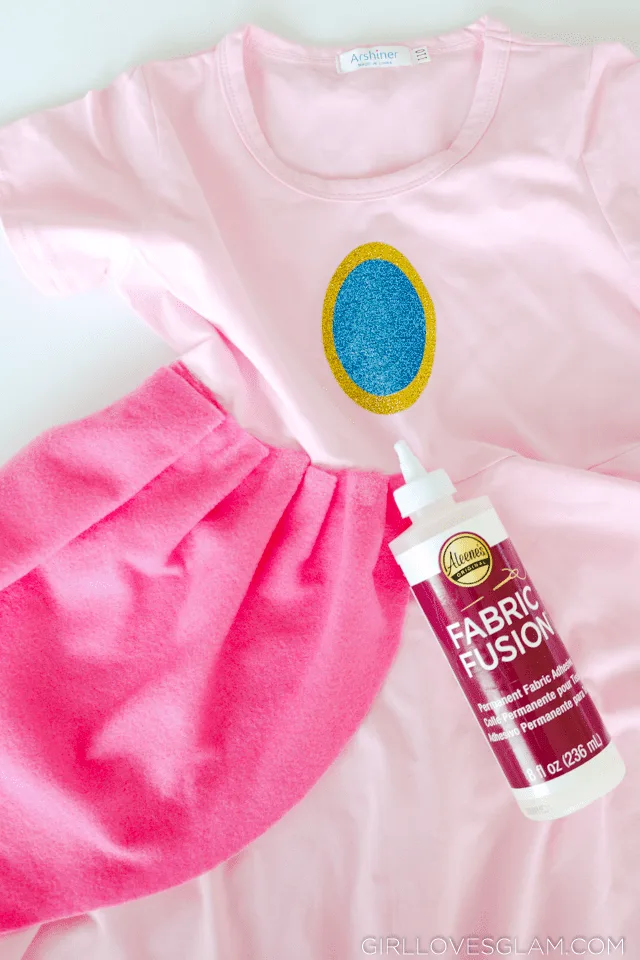
Start by cutting out an oval with the blue glitter vinyl. This will go on the top of the dress, so you want it to be a good size for that. For the gold frame around the blue glitter, I just created a slightly larger oval than the blue shape and had it cut out the size of the blue oval out of the middle of it with my Silhouette Cameo. If you are cutting it by hand, just make sure to cut out the center for the blue vinyl to fit inside. Glitter vinyl can’t be ironed on over other glitter vinyl. It sticks temporarily but it will peel off. It needs to be ironed on directly onto the fabric.
You can either start with ironing on the blue oval or the gold frame. Either works! Just iron it on, using a decent amount of pressure, for roughly 30 seconds. Pull off the protective plastic over the vinyl. Lay the second piece where it belongs and cover the entire project with the multi-use paper to prevent the vinyl from melting to the iron. Iron on the other piece onto your project the same way that you did with the first piece.
How to Create No Sew Ruffles
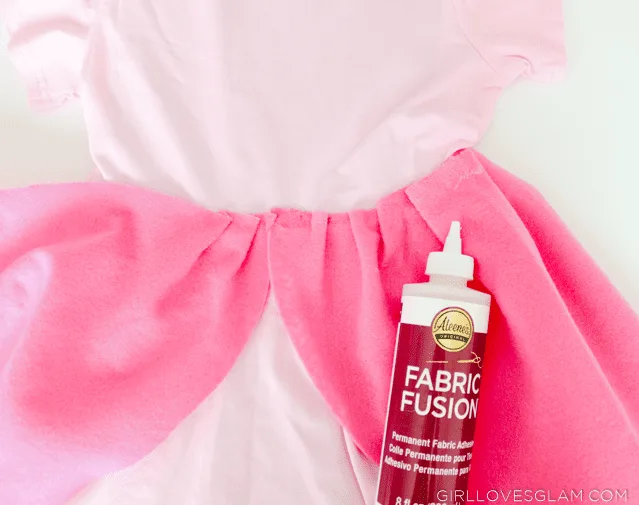
To create the Princess Peach ruffles, cut out two half circles of the felt. You want it to be about 25% longer than what you actually need. You will be starting at the center of the front of the dress and working your way to the center of the back of the dress. Just measure how far that is and add on about 25% more to that number to know how long to cut. I just eyeballed the half circle and cut two pieces at the same time.
Next, put a piece of cardboard in the dress to keep the glue from seeping through the fabric onto the other side. Put glue down on the middle of the front of the dress. Put the edge of the half circle where you want it to start. Then, put more fabric glue under it and create a fold in the fabric. put more glue in the fold and under where it will fold. Continue creating ruffles, working in about 3 inch sections at a time. Place something heavy on top of the ruffles to keep them laying down and let them dry before moving onto the next section.
This part of the costume is the most time consuming but the nice thing is that you can work on other parts of the costume while you wait for it to dry. I would work on a few sections each day and let it be a project I worked on for a few days. Once you get one side of the ruffles done, start on your next section right next to where you ended. Work your way around to the other side of the dress, the same way you did it with the first one.
How to make a crown headband
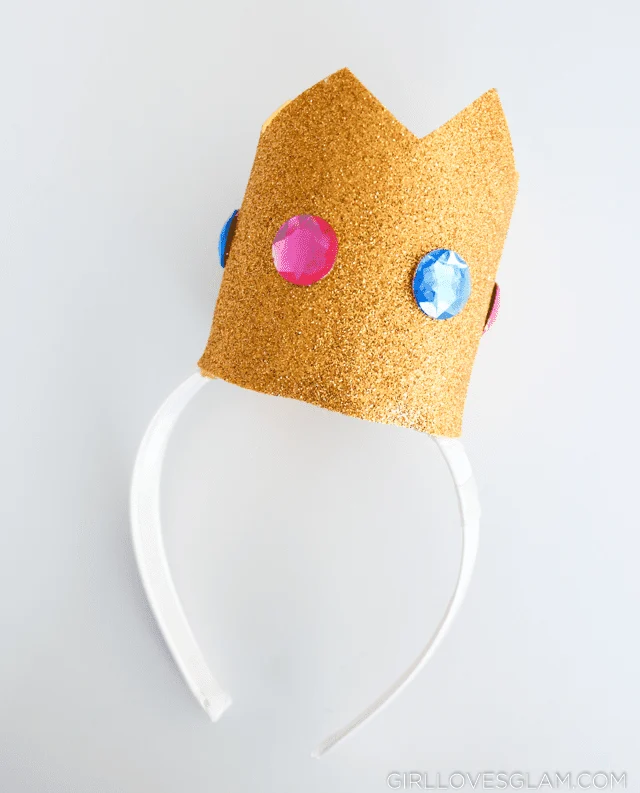
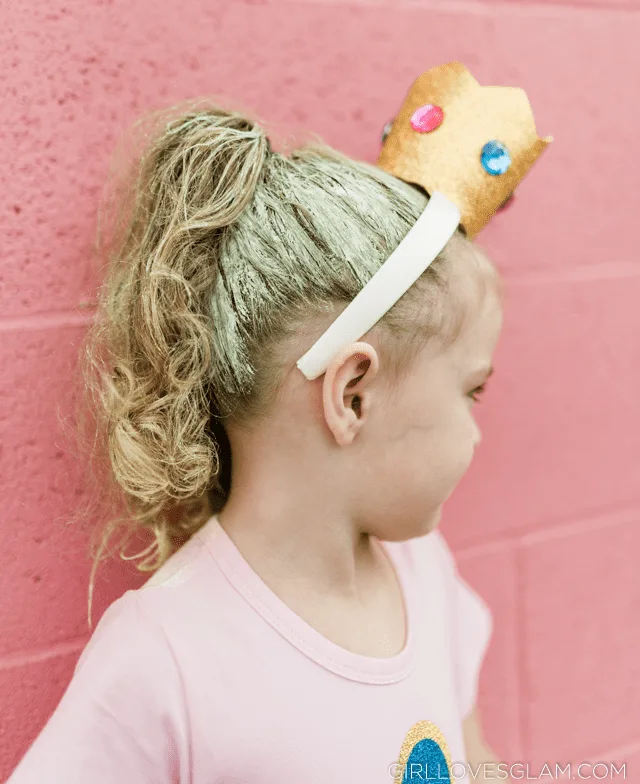
The nice thing about making a crown on a headband is that you are able to make the crown a little more dramatic, while also letting it stay on the head a lot easier!
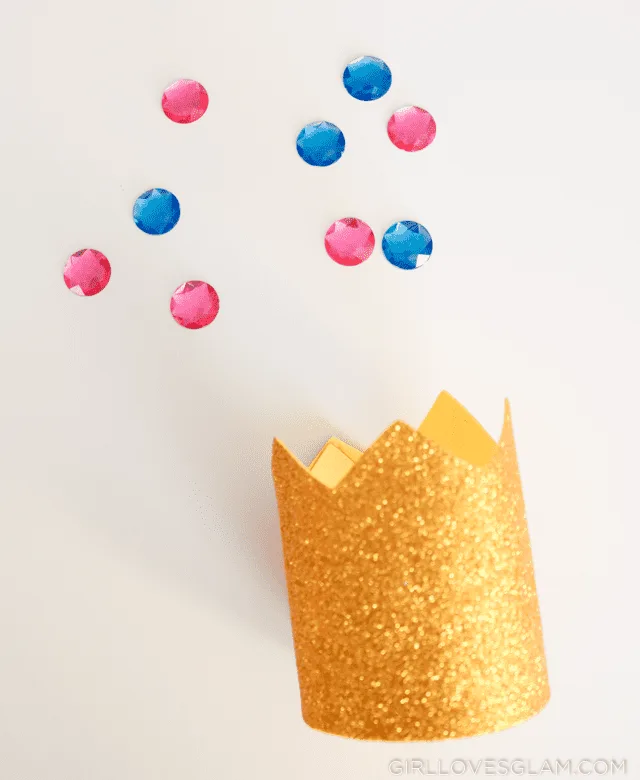
To start, cut your gold crafting foam to the length that you want it to be. Once you get it to the size you want, glue the two ends together. Cut the top of the craft foam into a zigzag pattern.
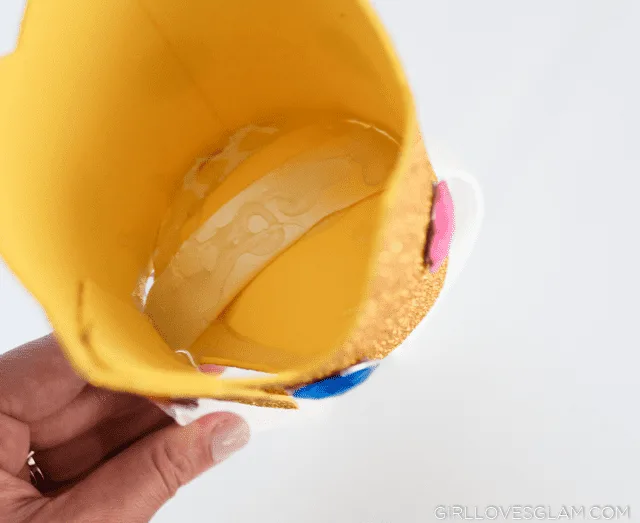
Now glue the jewels to the side of the crown. Cut out a circle that is the same size as the bottom of the crown and glue it under where you want your crown to be on the headband. Glue the crown on top of the circle to secure it all in place.
Mario Kart Peach Costume
To accessorize, wear the fancy white gloves and spray Princess Peach’s hair the perfect shade of yellow that she is known for! The yellow hairspray was actually sold out of everywhere we looked, so we ended up using a temporary color gel from Good Dye Young. It is quite a bit more expensive than a yellow hairspray and it seemed to have more fall out than hairspray does, so I wouldn’t really recommend it. It did look really good, though!
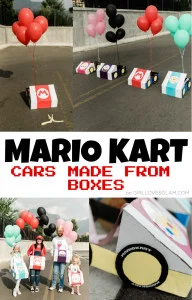
Once you have your Princess Peach all accessorized, she will need a car to race in Mario Kart! Go to this post to learn how to make Mario Kart cars out of cardboard boxes!
Mario Kart Halloween Theme
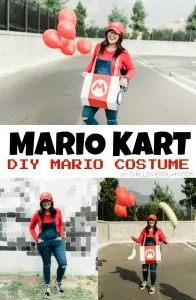
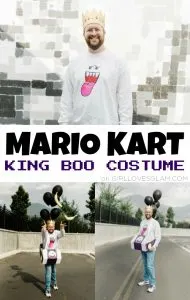
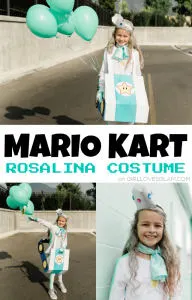
Don’t forget to go to these other Mario Kart Halloween costume posts as well to learn how to make a Mario, King Boo, and Rosalina costume to go along with your Princess Peach!
And for even more family Halloween costume themes, check out all of our other costume ideas!

