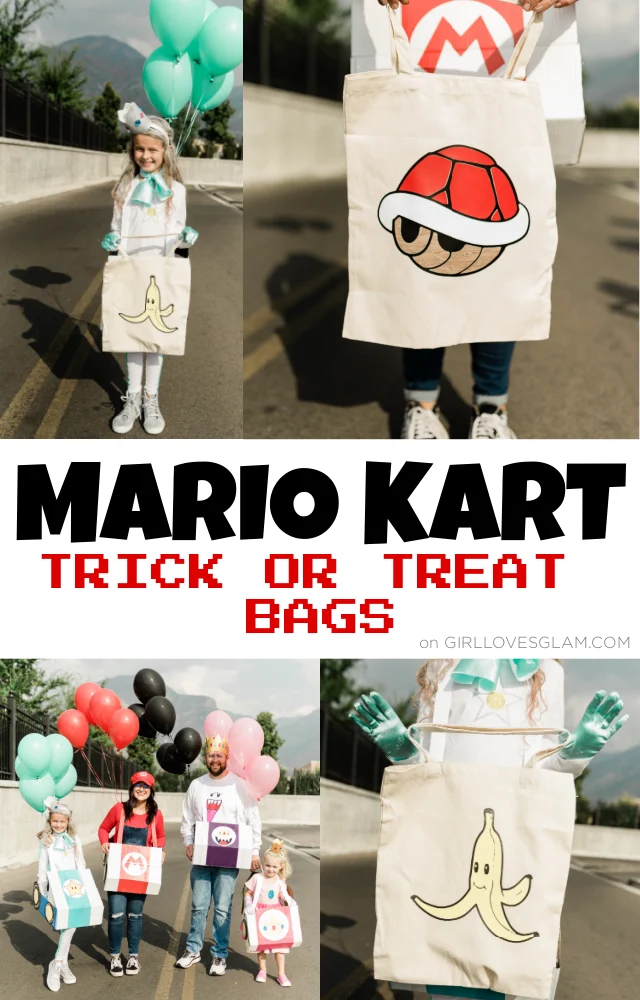
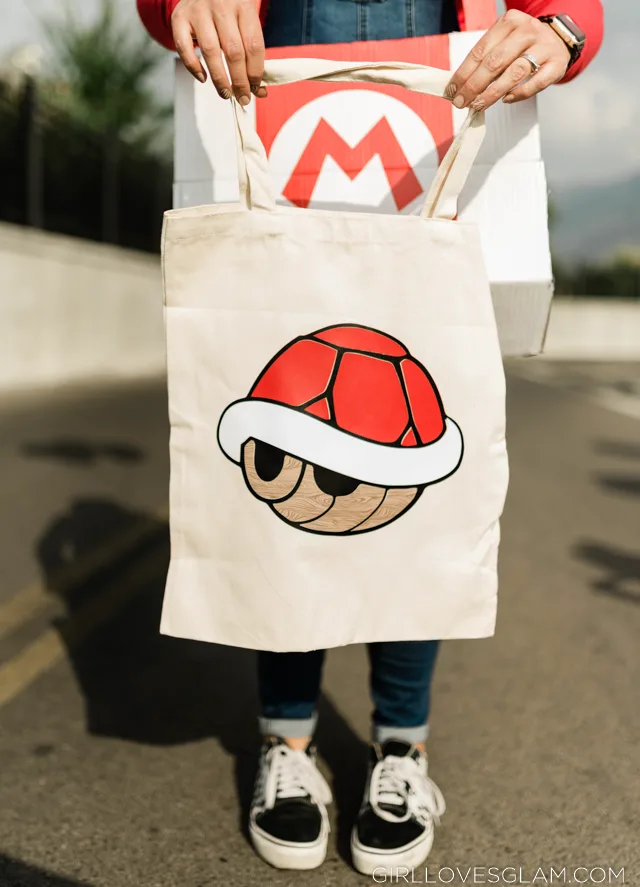
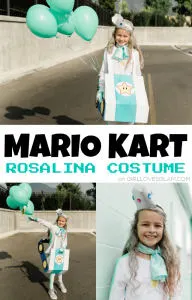
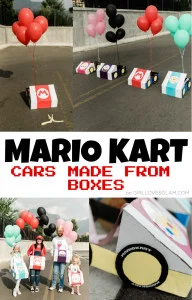
We aren’t entirely sure if we will be trick or treating this year or if we will be doing a small party with our family but either way, there will be candy involved. We couldn’t let our Mario Kart Halloween costumes go without trick or treat bags that coordinate. Luckily, these Mario Kart trick or treat bags were easy to whip up and they are the perfect accessories for our theme… weapons!
Mario Kart Trick or Treat Bag Supplies
- Canvas tote bags
- SVG images from Etsy
- Black, Red, Yellow, Brown and White Heat Transfer Vinyl (use code girlglam for 10% off)
- Weeding Tool (use code girlglam for 10% off)
- Multi-Use Paper (use code girlglam for 10% off)
- Silhouette Cameo (or other electronic craft cutting machine)
- Iron
How to Make Mario Kart Treat Bags
I failed to take step by step photos of making the treat bags but the good news is that they are easy enough to create that you really don’t need photos of the process! First, you will need to measure the space on your tote that you will have the image on.
Open the SVG file of the image you are using in the Silhouette Studio software and make it the size that you will need it. Cut out each layer of vinyl with the color that you want it to be. Don’t forget that when you are cutting on heat transfer vinyl, don’t forget to mirror the image before you cut it out, or else it will be backwards!
As you iron the vinyl onto the bag, press down firmly with the iron and let the iron do it’s work for about 30 seconds. Peel back the plastic layer after you are done ironing on each color. Before you iron on the next colors, be sure to cover the entire image with multi-use paper. This will protect the other vinyl from melting onto your iron.
Now, you have the perfect Halloween trick or treat bags to go with your Mario Kart Halloween theme!
If you missed each of our family’s individual Mario Kart costumes, you can find them here.

