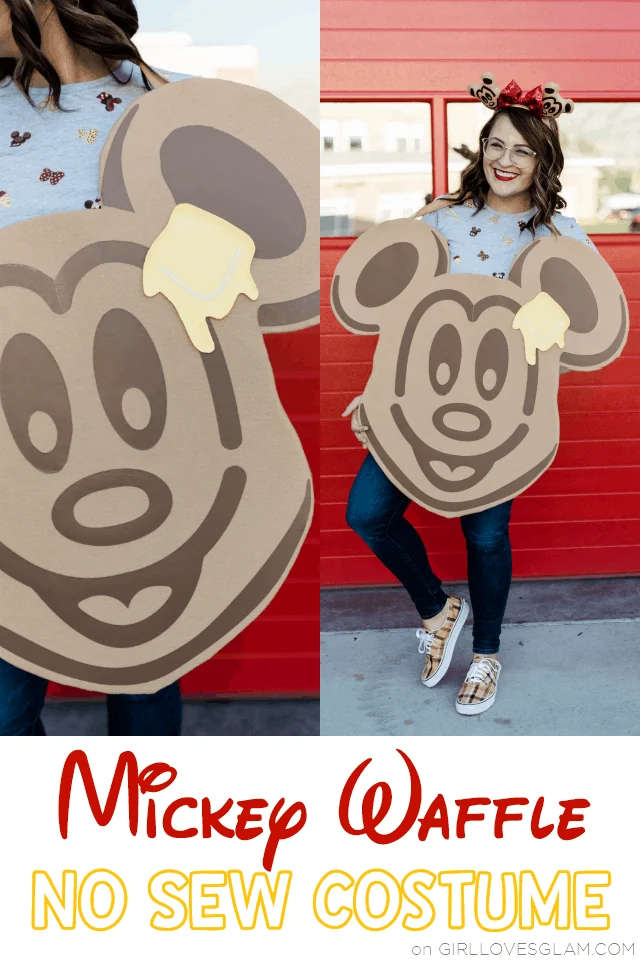
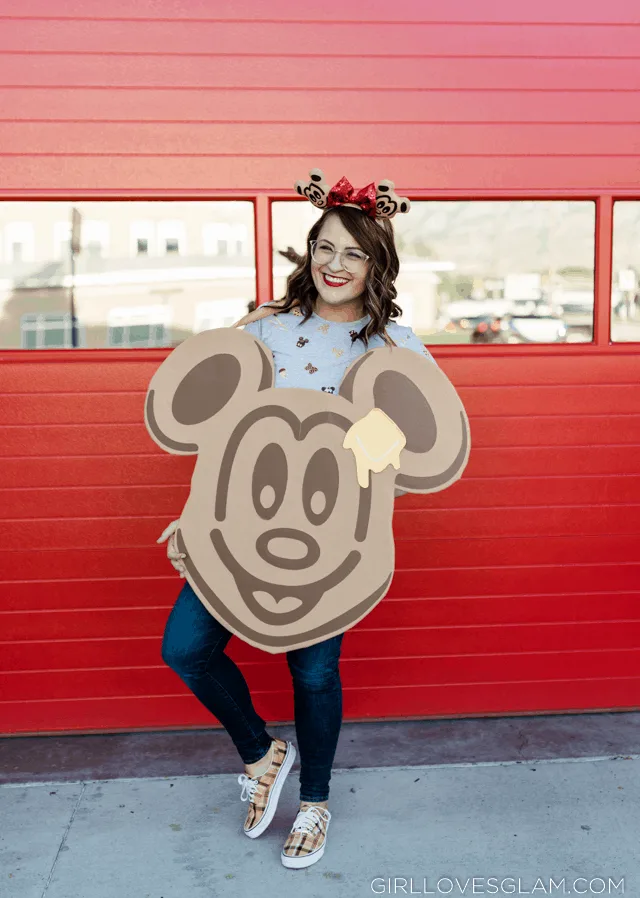
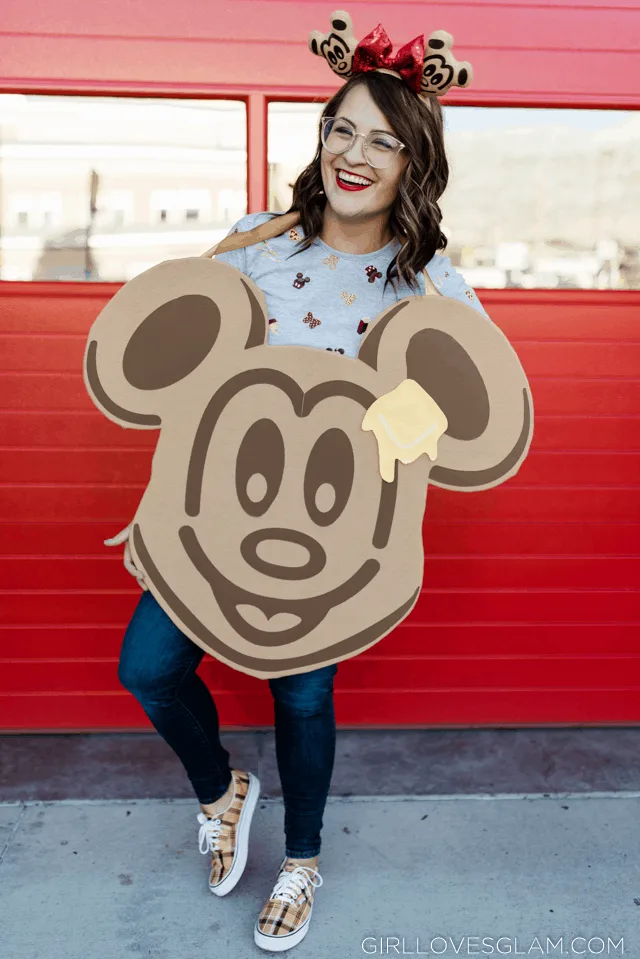
My absolute favorite food at Disneyland are Mickey waffles! I have to plan a character dining experience at the Plaza Inn each time we visit, just so I can get my hands on more of those delicious waffles. They are the greatest! I even have a Mickey waffle ornament and now a shirt with Mickey waffles on it. The obsession continues as I now have a Mickey Waffle costume I get to wear this Halloween!
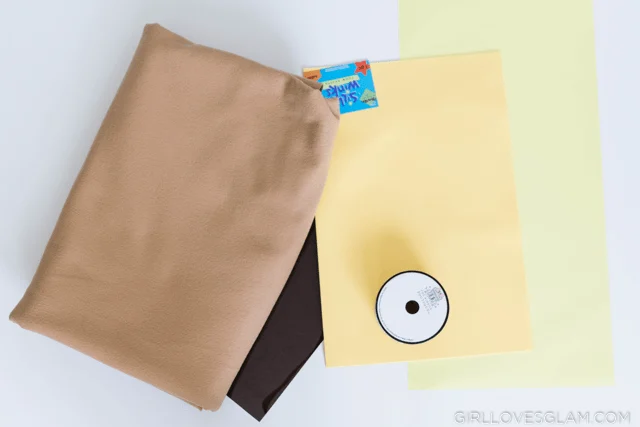
I love my Mickey waffle costume so much! It is the best because I can wear whatever I want under the costume and easily be able to slip the costume on and off as I go to Halloween functions. I think the best part about this Mickey waffle costume is that it doesn’t require any sewing! To make this costume, I used…
Mickey Waffle Costume Supplies
- Extra large foam core board (this can be found in the framing dept of Hobby Lobby)
- Light brown felt (I bought 2 yards)
- Brown heat transfer vinyl
- Yellow glitter heat transfer vinyl
- Multi-use paper
- Light brown ribbon
- Yellow craft foam
- Hot glue
- Gorilla Heavy Duty Spray Adhesive
- Silhouette Cameo Use code GLAM for discount!
- Mickey waffle SVG image from Etsy (The shop is called 99cSVG)
- Xacto knife
- Mickey Waffle ears from Etsy (You could totally make these, but remember that I hate sewing)
How to Print Photo Onto Multiple Pages
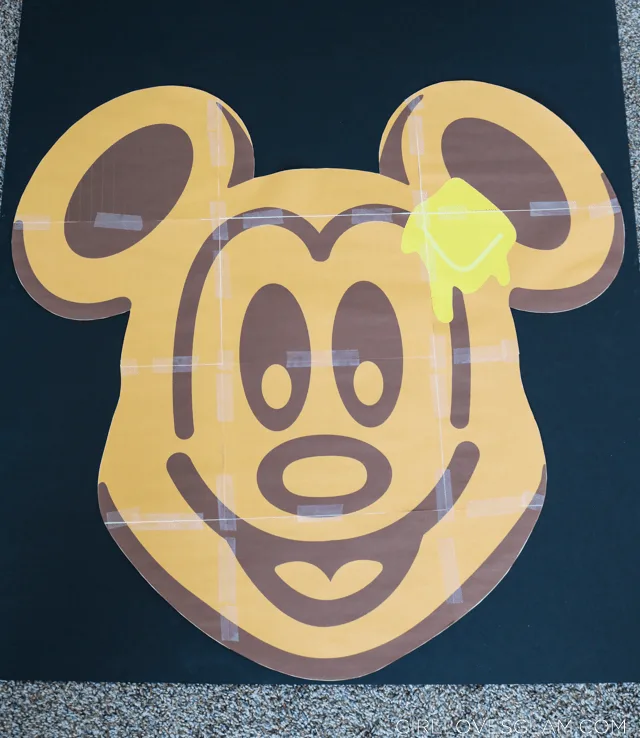
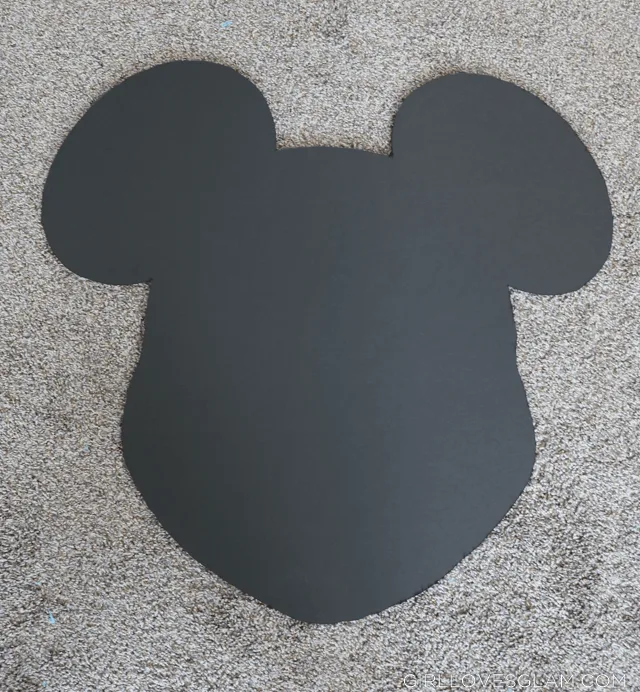
First, you need to print out the Mickey waffle image to be the same size that you will want the costume to be. I did this in Photoshop but it can be done in multiple programs. If you don’t have Photoshop, you will need to Google how to do it in the Paint program. To do it in Photoshop, you will open the image in Photoshop and use the slice tool. A screen will pop up to ask how many slices you want to slice it into horizontally and vertically. I am such a visual person that I literally laid slices of paper down to decide how long and wide I needed the costume to be and then decided from there. Mine is 3×4 slices. Once you use the slice tool, go to file and choose the option to save for web devices and you can save it from there. It is now made up of several different images that you can print out. I opened each up and printed them out. After printing them, I cut each out and taped it all together.
After taping it all together, I carefully taped it to my giant piece of foam core board and used the Xacto knife to cut it all out.
How to Iron Vinyl Onto Foam Core Board
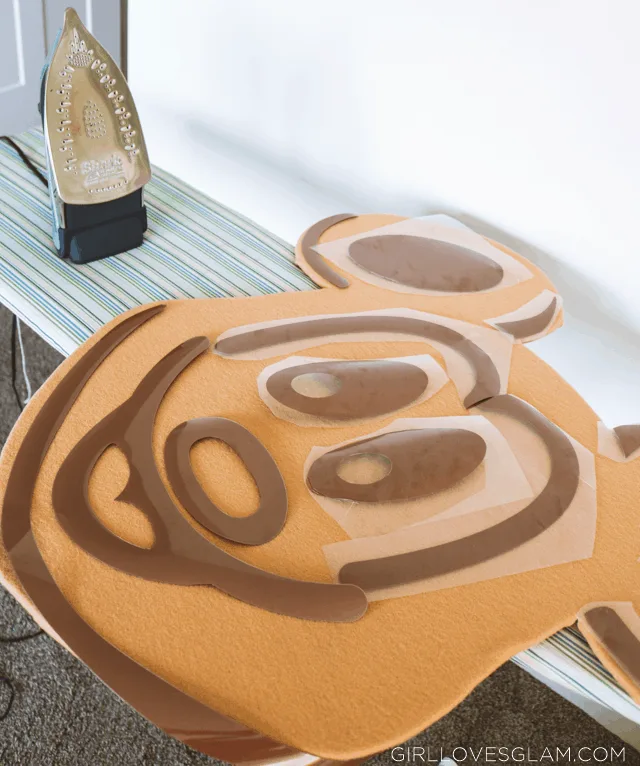
Next, lay out the piece of felt. Spray the front of the cutout with spray adhesive and lay it on the felt, with enough space around the edges that you can wrap the edges around. Work your way around the head, spraying the back with the spay adhesive and pulling the felt tightly around the head. Cut off the access felt as you go, this will make it much easier to do. As you get around the corners by the ears, you will need to cut right to that corner and carefully wrap the felt tightly around them. Let it dry completely.
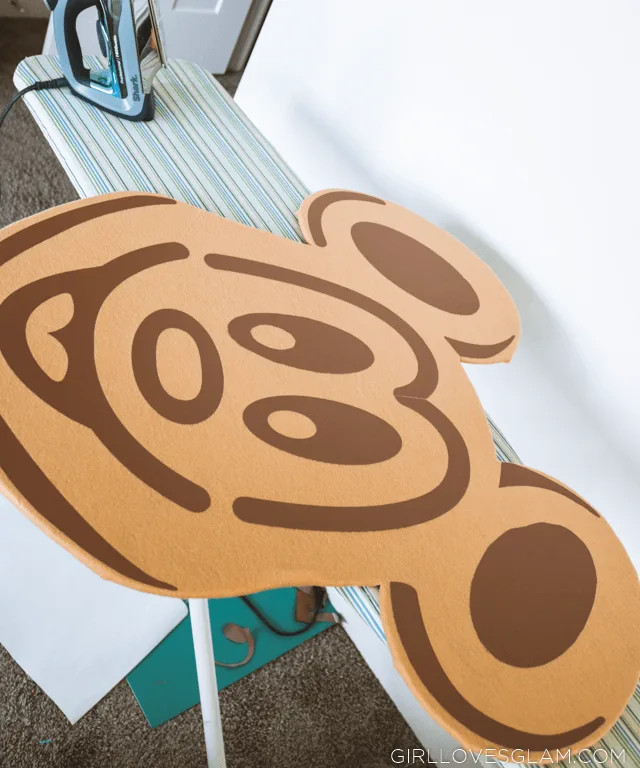
Open the SVG file in Silhouette Studio and blow up the image to be the same dimensions as your costume. Trace the image and cut out your waffle face pieces. For the eyebrows, I ended up having to slice the two sides in half and cut them separately because they wouldn’t fit on my vinyl, but everything else was able to fit okay. You will need to just fit as many pieces as you can on each piece of vinyl that you have. I ended up using 3 sheets of 12×24 vinyl in order to fit all of my pieces. That gave me very little room for mistakes, so you may want to get an extra piece for comfort! After you have cut out all of your pieces, lay them on the Mickey waffle to determine where each piece will go.
Start with one piece of vinyl and take everything else off of your waffle. Lay the multi-use paper over the vinyl and iron it on for about 30 seconds. Remove the plastic backing while it is still hot. If it starts to peel up, lay the backing back down and iron it more. Move from one piece to the other, but don’t let the iron touch the vinyl or the felt, without the multi-use paper over it.
Using Iron On Vinyl On Craft Foam
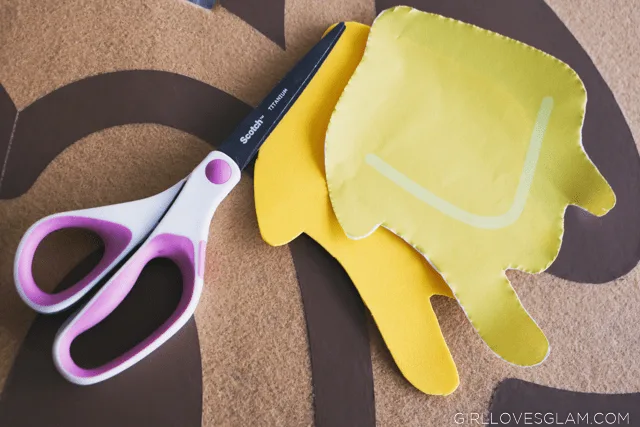
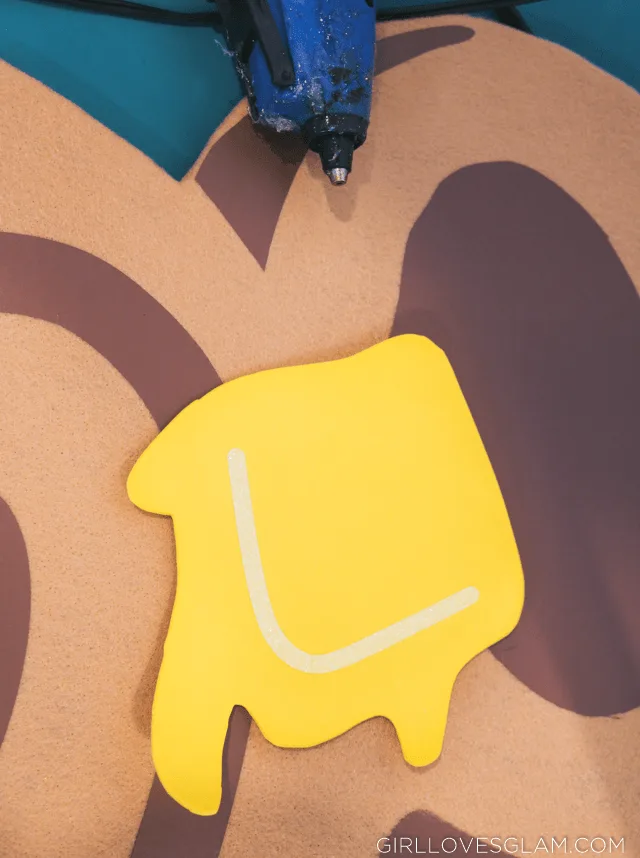
To make the butter for the waffle, cut out the butter from the giant paper cutout and cut that same shape out of the yellow craft foam.
Cut the butter corner piece out with the yellow glitter heat transfer vinyl. Lay it on top of the craft foam and place the multi-use paper over it. You don’t want the iron to be super hot but iron the corner piece on. Where it is such a tiny piece being ironed on, you can get away with ironing onto the craft foam. The craft foam will start to curl up a little bit, but you can also lay it under a heavy object while it cools down. I also like that it curls a little to add some slight dimension.
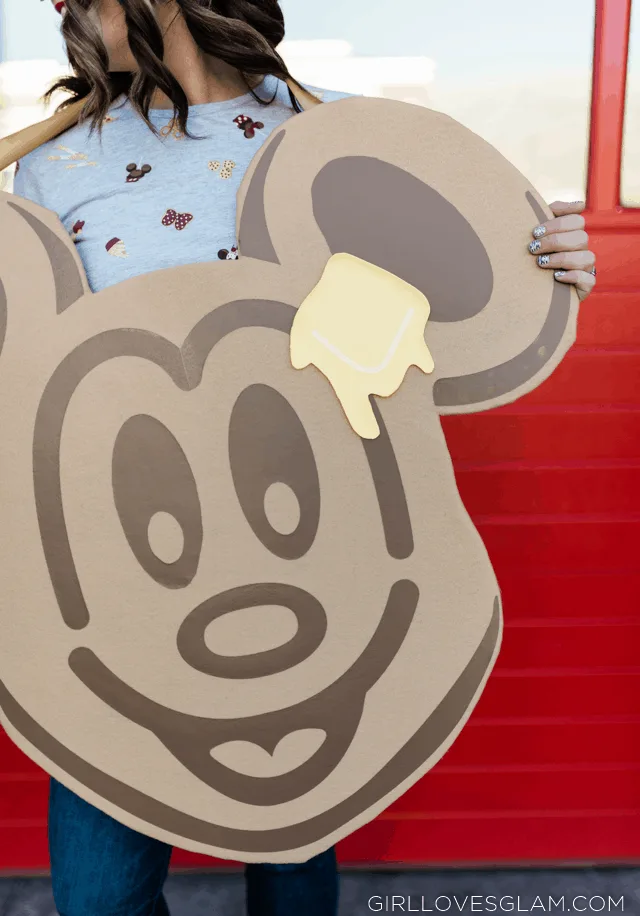
Hot glue the butter onto the Mickey Waffle and the front of your costume is complete!
How to Make a Mickey Waffle Costume
Next, you need to measure how far it is from your shoulders and cut a piece of ribbon out that size and hot glue it to the tops of the ears. Cut out two pieces of ribbon that can go around your body and be able to tie in a bow. Glue those two pieces to the sides of the waffle.
Cut a piece of felt close to the size of the entire waffle and hot glue it to the back of the waffle. This will help reinforce the ribbons and will make it look more finished overall.
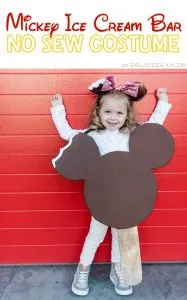
To wear it, just put your head through the top ribbon and tie it around the back, like an apron. So easy! It may be my favorite Halloween costume that I have ever worn! This is totally a costume that you can make in an afternoon and it pairs nicely with our Dole Whip costume and Mickey Ice Cream Bar costume! There is another Disney Treats costume coming tomorrow! Any guesses what it might be?

