Every year of our marriage, I have wanted to dress in theme. We come up with funny ideas, even think of ones we would actually do, then realize that we most likely won’t be doing anything on Halloween that would allow us to really dress up. Needless to say, it never happened. Well guess what?! It is happening this year! Harper is an adorable little owl when her parents aren’t dressed up, but when they are….. She’s HEDWIG! I am so excited about it! After looking for a costume I noticed a few things. One, Hedwig costumes are lame, and ugly. Two, baby owl costumes are really colorful. And three, costumes in general are really expensive. I had most of the things I needed to make Harper’s costume, so I only ended up spending about $5.
Here’s what you’ll need…
*Warm and Natural batting. The amount of this varies on the size of costume you are making. For mine, I used close to 2 packages of the craft size that measures 34×45 inches. I found mine at JoAnn’s. (Tip: Use your 40% off coupons or watch for these to go on sale)
*Glue Gun
*Scissors
*Feathers. These are optional, but really add a lot to the costume. I had some ugly ones I wanted to use up.
*Measuring Tape
*Bowl, lid, or something similar to measure your baby’s head.
*Marker
Cut your material to the size you want your poncho to be. I wanted my poncho to be a square, so I chose a size I thought would be good for Harper, and cut the material into a square. Mine is 26.5×26.5 inches.
Put a bowl or dish on your baby’s head to measure how big to make the hole for the poncho. This may be the best part of the tutorial. She made some pretty great faces with that strange thing on her head. (P.S. Mine ended up being too big, so don’t go off of my picture for reference)
Put the bowl in the center of the material. Trace a circle around it and cut it out.
Try the poncho on your baby. If you did what I did, you can insert swear words here. I cut the hole a little too big. Don’t worry! There is a solution to this! If you cut your circle out just right, skip the next step.
If you cut your hole too large, just fold over the inner circle a little until it is the size you need it to be. Glue the material down onto itself. It will all be covered up by features later on.
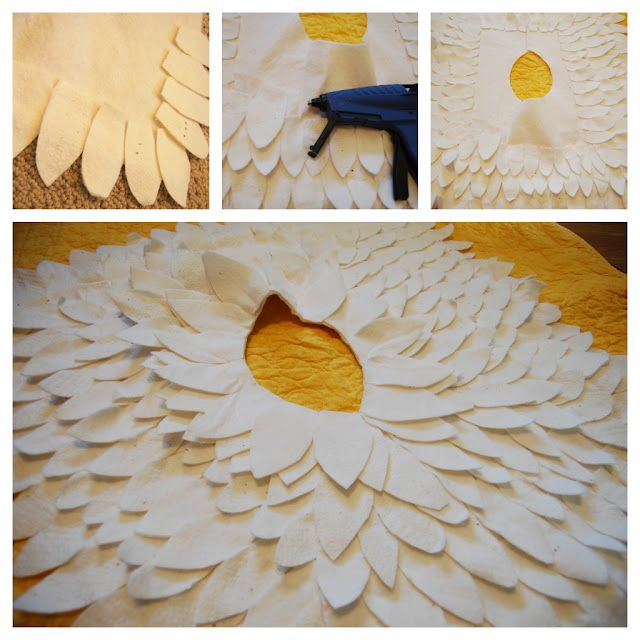
Speaking of feathers, now is when you get to cut out the feathers. My feathers range between 3-5 inches long and vary in width too. I took the other material that I had and folded it over twice so that I had 4 layers. I cut 4 feathers at a time that way. Cut them in a feather like shape. They don’t need to be perfect, you just need quite a few of them. I cut nearly an entire bag of Warm and Natural just for the feathers. Sit down and watch a good TV show, and this seems to take no time at all when you are cutting 4 at a time.
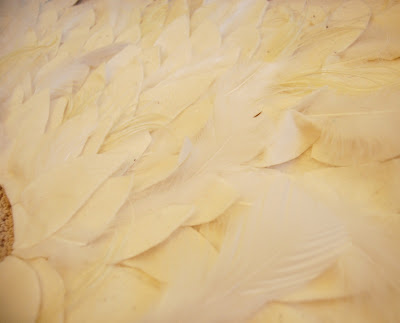
Now, let the gluing party begin! Starting from a bottom corner, put some hot glue on the material in a zigzag pattern. I did about 4-6 inches at a time. Place your feathers on top of the glue and press down. Don’t worry about overlapping them side to side, there are enough feathers that lay on top of it that you won’t notice. Continue doing this layer by layer. When you go up a layer, put your glue about 3 inches above the top of the feathers in the line below. When you get to the neck hole, layer the feathers a few times and glue right to the edge of the hole.
Next, glue the real feathers around the poncho. Glue them underneath the fabric feathers to hide the ugly tops of the feathers.
Finally, you can put the poncho on your baby! Isn’t it the cutest?
To make the owl headband, you need…
*Glue gun
*White or ivory feather hackle pad (I sell them in my Etsy shop. You can find them in several other online stores or in some craft stores as well)
*Brown, tan, yellow, and white felt
*Big, black beads (I found mine at JoAnn’s)
*Elastic baby headband
*Scissors
This headband is super easy to make!
1. Gather your supplies.
2. Find items that are about the sizes you want the circles for the eyes to be. Trace them onto the brown and tan felt. Cut them out. Cut a triangle out of the yellow felt.
3. Attach the hackle pad to the headband. Put a little piece of the white felt behind the hackle pad and glue it there for added support. Sometimes you need to glue a few of the feathers down so that the feathers aren’t sticking straight up. (Step 3 and 4 can be done in either order)
4. Glue the felt face pieces onto the hackle pad. Glue the black beads on top of the eye circles.
5. Ta da! You are finished!
Now you can enjoy your little owl (or Hedwig)! Hoot Hoot!
Happy Halloween!
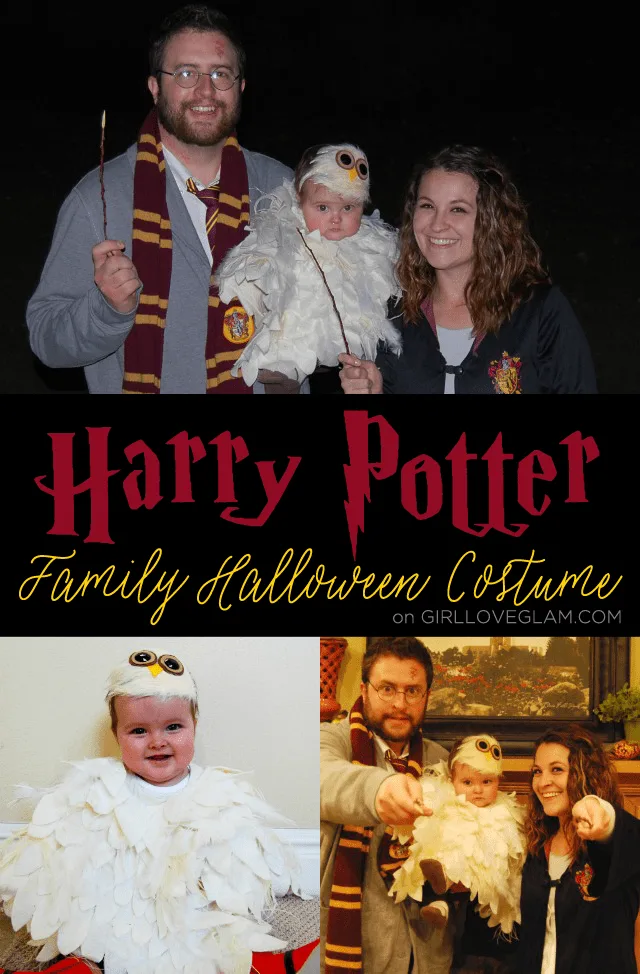
Our Harry Potter family Halloween costumes were all about our little Hedwig owl!
I borrowed a Harry Potter robe from a friend and Dave wore his scarf and tie he already owned. We put a little lip liner “scar” on his forehead to create a Harry look and I let my hair air dry to get into the Hermoine character. Simple, but when they are all put together, they were great!


Jilly
Friday 7th of June 2019
I love the Owl costume and it goes pretty well with your Harry Potter one.
Emily
Thursday 1st of November 2018
Used this post to make my daughter an owl costume this year! It was awesome!! Thanks so much
McKenzie
Wednesday 7th of November 2018
I am so glad to hear that! I am sure that it was darling!
Renada
Sunday 5th of August 2018
Can you post a link to the hackle pad from your etsy
McKenzie
Tuesday 7th of August 2018
I don't sell them anymore, but here is a listing for one on Amazon! https://amzn.to/2Modoel
Annmarie
Sunday 5th of November 2017
Thank you so much for this inspiration. I used a white dress as the base, then cut and sewed on felt feathers. For the head I used a white hat and just put on felt eyes and beak. I intended to do feathers there too but ran out of time. My 17mo old got rave review for his costume. I think it turned out great!
McKenzie
Monday 6th of November 2017
I am so glad to hear that! I would love to see a picture!
Amazing Family Halloween Costumes - Girl Loves Glam
Monday 31st of October 2016
[…] Harry Potter Family Halloween Costume […]