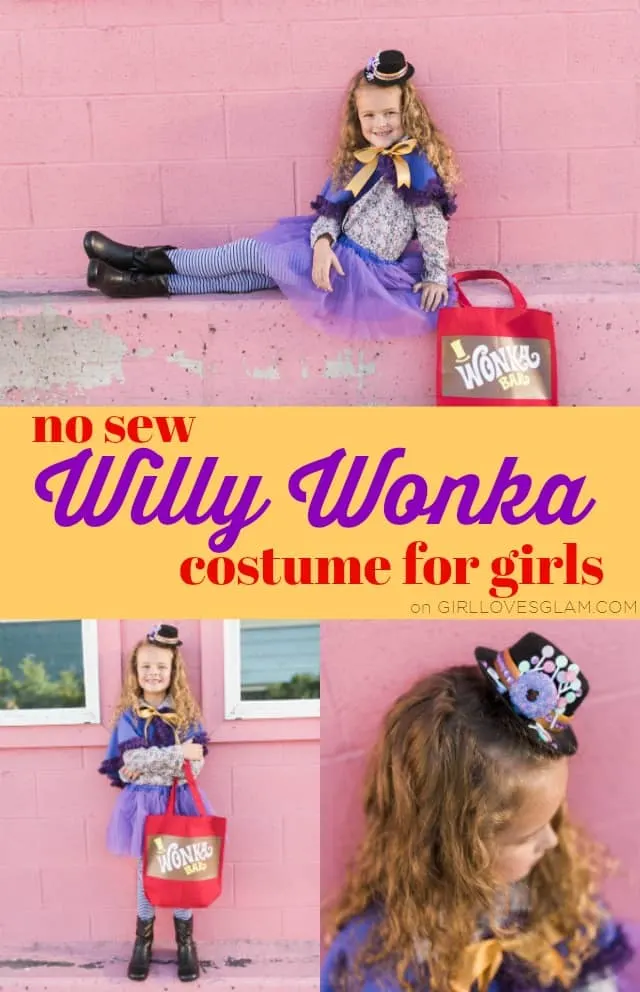
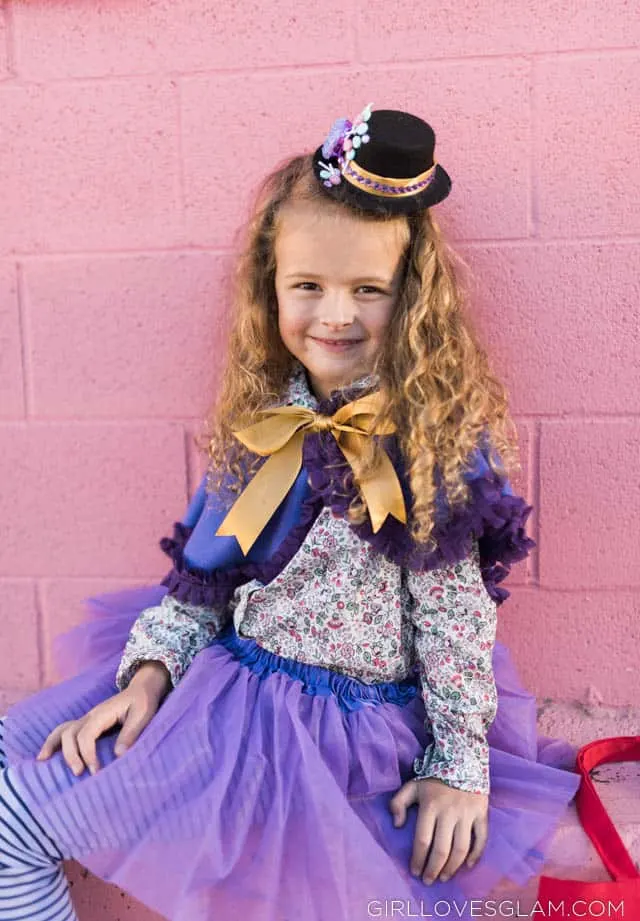
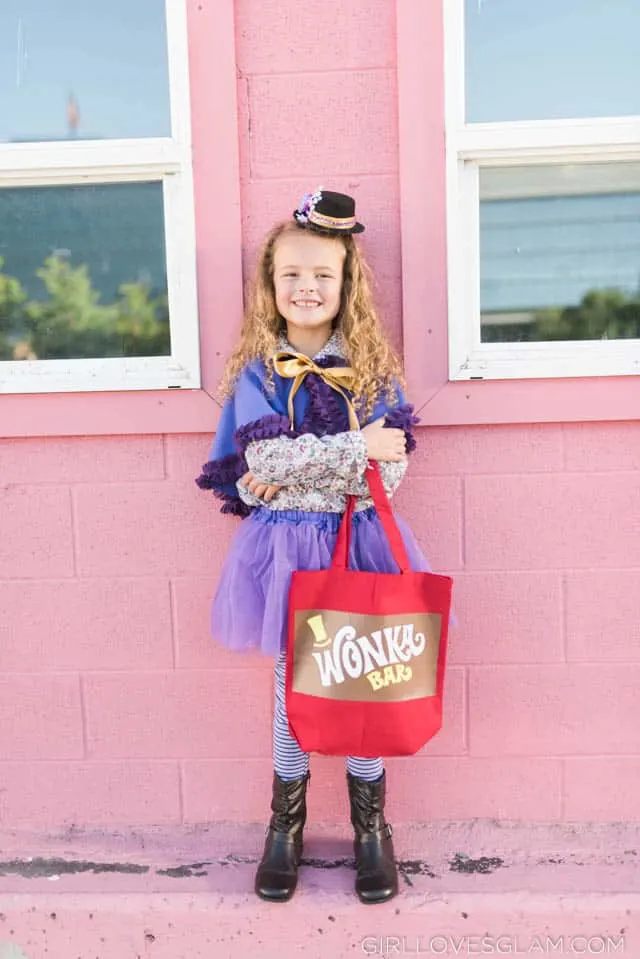
This year’s Willy Wonka family costume theme has been my favorite family themed costume we have ever done. I loved making each of the costumes! Today, I am sharing the main man himself, Willy Wonka! Only there is a slight twist. It is a Willy Wonka costume for girls! If you missed the Wonka Bar costume and the Golden Ticket costume, check those out too!
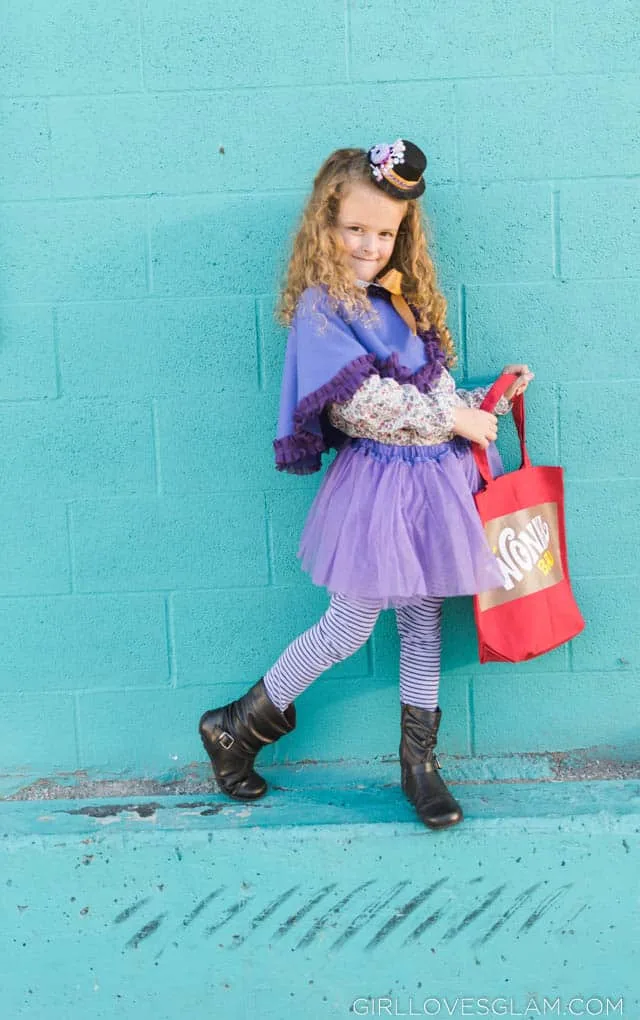
I love that my daughter is willing to dress up as a male character, but knows that I will make it feel girly enough for her personality. I just love how all of the details came together to feel like a Willy Wonka costume, but with a girl twist!
How to make a Willy Wonka Costume for Girls
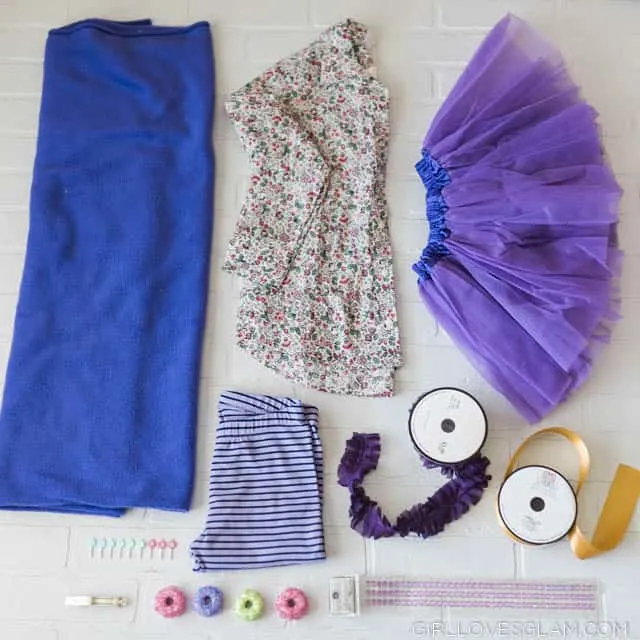
For this costume, you will need…
(affiliate links included)
–Doll top hat (I got mine at Hobby Lobby, but I linked to one on Amazon)
-Small candy ornaments (found at Hobby Lobby)
-Gold ribbon (found at Hobby Lobby)
-Purple rhinestone stickers (found at Hobby Lobby)
-black felt
-Clip
-Glue Gun
–Floral button up shirt (This one is only $15.99 right now and I love that she can wear it as a regular shirt after Halloween!)
-Purple fleece (I bought 3/4 yard and had plenty of leftover material)
-Purple ruffle trim (found at Hobby Lobby)
-Fabric glue
-Velcro
-Red canvas tote (found at Hobby Lobby)
-Weeding tool
How to make a Girl’s Shrug
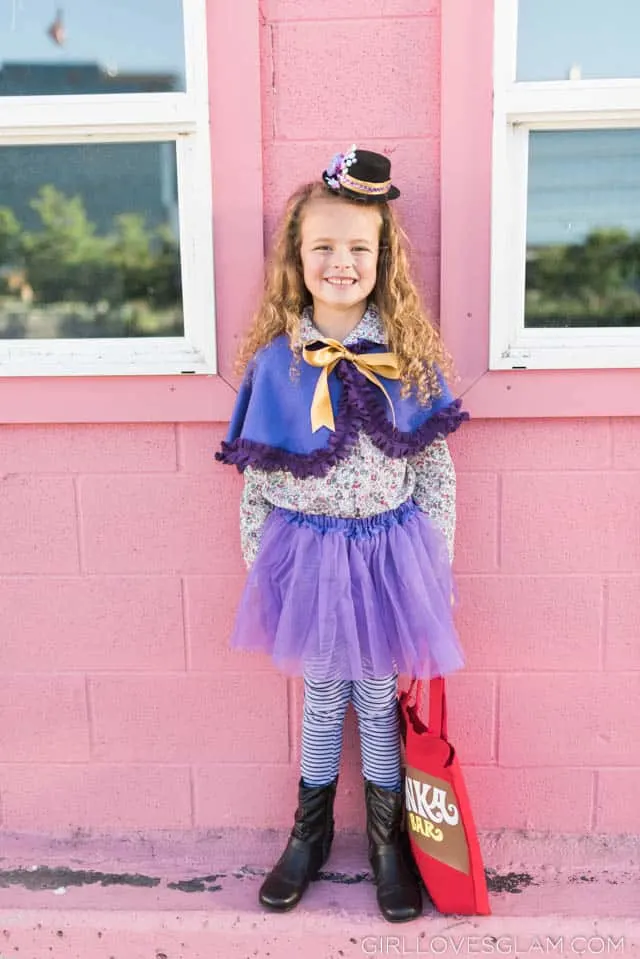
For Willy Wonka’s jacket, I originally thought of doing a cardigan and dolling it up a bit more but I couldn’t find a purple cardigan for less than $25 and just thought that was too much to spend on one part of a costume. So we opted for the shrug idea and I am glad that we did! It shows off the floral shirt more and I was able to embellish it with ruffles and Willy Wonka’s iconic bow.
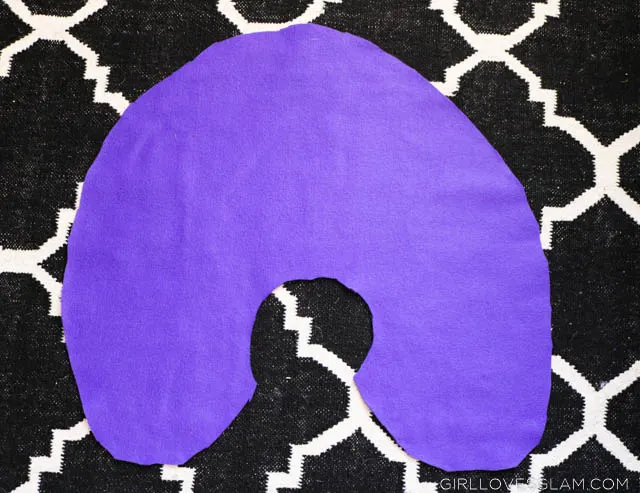
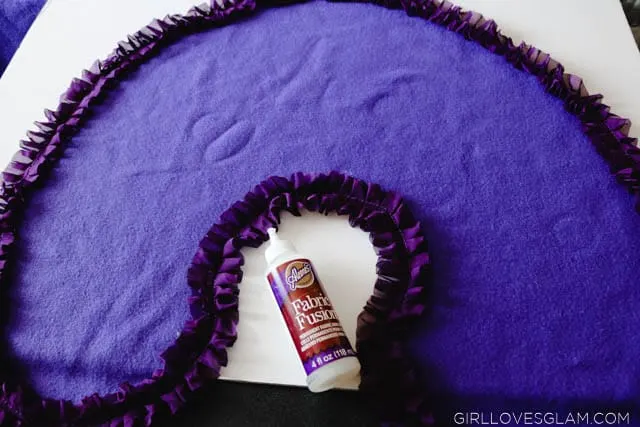
Start by cutting a circle out of the fleece. This doesn’t need to be a perfect circle. Place a bowl in the middle of the circle and cut it out. Cut out the front of the circle to create a soft U shape. Then put it on the child and cut it as you need to get the exact size that you want it to be. This isn’t an exact science at all.
Put fabric glue around the edges of the shrug and put the ruffle trim on top of it. Let it dry completely before moving onto the next step.
Once the glue is dry, put velcro on the edge to let it close. I just used the adhesive velcro so I didn’t need to sew anything.
Tie a giant bow out of the gold ribbon and glue it over where the velcro closes underneath.
How to Make Willy Wonka Hat Clip
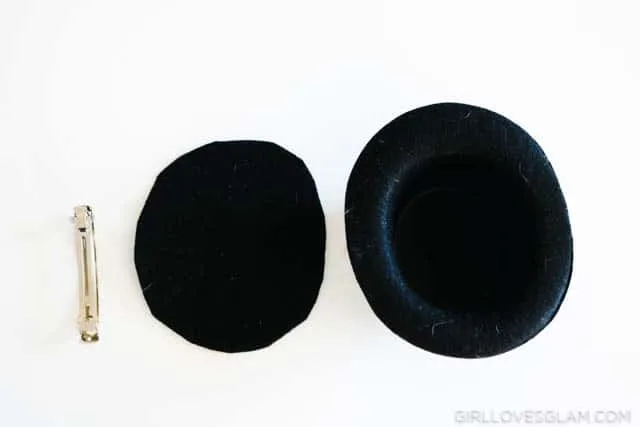
Start by hot gluing a piece of felt on the bottom of the hat, to close off the bottom of the hat. Glue the clip to the bottom of the felt. You can glue the clip to the bottom of it now or at the very end of making the hat.
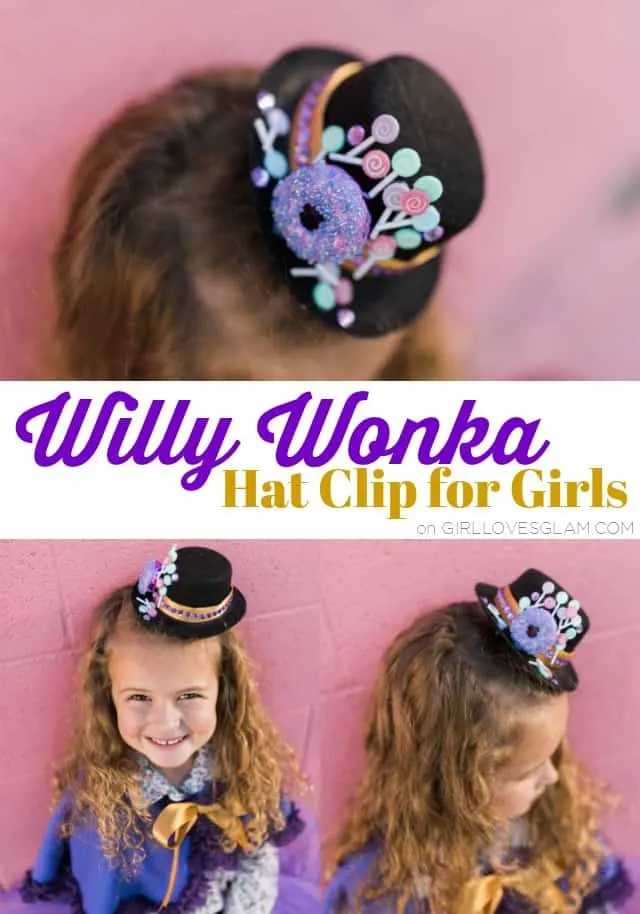
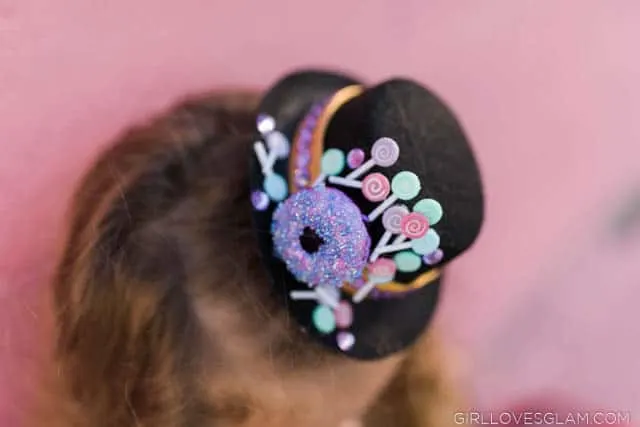
Next, gluing the ribbon along the base and then embellish with the candy ornaments. This can be as wild or simple as you want. We wanted ours to be pretty wild!
Lay the purple rhinestones along the ribbon, in the spots that you don’t have candies.
How to Make Wonka Bar Trick or Treat Bag
No Willy Wonka costume is complete without a Wonka Bar! That’s why we knew we needed to have the trick or treat bag as our Wonka bar! It was really easy to whip up in Silhouette studio.
First, I cut out a rectangle with just my paper cutter and cut the brown heat transfer vinyl to a good size for the front of the treat bag. Then I ironed it on. When ironing on heat transfer vinyl, make sure you use pressure and try to make sure each part of the vinyl gets heat on it for roughly 20 seconds. Peel off the clear backing when the vinyl is still hot. If the vinyl starts to come up, iron more.
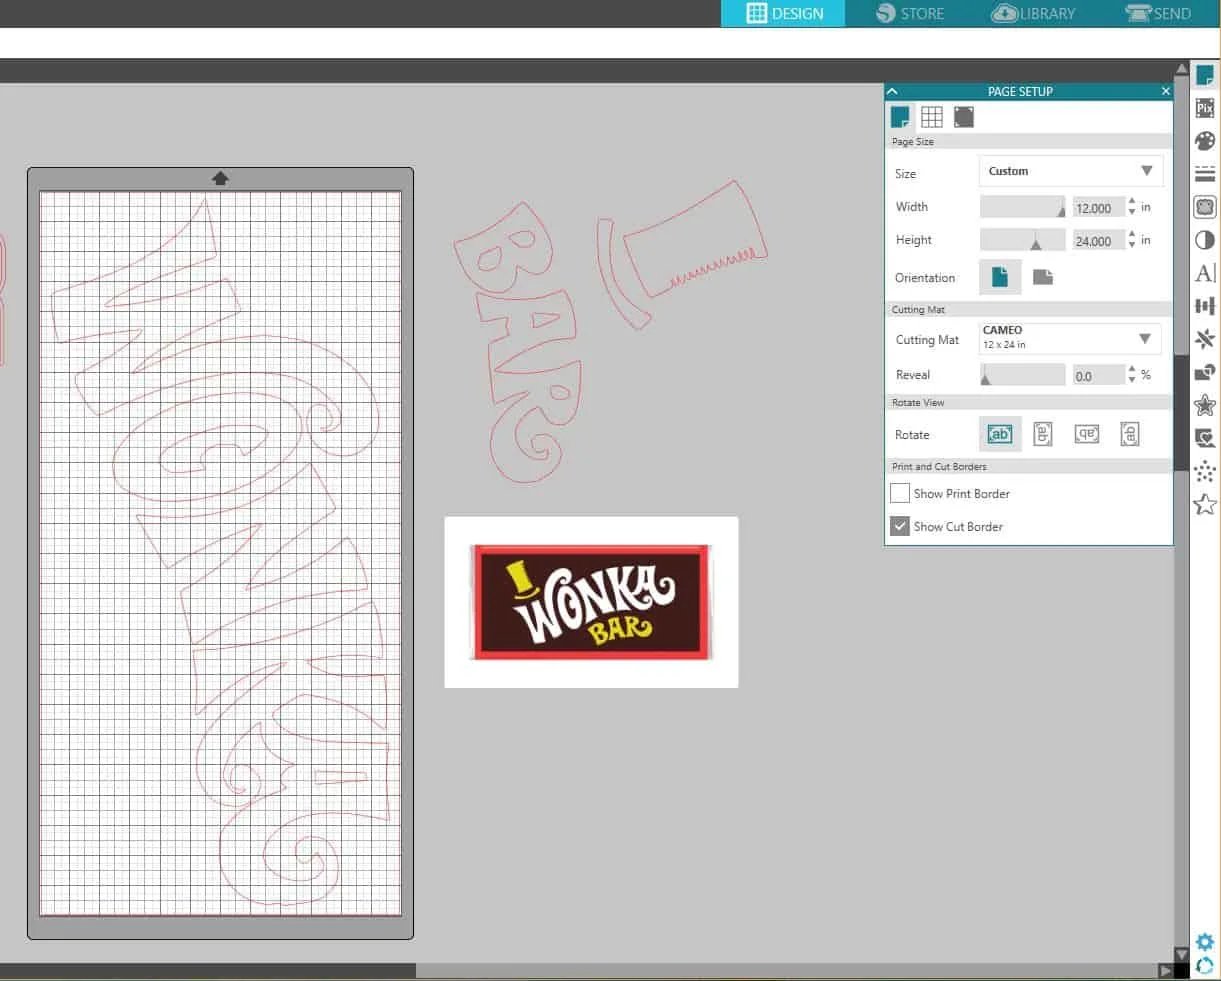
Then you are going to trace a Wonka Bar using the trace feature in the Silhouette Studio. Make ti the size that you want it and duplicate the image. Use the eraser tool and erase the “bar” and the hat from one image and the “Wonka” from the other image. Cut out the Wonka in white heat transfer vinyl and the ” bar” and hat out of the yellow heat transfer vinyl. Don’t forget to mirror the images before you cut them out, or else they will be backwards!
Iron them on top of the brown vinyl that you already put on the bag. Make sure to use the multi-use paper to cover up the exposed vinyl, or it will melt when it touches the iron directly.
Now you have yourself an adorable Willy Wonka costume for girls! This was a costume I was able to create entirely in one afternoon, including the time it took for the shrug to dry. It was so simple and a lot of fun to make. It goes perfectly with the rest of our Charlie and the Chocolate Factory family costumes! Don’t forget to check out the Wonka Bar costume and the Golden Ticket costume and tune in tomorrow to see what costume the toddler is wearing! Friday will be the big reveal of our entire Willy Wonka family costume together!
You can see all of our previous no sew family Halloween costumes from the past to get you prepared!

