You know you have seen that girl. The one with the spiders on her eyes? Oh wait! Those spiders are just her eyelashes! Yep. It is a serious issue and it is one of my biggest pet peeves ever! You have probably also seen that girl who wears false lashes or eyelash extensions that look totally fake. I am not against false lashes or eyelash extensions as long as they still look natural. The problem is a lot of times, they don’t look natural at all! Women go to all lengths to take their lashes to new lengths! They want the perfect lashes but can’t seem to find the perfect mascara to do the job for them. Well, guess what? There isn’t a perfect mascara to do the job! There are a few simple steps you can follow to create perfectly flawless lashes that are natural! You don’t need to be a makeup artist to be able to perfect your mascara application. All you need to do is follow these easy steps.
You will need…
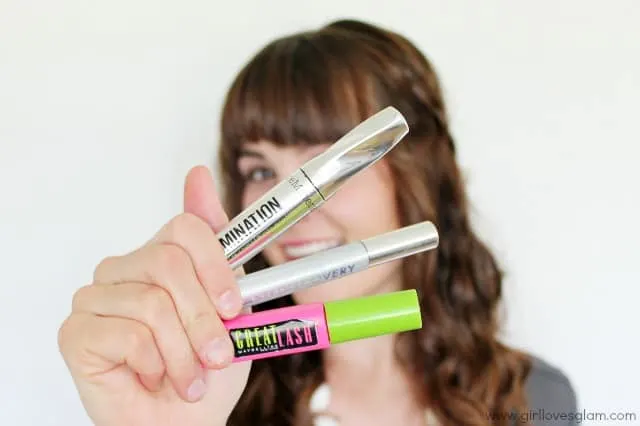
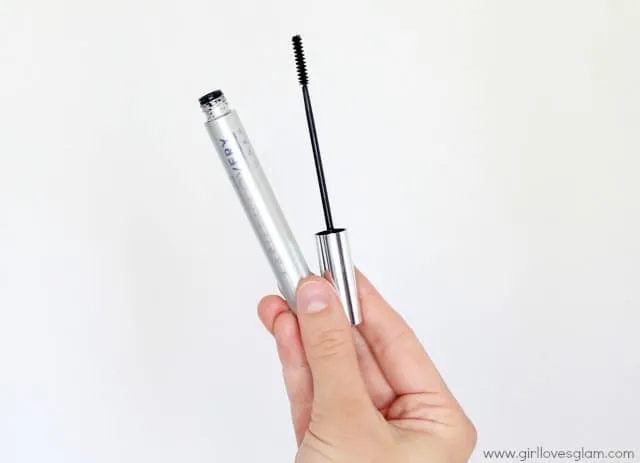
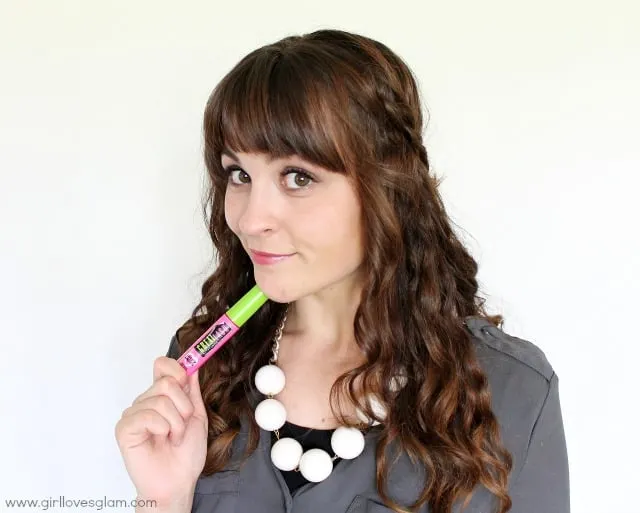
*Mascara with small, fine wand (I like to use the Maybelline Lash Discovery Mascara)
*Mascara with rubber wand (I use the Maybelline Great Lash Lots of Lashes Mascara)
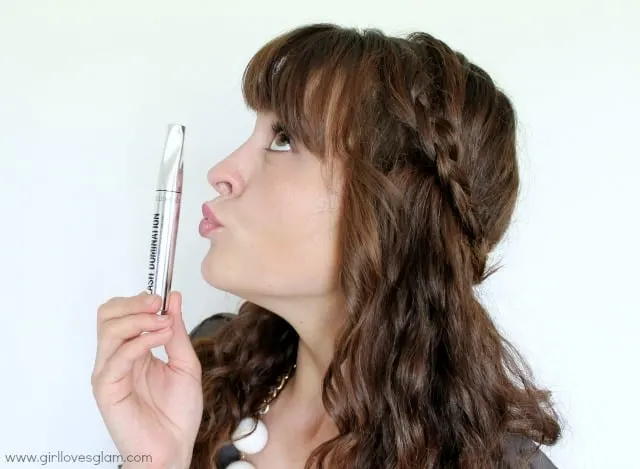
*Mascara that is for fullness or volume (I currently am loving the Bare Minerals Lash Domination Mascara)
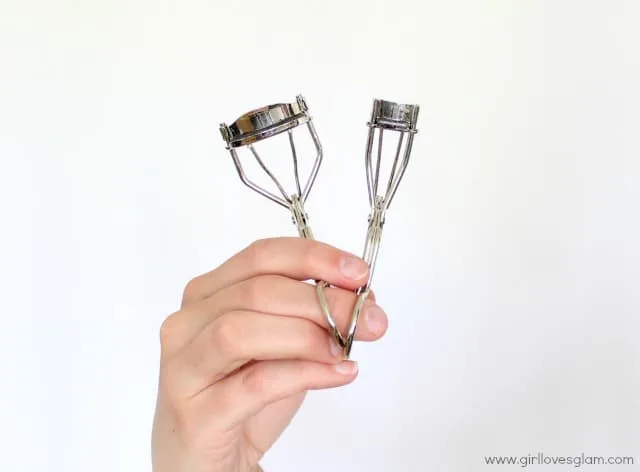
*Full size eyelash curler (I use the Elf Studio one)
*Small eyelash curler (I use the Elf Studio one)
First, you want to curl your eyelashes with the full sized eyelash curler. You want to start at the base and curl and then come out a little and curl again and again a little further out so the curl comes out naturally instead of just having one crease at the base. Go back with the small eyelash curler and curl the inside and outside lashes to really make them pop.
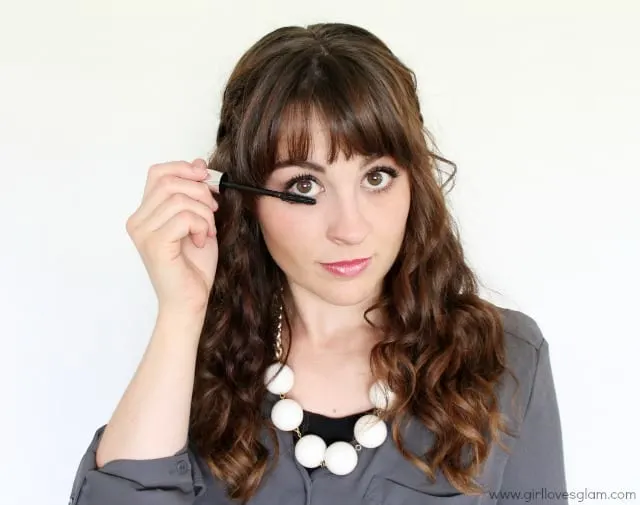
Now, put a really thin coat of the mascara with the fine wand. Only put this on your top lashes. Let the mascara dry completely before moving onto the next step. It takes about 2-3 minutes to dry. I suggest moving onto a different part of your makeup routine while you let it try. If you don’t let your mascara dry completely in between coats, it can become very clumpy.
Apply another thin coat of mascara on your top eyelashes. This time you will be applying the mascara with the rubber wand. Make sure that you are only applying a very thin coat. Let your mascara dry completely before moving onto the next step.
Now for your final type of mascara! The mascara for volume should be used last because you can be slightly more generous with the coat that you put on your lashes. Apply a coat of this mascara on your top lashes.
Then apply a coat of the same mascara on your bottom lashes. They only need one coat of mascara.
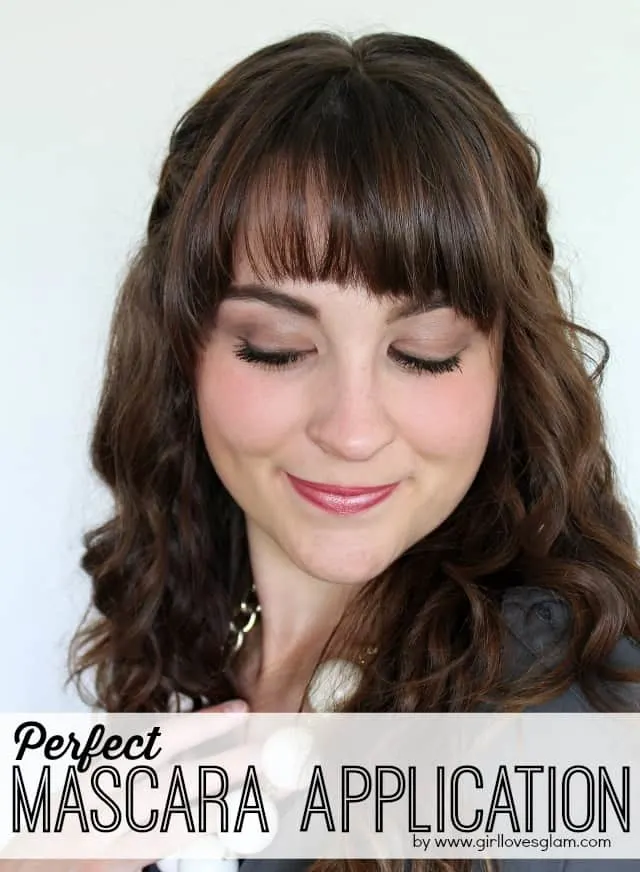
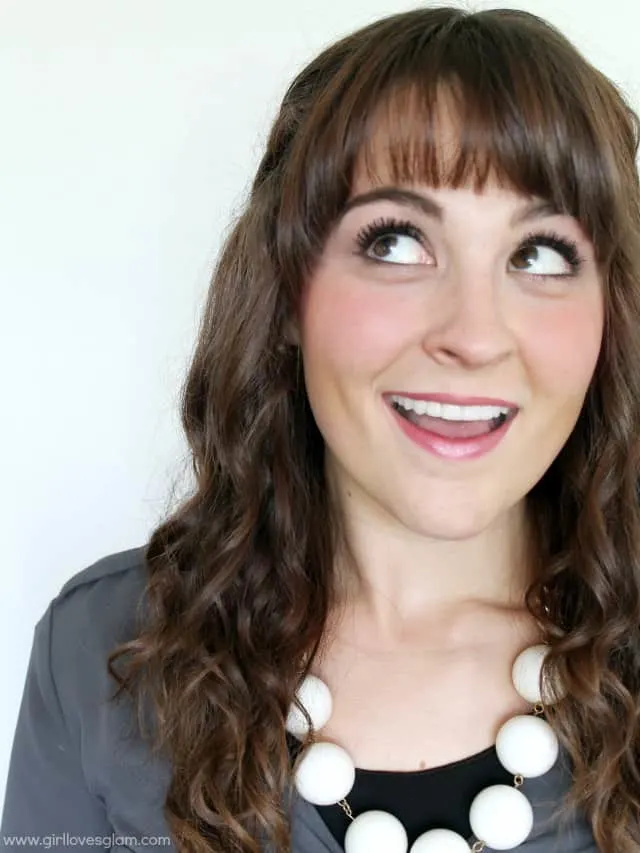
Now you have gorgeous lashes! This may seem like a little bit of work, but I promise it doesn’t take long when you are doing other things between each coat of mascara. The results are TOTALLY worth it!
Since I know you loved this beauty post so much, you need to check out these other great makeup posts too!


25 Beginner Makeup Tutorials
Thursday 11th of August 2016
[…] to layer the different products, and she also shares what her favorite products are. Head over to Girl Loves Glam to find out all the […]
Girl Loves Glam Beauty Product Awards 2015 - Girl Loves Glam
Friday 22nd of January 2016
[…] years ago and have used it ever since. I always use three different mascaras, like I talk about in my mascara tutorial, but my lashes don’t ever look the way I want them to if I am missing the BareMinerals Lash […]
A Makeover - Girl Loves Glam
Friday 31st of October 2014
[…] Mascara- I use 3 different types of mascara when applying mascara (you can see the post about it HERE), but this is the one I would definitely recommend using. The other two totally can change […]
Emily Wilke
Friday 18th of July 2014
Omg! Awesome. Will totally be sharing this with my fans. Thank you!!