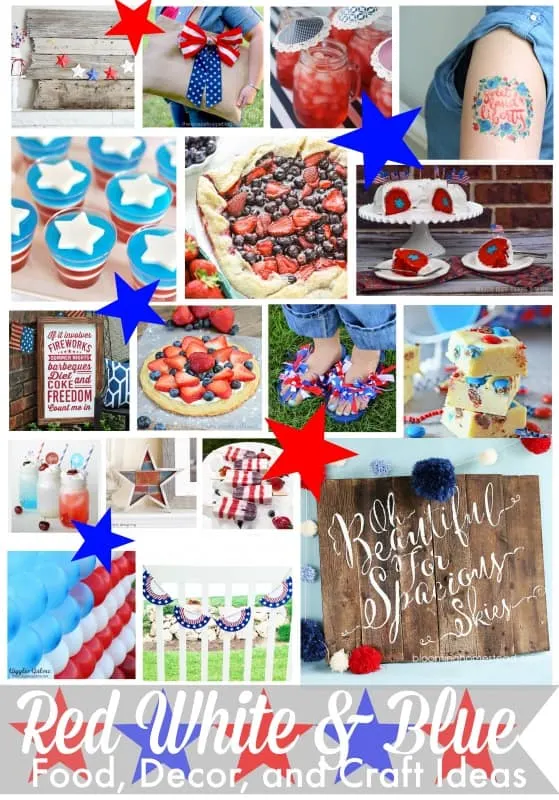
I can’t believe it is time to start talking about the 4th of July already! Last year, I participated in a giant, patriotic blog hop that was SO fun that we are teaming up again to bring you another HUGE blog hop full of fabulous ideas for your Independence Day!
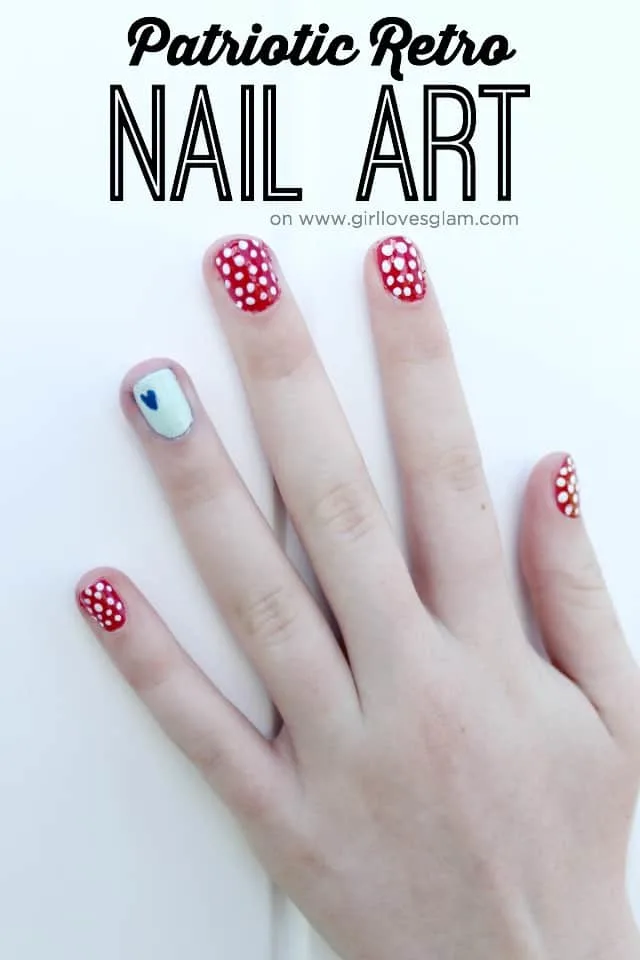
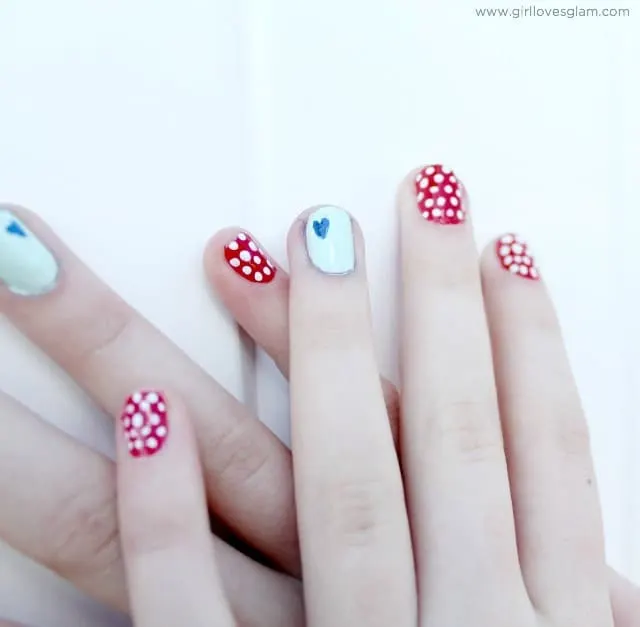
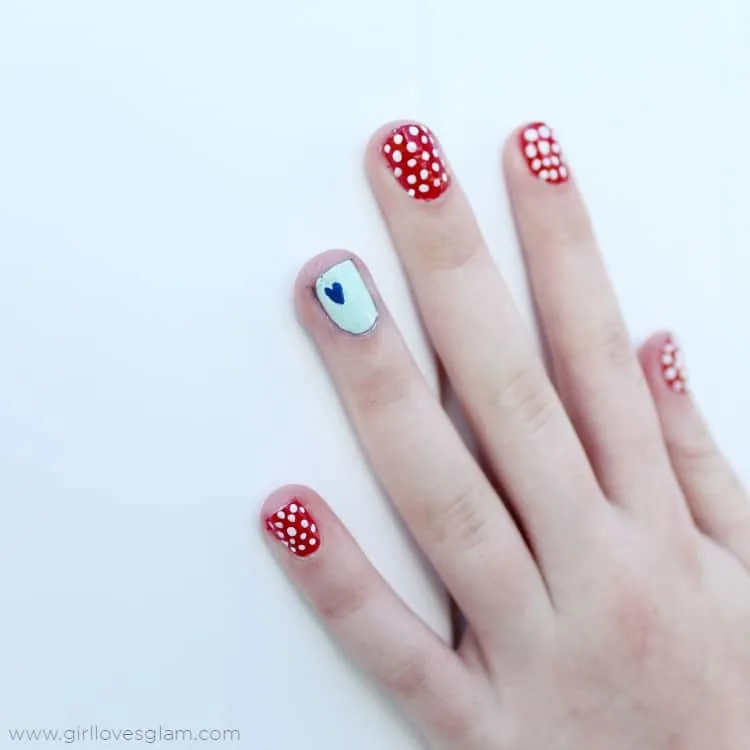
For my red, white, and blue project I am bringing you these super cute (and easy) retro patriotic nails! This patriotic nail art is seriously so dang easy and you could get away with sporting it long after the 4th of July because it doesn’t necessarily look overly festive.
Here is what you will need to create this nail art…
(Affiliate links included)
-Tape
-Scissors
–Nail art tool (Super affordable!)
-Pen
–Nail polish corrector pen (optional)
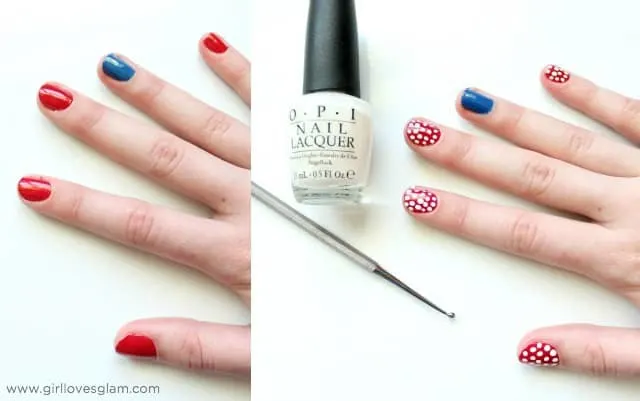
First, paint your nails all red, except for the ring finger. Paint that with the mint color. You can paint it with the blue like I have shown above, it will just be opposite of what the finished product is on mine. My blue polish I used was not cooperating and I ended up scrapping the blue polish I used after taking this picture. Sorry for the mix up!
Put a little white nail polish on a paper plate and dip the nail art tool into it and dab little polka dots onto your red nails.
Now for the hearts!
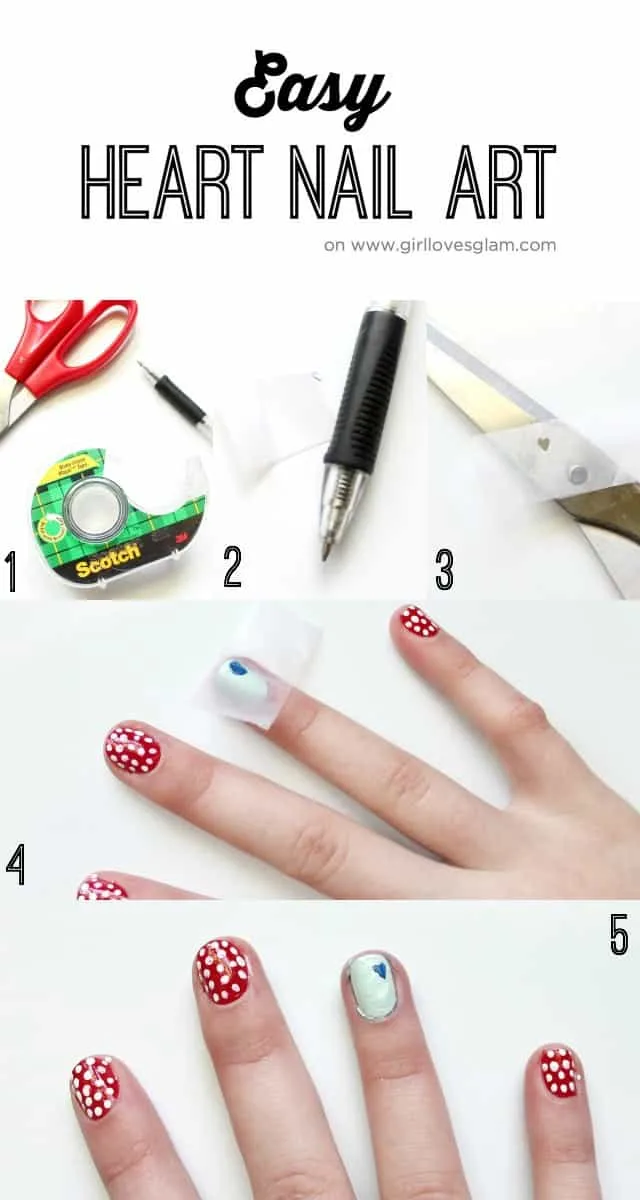
Creating heart nail art is actually really easy!
1. Get a little piece of tape, scissors, and a pen.
2. Fold the piece of tape over and stick it to itself, but leave a small piece that isn’t sticking to the other side so that you can unfold it again. Draw half of a heart along the crease of the tape. Make this as big as you want your heart to be. For mine, I wanted a small little heart, but it could be made much bigger if you want your heart to be a bigger focal point.
3. Cut along the shape you just drew.
4. Put the tape on your nail, after your polish is TOTALLY dry. Paint the color you want your heart to be over the cut out heart.
5. Remove the tape while the polish is still wet.
Viola! You have your DIY heart nail art!
Use the nail polish corrector pen or nail polish remover to go along the edges of your nails and clean up any polish that got on the skin. Apply clear top coat polish on all of the nails.
Now you have gorgeous, patriotic nails that you can wear long after the 4th of July because of the cute, retro look they have!
Don’t forget to try my 4th of July hair chalking tutorial I shared last year and check out all of the other red, white, and blue projects that all of these fabulous bloggers shared!
We also have a killer red, white, and blue Pinterest board that you can check out for EVEN MORE 4th of July inspiration!

Kiki Comin
Thursday 11th of June 2015
LOVE these! My girl and I love painting nails for holidays...keeping this on our list. ;)