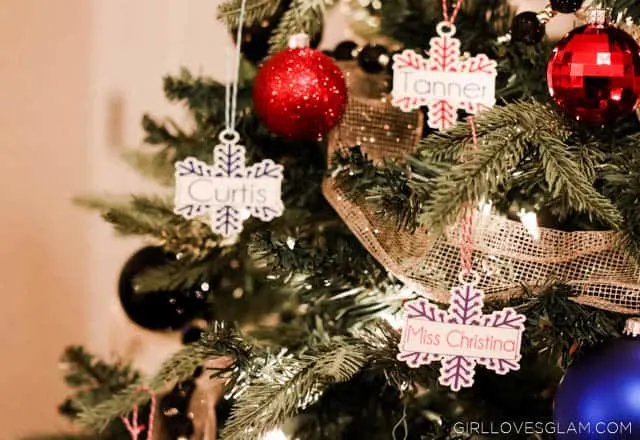
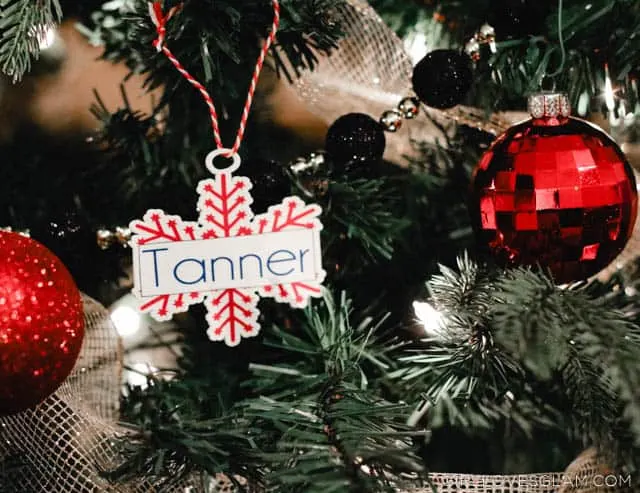
Getting gifts for your kids to give to their friends for Christmas can get SO expensive! My daughter really wanted to give her friends something for Christmas, but when you are four years old the concept of money isn’t quite there. We finally agreed on giving her friends some handmade ornaments. I was trying to come up with a cute ornament that could be personal, but easy and cost effective as well and I remembered Shrinky Dinks! I used to make different creations with Shrinky Dinks as a kid and I knew they would be perfect to make ornaments with too! The best part is that each ornament ended up costing about 50 cents each to make!
To make these, I used the print and cut option on my Silhouette Cameo machine. This made making these incredibly easy because I printed them out and just had the Silhouette cut them out for me and they looked great! Of course, if you don’t have a Silhouette Cameo, you could print off your own design on the Shrinky Dinks and cut them out yourself, just know it will take you much longer and they won’t look as crisp. But it can be done!
Here is what I used to make mine…
-Printer
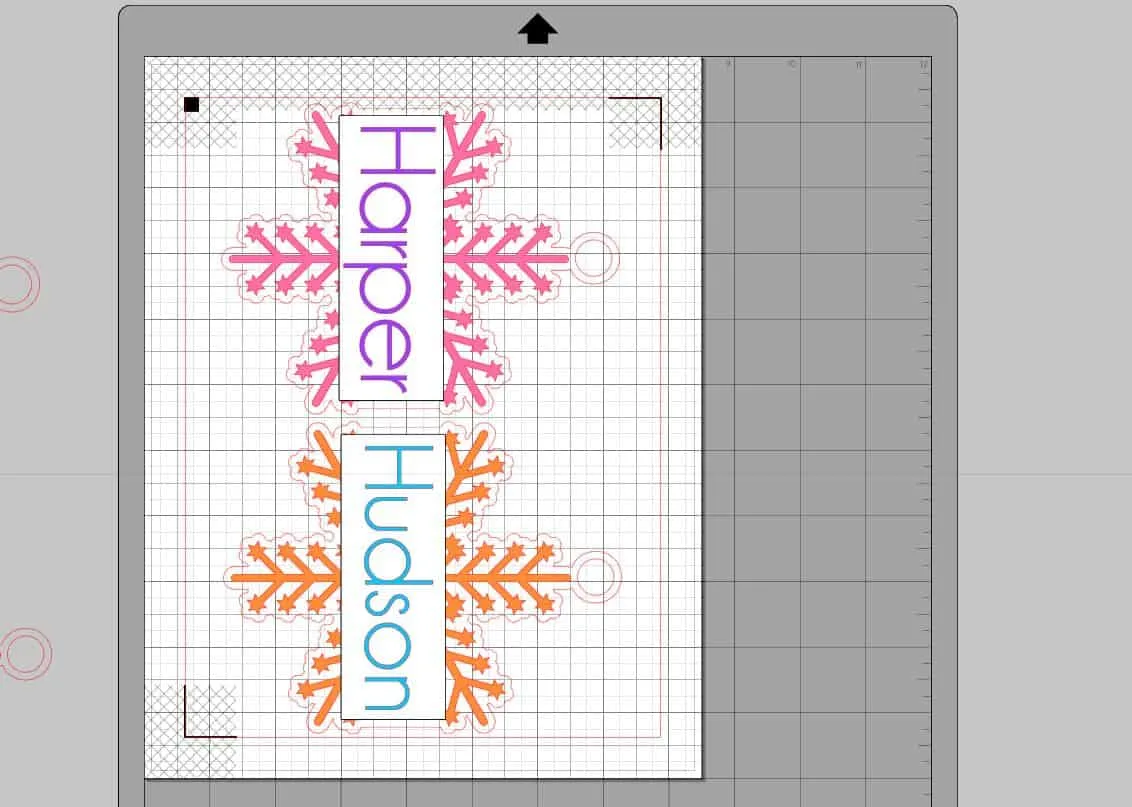
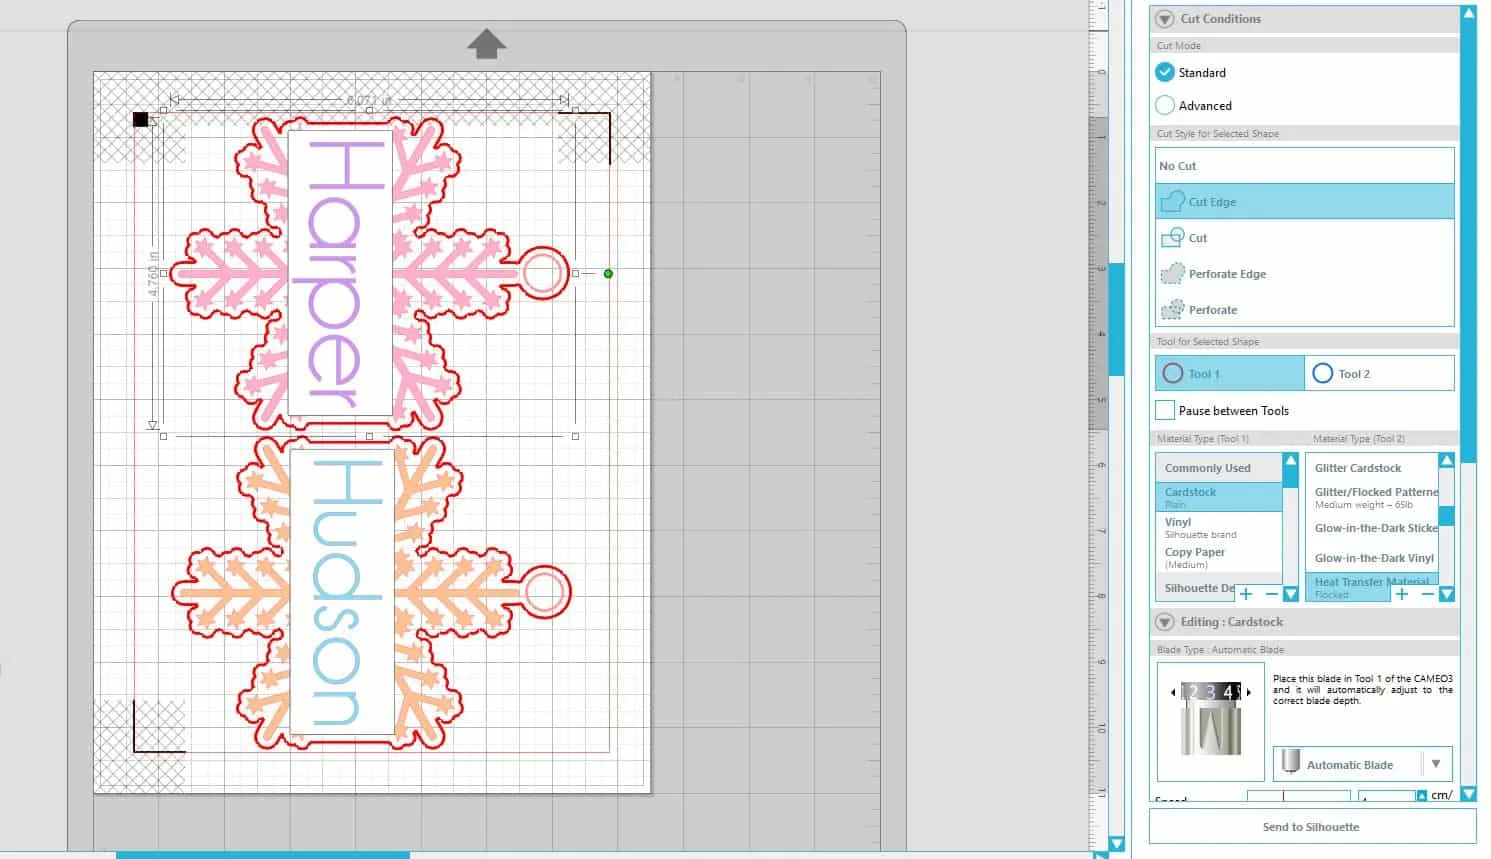
The first thing you need to do is design the ornaments. I designed them all on Silhouette Studio. I purchased this snowflake image, then added a rectangle with a black border around it and put the child’s name in the rectangle for each of them. I then put a circle on top of the snowflake so that it could be the hanging part of the ornament. I had my daughter choose colors for each of her friends so they would all be individual for the colors they liked. Shrinky Dinks shrink to about 1/3 of their size, so keep that in mind when you are designing them. Ours were about 6 1/2 inches by 5 inches when they were designed. The next thing you will want to do is print the design onto the Shrinky Dinks paper. Make sure to add the registration marks on Silhouette Studio and send to your printer to have them print out on there.
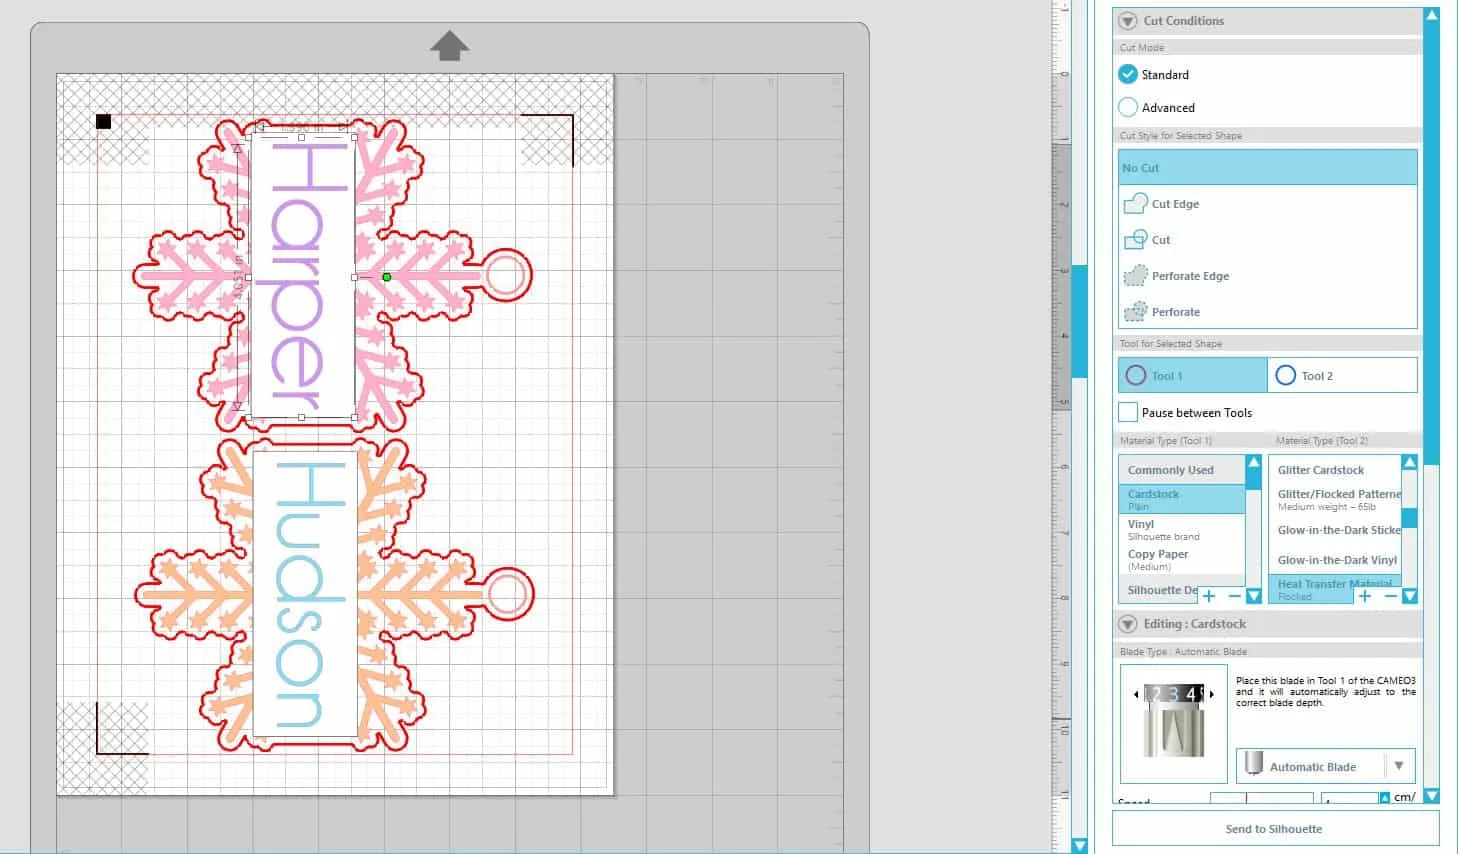
The trickiest part about making these was figuring out the cut settings, but I got it figured out and you won’t have to worry about figuring them out yourself. First you will want to click on the name and the rectangle and go onto the cut settings and click on the “no cut” option so that the Silhouette doesn’t try to cut that part out.
Then you will want to click on the snowflake and the circle above it and click on the “cut edge” option. You will also want to make sure you select the circle above the ornament and make sure it is set to cut regularly so you will have your hole for your ornament.
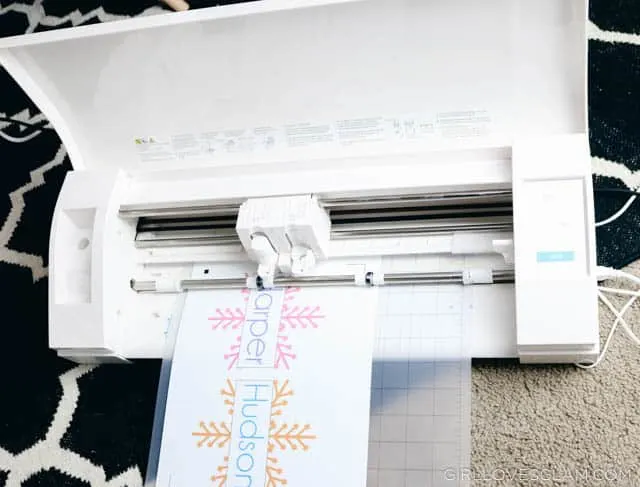
Put the Shrinky Dinks paper on the cutting mat and have it just the same way that it shows on the Silhouette Studio so the registration marks can match up correctly. Set your silhouette to cut thick cardstock on the settings and have it double cut. The actual length of your blade and the pressure will totally depend on how sharp your blade is. Mine is a pretty new blade, so I didn’t need mine to be too aggressive, but I did end up having to increase the pressure because the blade wasn’t cutting all the way through after cutting out quite a few of these. I recommend keeping the paper on the cutting mat after it is done and just softly trying to see if the ornament will pop out easily or not. If they don’t, change your settings a little and have them cut again.
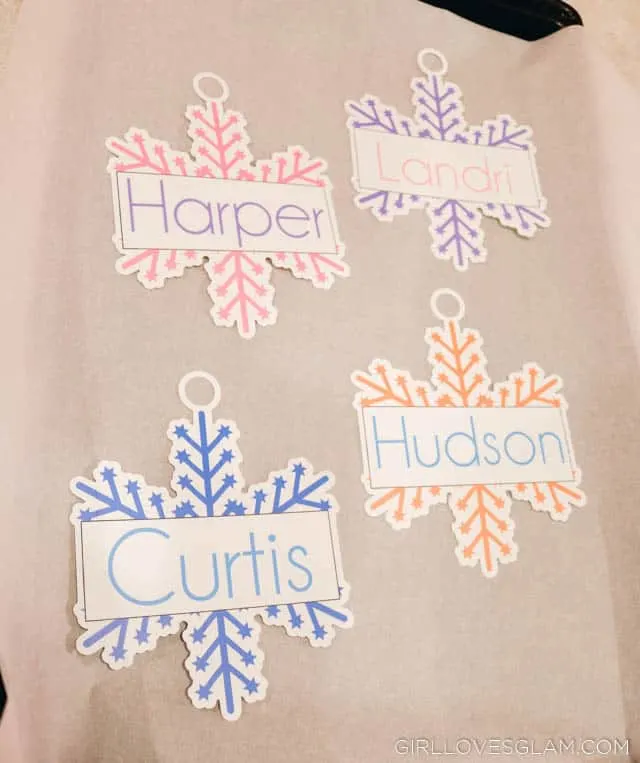
Follow the instructions on the Shrinky Dinks package to bake them. Just make sure they are spaced apart pretty well. They bake for less than 5 minutes, so it is super quick and easy!
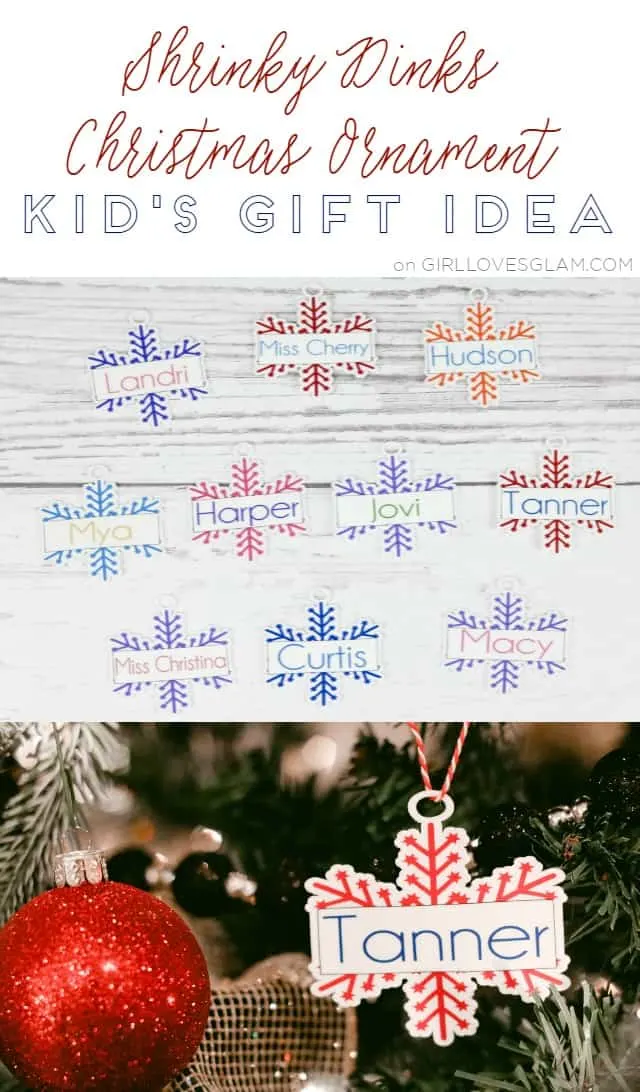
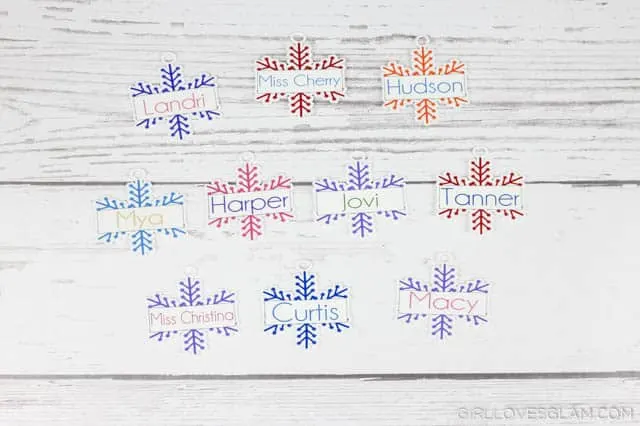
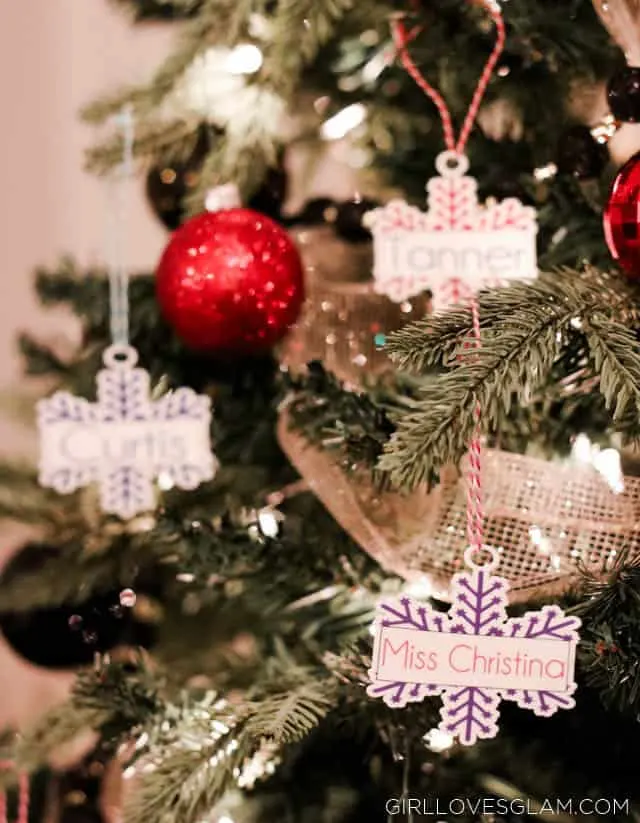
These are most of the ornaments that we made for her friends, her dance teacher, and her preschool teacher. They all baked really well and I love how they turned out!
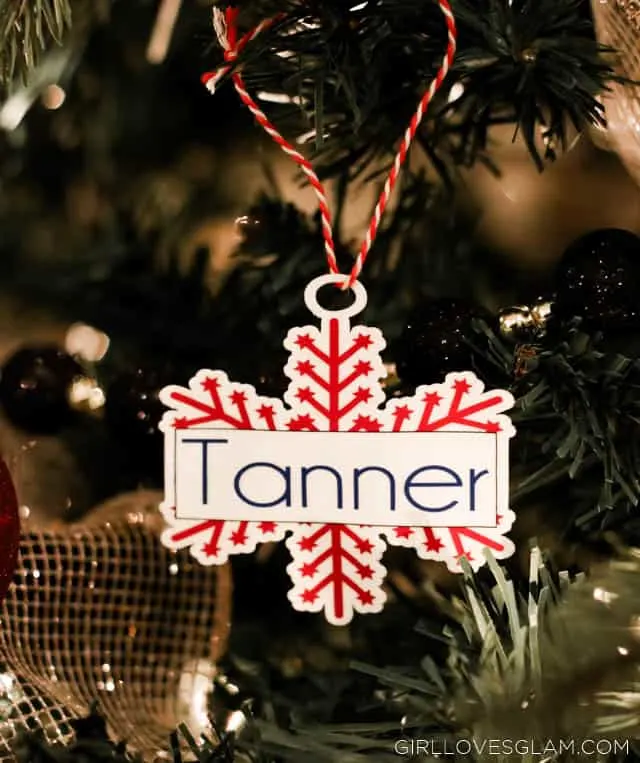
We added the baker’s twine to each ornament and they were finished! Such a simple project, but you can pretty much guarantee they won’t be receiving another ornament like these! I love how unique and cute they turned out, especially with as inexpensive as they were to make.
Do your kids give their friends gifts for Christmas?

