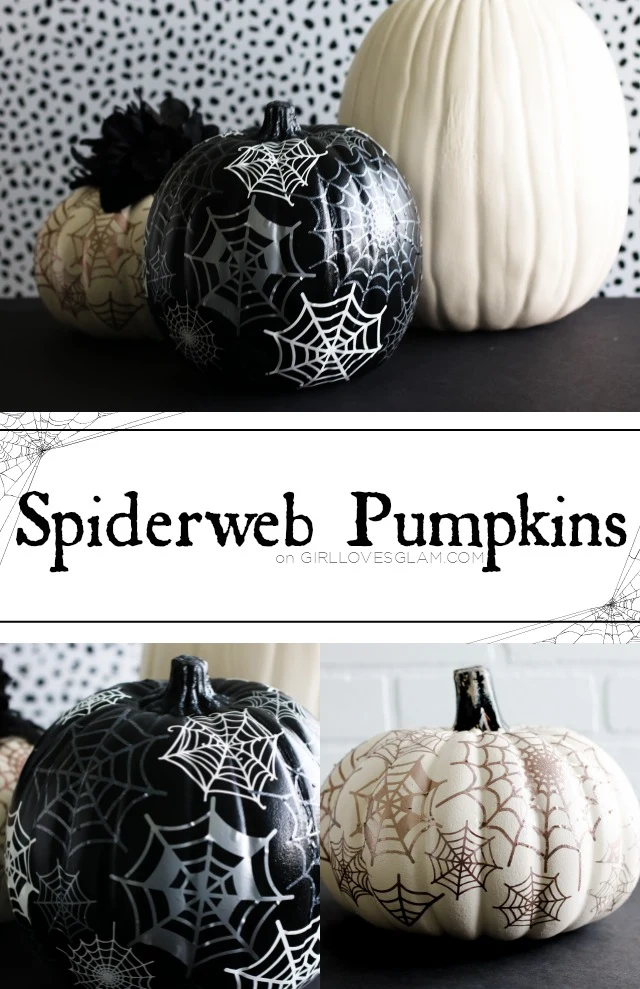
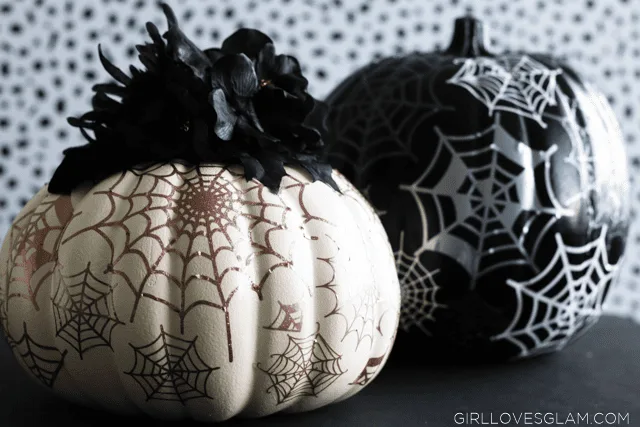
I think I have made it painfully obvious that I am a huge Halloween fan. I love it! A little thing you probably didn’t know is that when I decorate for Halloween, I refuse to use anything with spiders. I hate spiders so much that I refuse to decorate with them. But I made somewhat of an exception to this rule when I visualized a pumpkin covered in beautiful colored spiderwebs. I made it a reality and I actually really love how they turned out. These spiderweb pumpkins are just made with vinyl, so they are something that anyone could recreate.
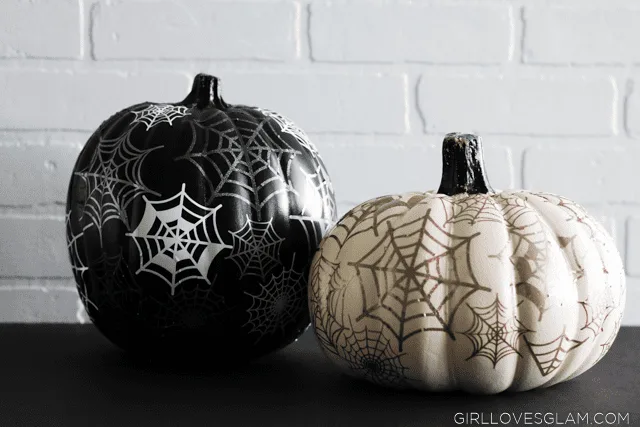
I loved the idea of making one with gorgeous rose gold tones and having another one with black, white, and different shades of gray. They both turned out beautifully. I want to make more! To make these spiderweb pumpkins, I used…
Vinyl Pumpkin Supplies
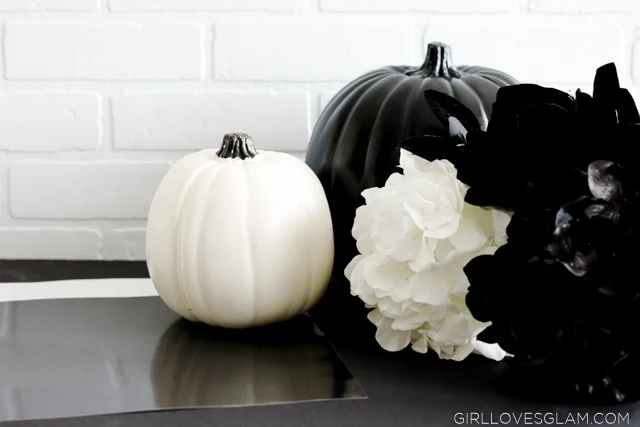
- Craft pumpkins
- Permanent vinyl in various colors. Most of the vinyl I used was glitter.
- Silhouette Cameo Use code GLAM for discount!
- (Optional) floral stems
- Weeding tool
How to Buy Images in Silhouette Studio
First, you are going to need some spiderweb images for your Silhouette Cameo to cut out. To do that, click on the Store tab in the Silhouette Studio software. When you are in the store, type spiderweb in the search field. Go to the left side and select “regular cut” to help narrow the search down a little. Choose a variety of spiderwebs you want to use for your pumpkins. I used four different spiderwebs on my pumpkins. After selecting them, purchase them and open the images in the design tab in Silhouette Studio.
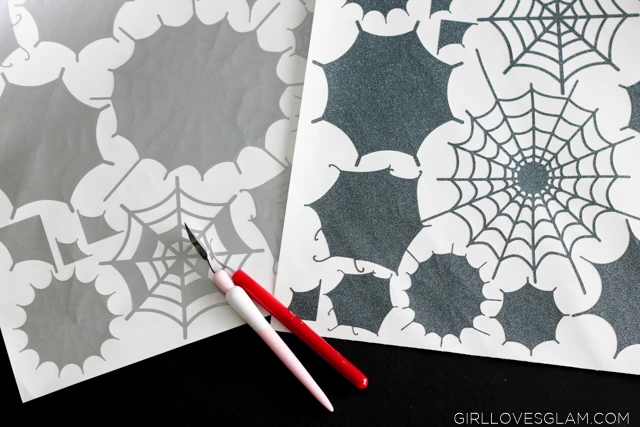
Fill the page with a variety of spiderwebs in different sizes. Cut them out with the Silhouette Cameo on your vinyl.
How to Make a Spiderweb Pumpkin
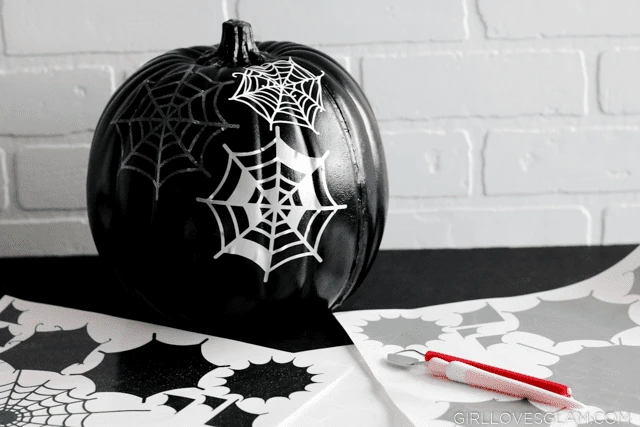
When it comes to weeding the spiderwebs, there are a few things I recommend. First, only weed the spiderwebs you are actually going to use. So choose a web you want to put on your pumpkin first. Then, before you start weeding, try to lift the spiderweb off of the sheet. If it comes off without the center pieces, you are in luck! The glittery vinyl is just a little stickier vinyl, so this doesn’t always work. If it doesn’t work, just weed out all of the spiderweb pieces with the weeding tool.
Carefully peel up the spiderweb and place it on the pumpkin. Use your fingers to smooth it out onto the pumpkin.
After you put spiderwebs all over the pumpkins, you could stop here. They look beautiful just like this!
Elegant Halloween Pumpkins
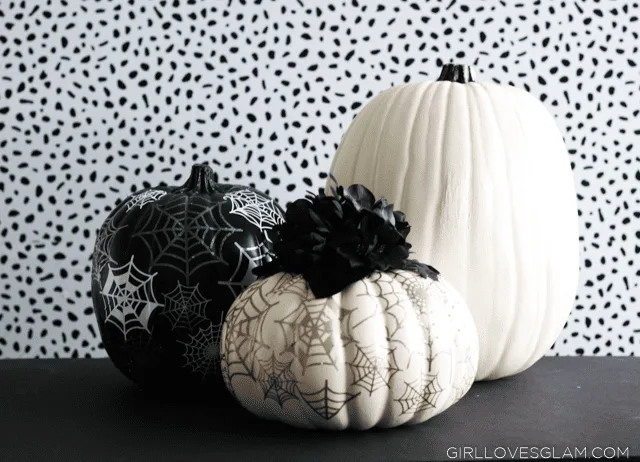
I hot glued some black flowers to the top of one of the pumpkins to add just a little something extra to it. I really like how much it added to that pumpkin. The flowers didn’t look as good on the black and white pumpkin, so I just stuck with the floral detail on one of the pumpkins.
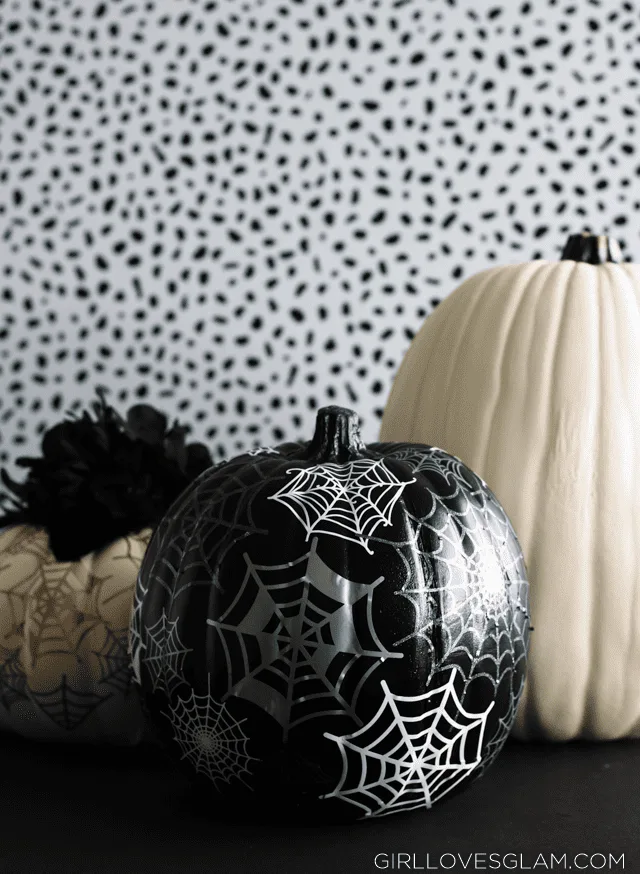
You can’t go wrong with either option! These spiderwebs are just so gorgeous and elegant on the pumpkins. The combination of glitter vinyl, metallic vinyl, and shiny vinyl adds just enough variety to make these pumpkins something really special!
I teamed up with several of my blogger buddies to bring you lots of other fun pumpkin projects with vinyl, our favorite crafting medium! Check out all of their incredible pumpkin projects!
Vinyl Pumpkin Projects
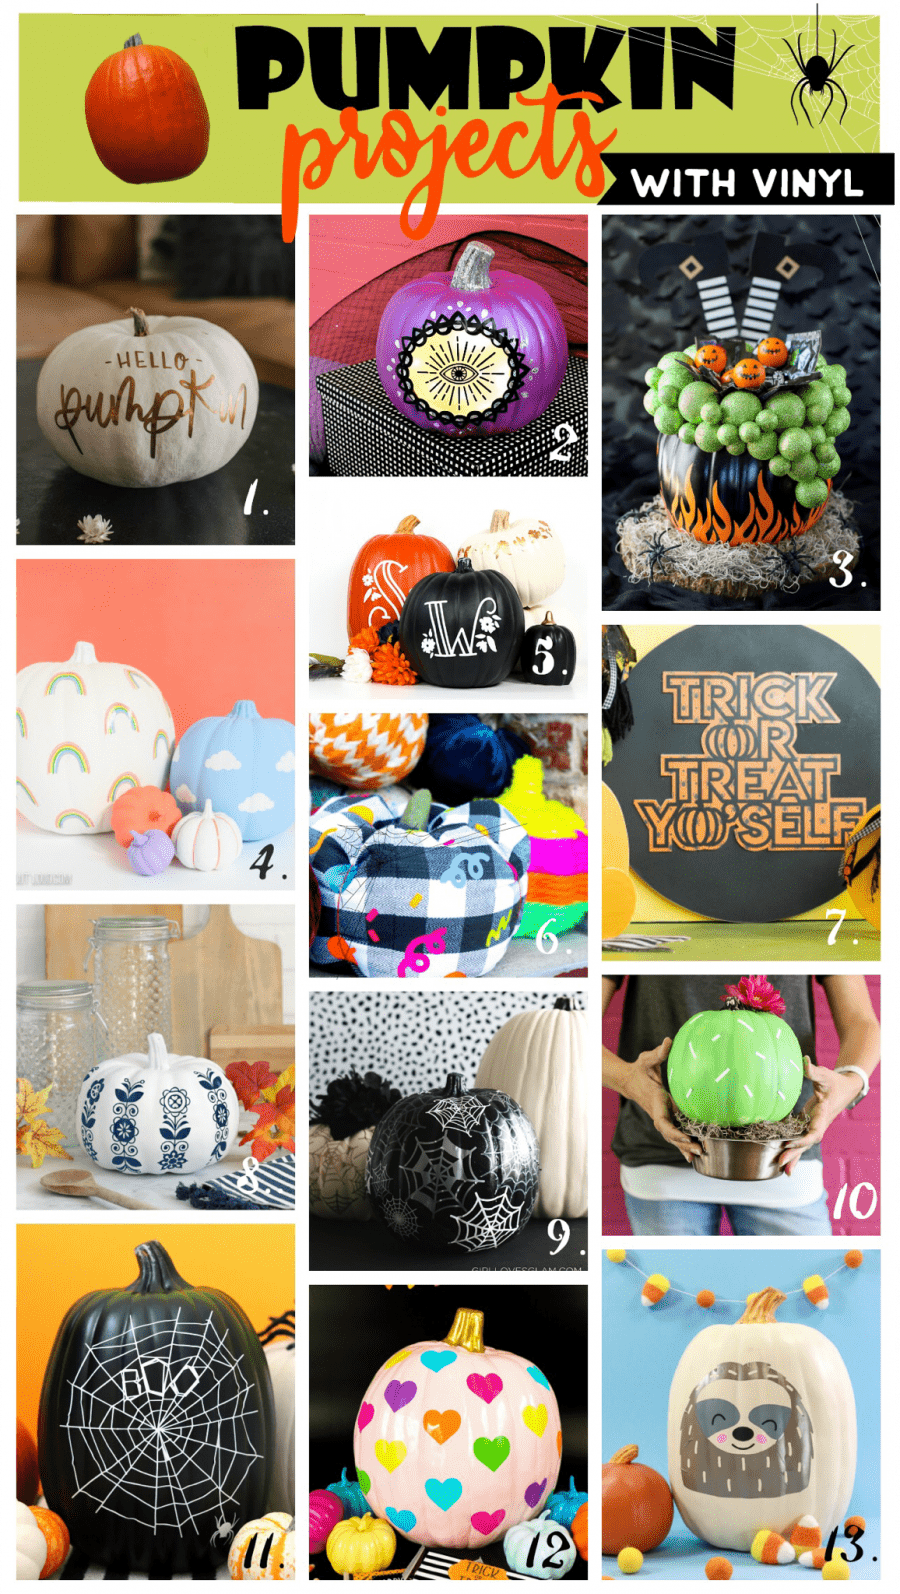
- Hello Pumpkin from Lemon Thistle
- Glowing Eye Pumpkin from Persia Lou
- Cauldron Candy Holder from A Pumpkin and a Princess
- Rainbow and Clouds pumpkin from Lydi Out Loud
- Monogram Pumpkins from Printable Crush
- Fabric Pumpkins from Sew What Alicia
- Trick or treat yourself from See Lindsay
- Folk art pumpkin from The Craft Patch
- Spiderwebs pumpkin from Girl Loves Glam
- Cactus pumpkin from Sugar Bee Crafts
- Boo Spiderweb from a Girl and a glue gun
- Rainbow hearts from Happiness is Homemade
- Sloth pumpkin from That’s What Che Said

Hello Pumpkin! Free cut file + Matte Metallic Pumpkins - Lemon Thistle
Tuesday 29th of August 2023
[…] Spiderwebs pumpkin from Girl Loves Glam […]