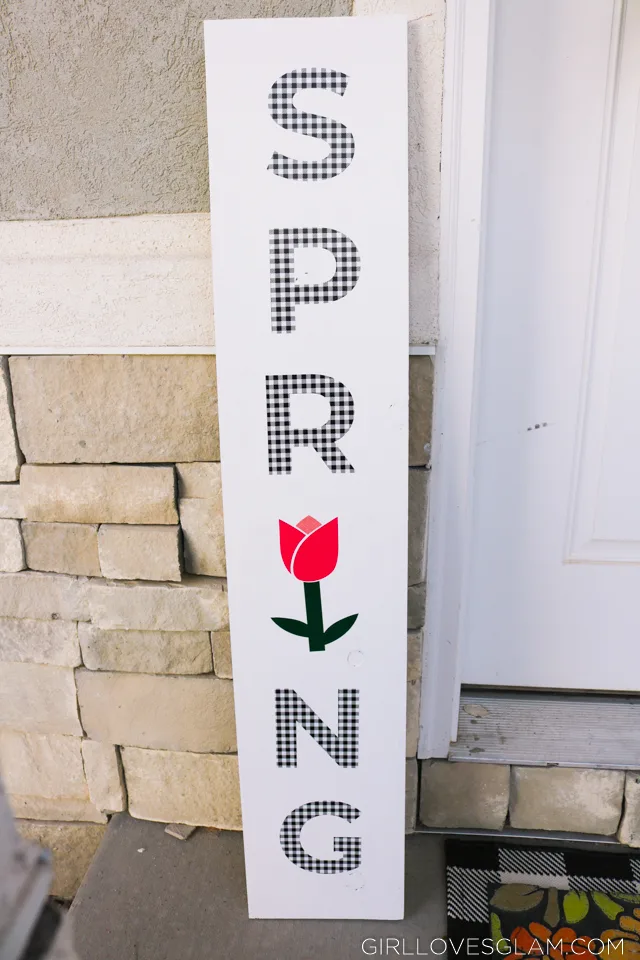
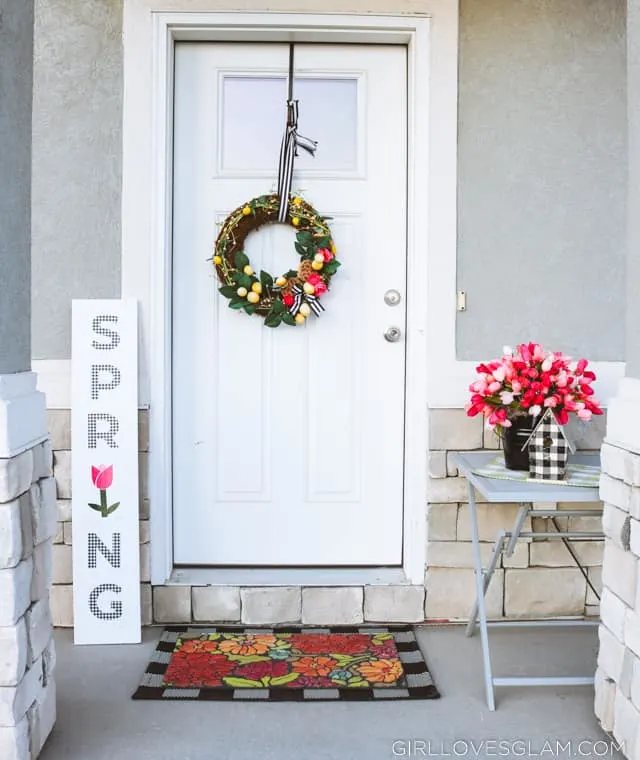
I love when it is finally time to decorate my porch for Spring! After having very little color on my porch, decorating with Spring colors makes my heart so happy! I wanted to keep my porch fairly simple but bring in some pops of color. To bring a little more personality to my porch, I knew it needed a cute homemade porch sign.
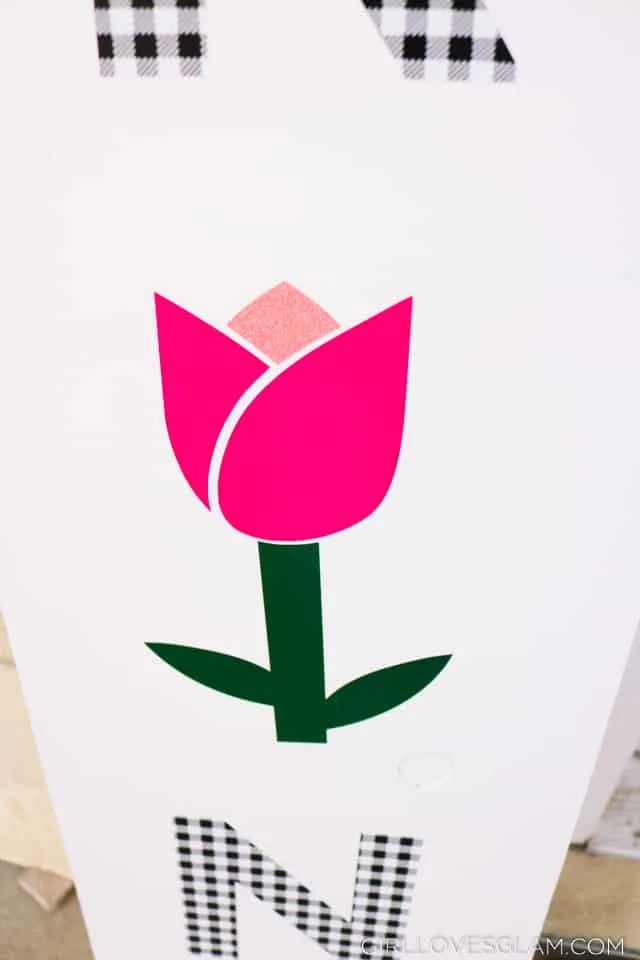
I love how the buffalo plaid letters and the colorful flower looks together. It is just the right thing to take up the space on the other side of my door and it helps tie everything together on my porch.
Spring Porch Sign Supplies
To make this sign, you need…
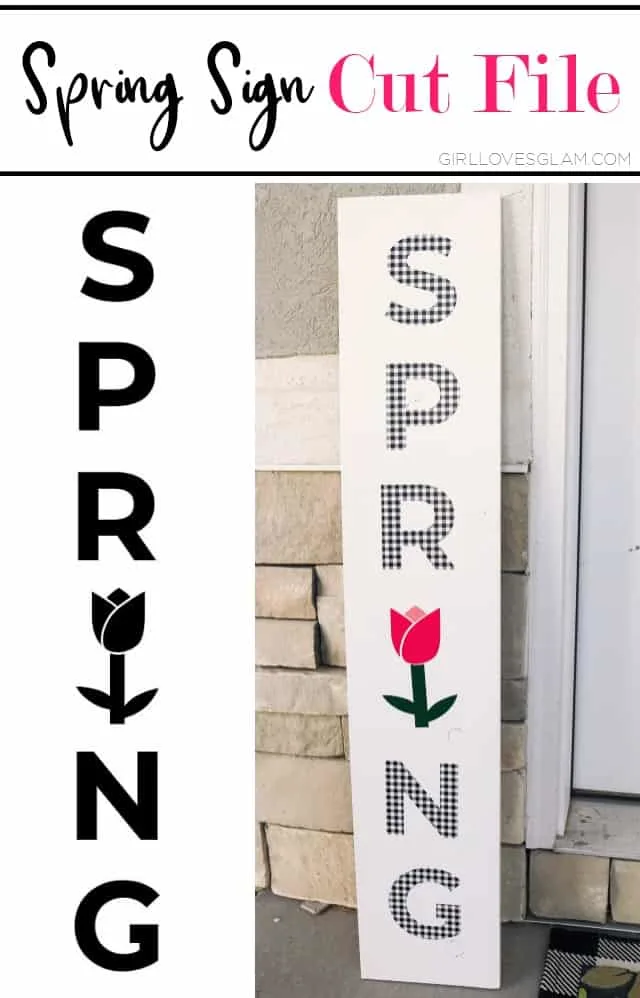
Download the Spring Free Cut File (this is a free cut file. It is for PERSONAL USE ONLY)
Tall piece of wood
White paint
White buffalo plaid permanent vinyl
Transfer tape (I recommend the clear transfer tape for this project)
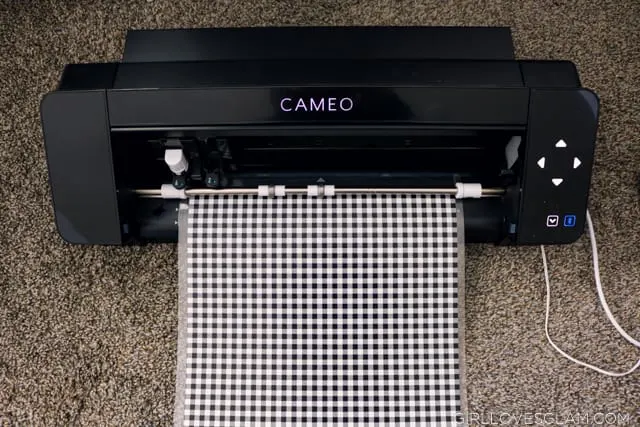
Silhouette Cameo use the code GLAM to get the best deal on the bundle! (this is my preferred cutting machine, but the cut file will work with Cricut machines as well)
How to make a porch sign for Spring
To get started, paint your wood white (or whatever color you choose for your style). Let it dry completely. Measure how tall and wide you will want your word to be.
Next, open the Spring SVG file in your software. If you haven’t downloaded your Spring free SVG cut file, click this link to take you to the download.
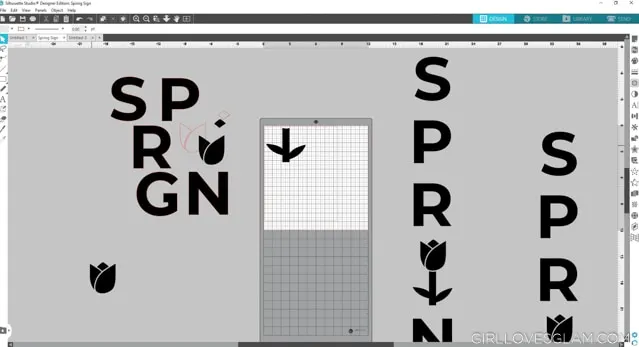
I use the Silhouette Studio software. Resize the word to be the size you need on your sign.
Because this cut file is pretty easy to line back up, I decided to save the vinyl and fit as many letters as I could on each sheet of vinyl, rather than keep it in the exact placement it needed to be in. Do this by ungrouping the image and moving each individual element of the cut file where you want it.
Cut out all of the letters you want in the buffalo plaid. Then cut out the different pieces of the flower. I chose to go with two different shades for the flower petals but that is totally optional.
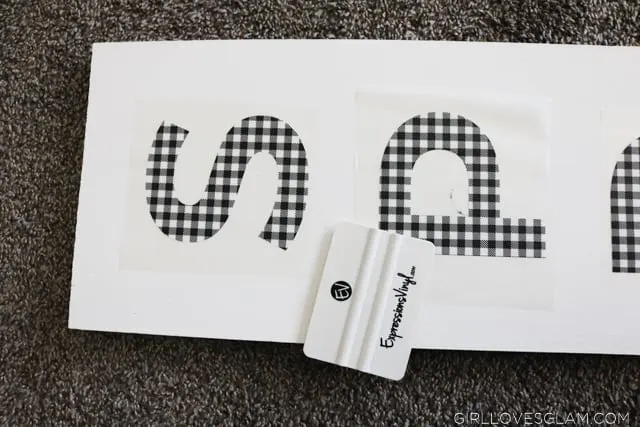
Weed out the excess vinyl from the cut out pieces and add transfer tape to them by taking the backing off the transfer tape, placing your cut out vinyl pieces on it (with their white backing still on them), and cutting around their white backing to create individual “stickers” of each element of the sign.
Measure your sign to know exactly where you want to place each letter. The nice thing about backing the letters with the transfer tape is they can be lightly placed on the sign, without pressing down on them, so they can be moved to the exact spot you want them.
Once you have each element of the sign where you want it, use a scraping tool to really press the vinyl on the sign well. Remove the transfer tape.
Buffalo Plaid Spring Porch
This sign pulled everything together on my porch so well! I love how it all looks because I’m always a sucker for black and white, but the pops of pink and green really add to the overall feel of the porch.
How do you like it all? I am ready to welcome in Spring, now bring on the Spring sunshine!


