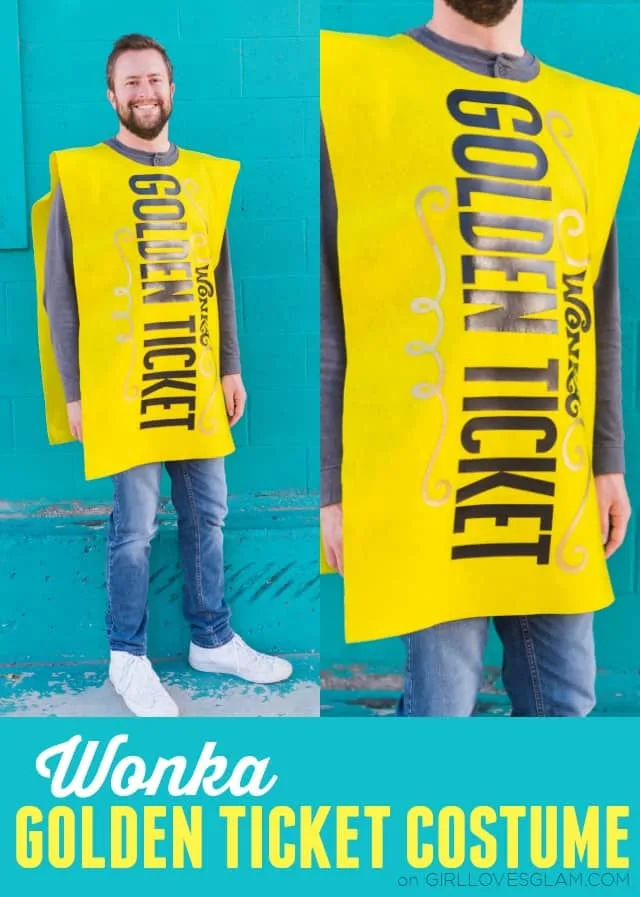
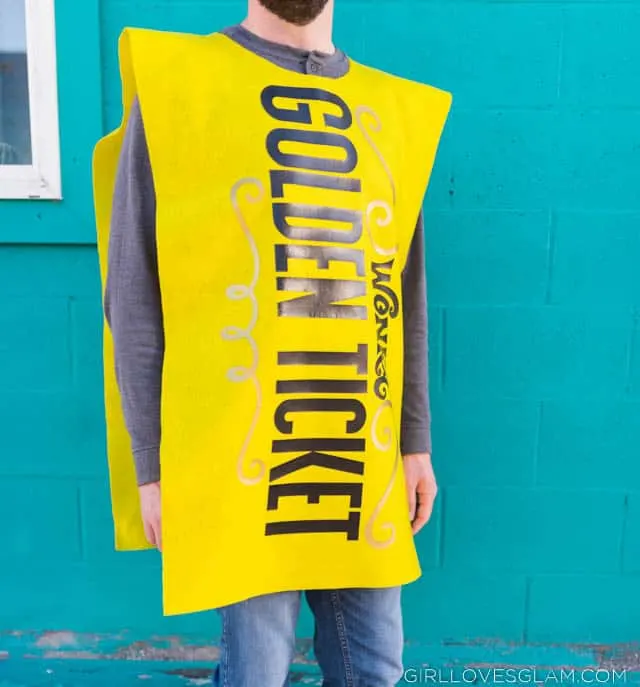
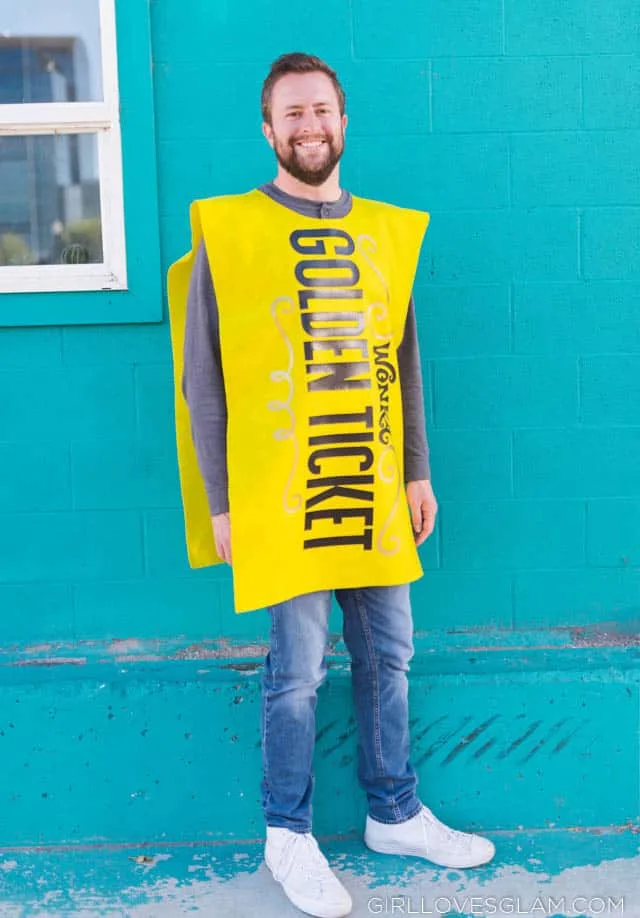
Willy Wonka is a family favorite at our house. We love the book, Charlie and the Chocolate Factory and the movies. That’s why we knew we needed our family Halloween costume to be a Willy Wonka family costume. The Golden Ticket is such an important part of the story that we had to have that as one the costumes. So to kick off the no sew Halloween costumes for 2018, here is the Golden Ticket costume!
Homemade Golden Ticket costume
To make your own Golden Ticket costume, you will need…
(contains affiliate links)
- Yellow felt cut to 22 x 73 inches
- Black heat transfer vinyl (One 12×24 sheet is enough)
- Gold heat transfer vinyl (One 12×24 sheet is enough)
- Multi Use Paper
- Silhouette Cameo
- Iron
- Fabric scissors
- Vinyl weeding tool
After you have cut your felt to the right size, fold it in half to make the front and the back of the costume measure at 22 x 36 1/2 inches.
How to cut words larger than your Silhouette cutting mat
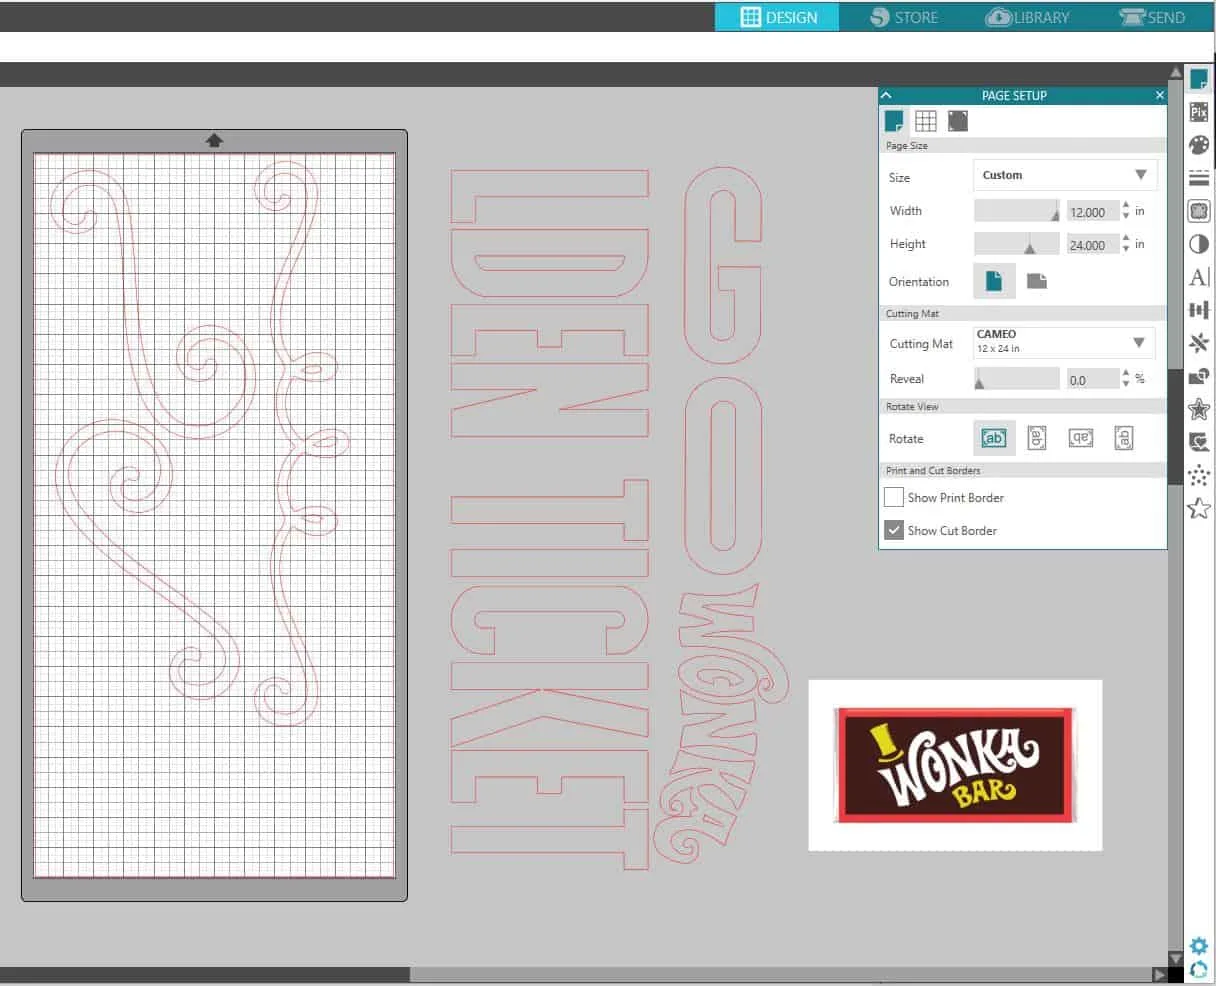
First, in the Silhouette Studio, type out “Golden Ticket” in all caps. I used the font, Hardline. Make the words as big as you want them for your costume. I made mine 28 inches long. Since the vinyl is only 24 inches long, you will need to ungroup your words and move a few letters on another spot on your mat to fit on your vinyl. You could also just delete a few letters and type them in the same size in other spots on your mat. To ungroup, you will click on your words and then right click on them and select ungroup.
For the Wonka logo, I just found a photo of a Wonka Bar online and opened it in the Silhouette Studio. Use the trace panel tool to trace the Wonka Bar. Use the eraser tool to erase the hat and the “bar” word out of the logo. Make the Wonka logo as big as you need it to be. I just made it as big as it could be to use up the rest of the space on the vinyl.
Don’t forget to cut all of it out mirrored! Cut all of this out on the black vinyl. Weed out the extra vinyl from the words and cut the Wonka and the extra letters off of the rest of the Golden Ticket word.
Next, purchase some swirl designs from the store in Silhouette Studio and make them as large as you want them to be. I wanted each side of the Wonka logo to have a little swirl and for one bigger swirl to be on the bottom of the Golden Ticket words. Cut the swirls out of gold heat transfer vinyl and weed the extra vinyl away from the design.
Cut a hole for your head to go through in the middle of the fold. I just grabbed a bowl that would fit over my head and used that as a guide to draw a circle in the middle of the crease and cut it out.
How to iron on heat transfer vinyl
Now, heat up the iron and place the Golden Ticket letters on the felt, in the center. Lay the multi use paper over the vinyl and iron over that. The multi use paper will help protect the felt from the iron and help protect the vinyl from the iron, after the clear backing is removed.
Use pressure when you are ironing the vinyl on and move it around your letters. Try to keep each letter with heat on it for roughly 20 seconds. Don’t just sit the iron on there for 20 seconds. Move it around and make sure it has gotten the heat on it for about that long. Take the clear backing off immediately. If the vinyl starts to come up with the backing, lay the backing back down and iron it more.
After ironing on the Golden Ticket, place the Wonka logo over it and iron it on. Then follow with the gold swirls and iron them on. Don’t forget that multi use paper! If the vinyl touches the iron, it is bad news! After you have ironed it all on, you are done!
This costume is such an easy one to make, it is an easy costume to wear because you can wear your regular clothes under it, and it is unique! I can’t wait to show you the rest of our family’s Willy Wonka themed costumes. Tune in each day this week as I reveal a new costume and tune in on Friday to see the entire family together!
You can see all of our previous no sew family Halloween costumes from the past to get you prepared!
For even more costumes for boys and men, check out these great costumes!

