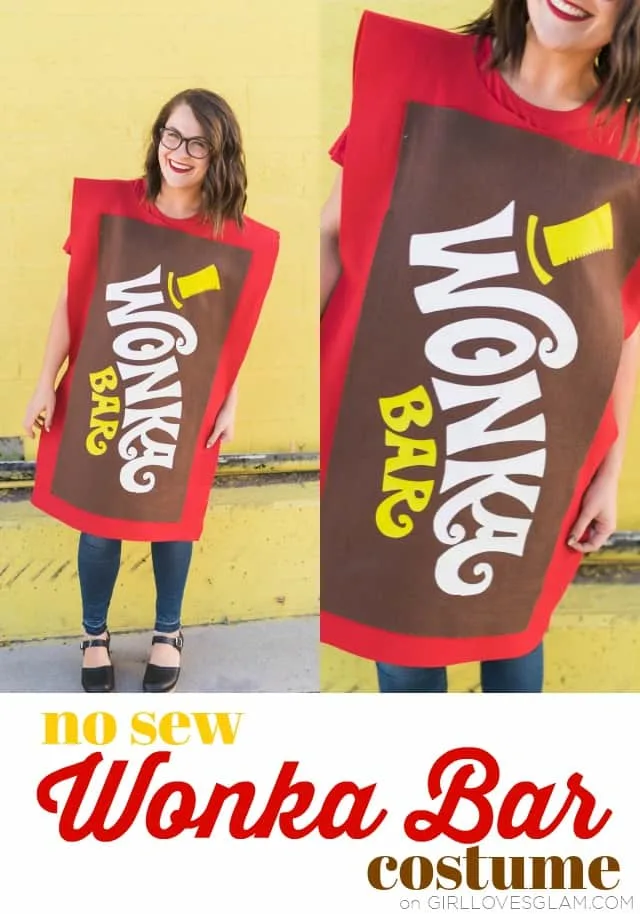
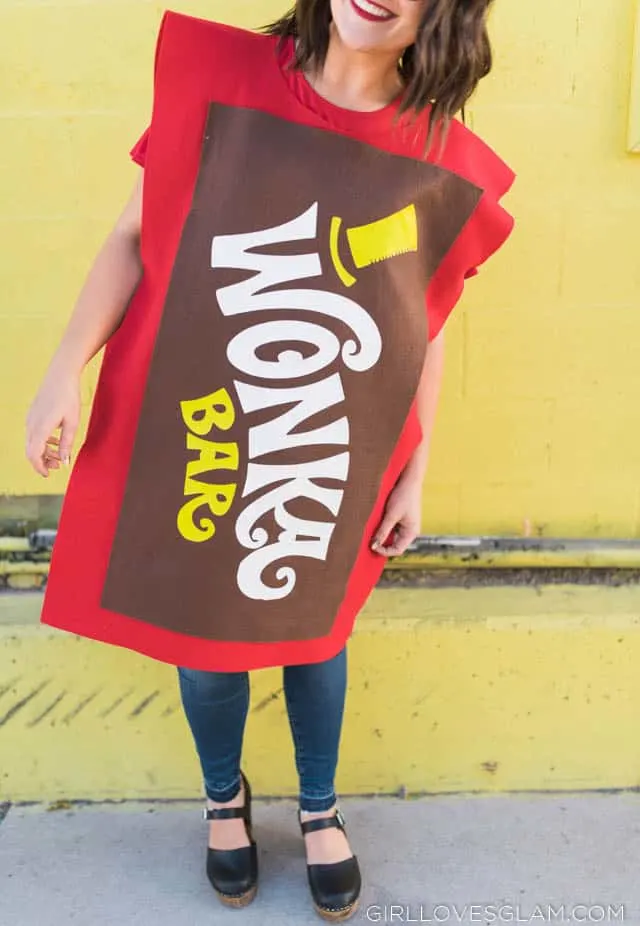
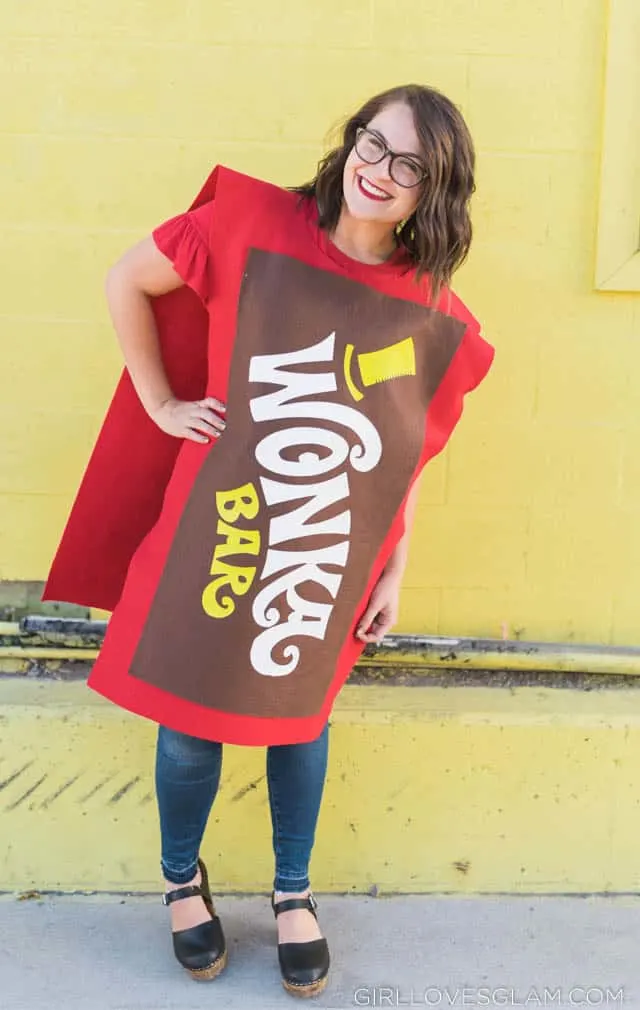
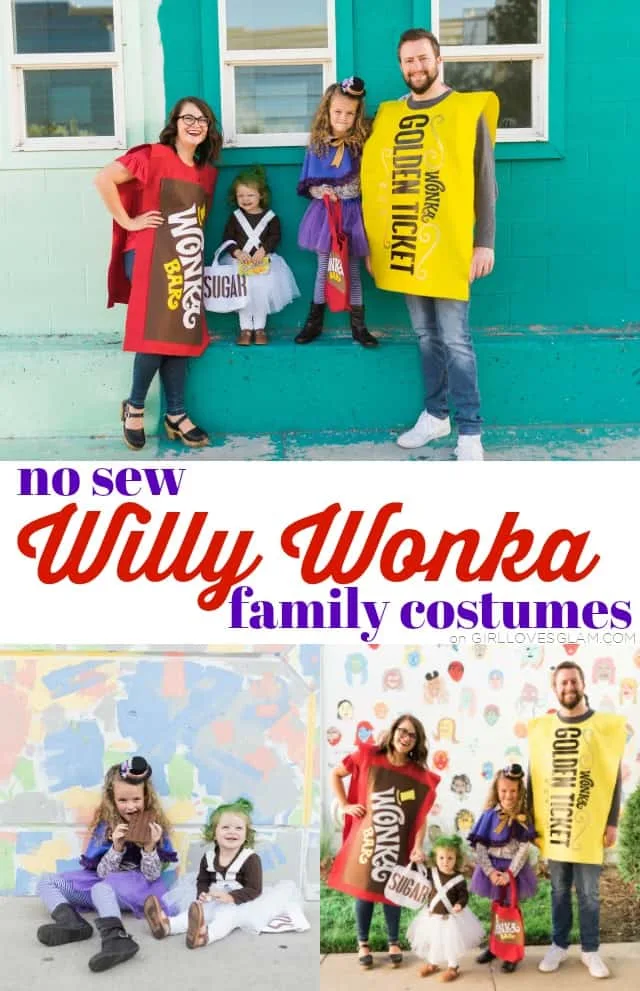
There is nothing that screams Willy Wonka more than a classic Wonka Bar! That is why I was excited to be a Wonka Bar in our Willy Wonka family Halloween costume theme. It would work perfectly as a couple’s costume with the Wonka Golden Ticket costume. I love this no sew Wonka Bar costume!
Homemade Wonka Bar costume
To make your own Wonka Bar costume, you will need…
(contains affiliate links)
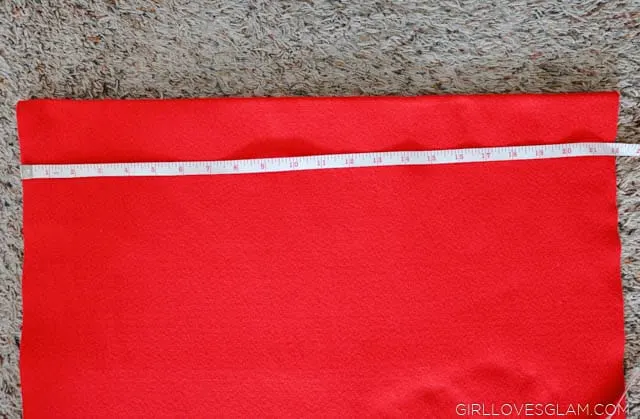
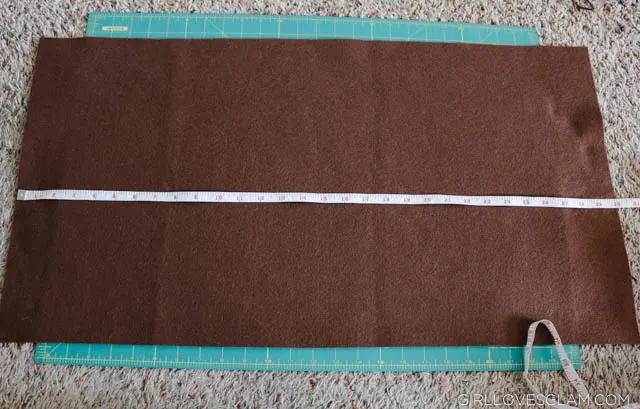
- Red felt cut to 22 x 73 inches
- Brown felt cut to 16 x 30 inches
- Fabric glue
- White heat transfer vinyl (One 12×24 sheet is enough)
- Yellow heat transfer vinyl (One 12×24 sheet is enough)
- Multi Use Paper
- Silhouette Cameo (use code GLAM for the best deal)
- Iron
- Fabric scissors
- Vinyl weeding tool
After you have cut your felt to the right size, fold it in half to make the front and the back of the costume measure at 22 x 36 1/2 inches.
Tracing an image in Silhouette Studio
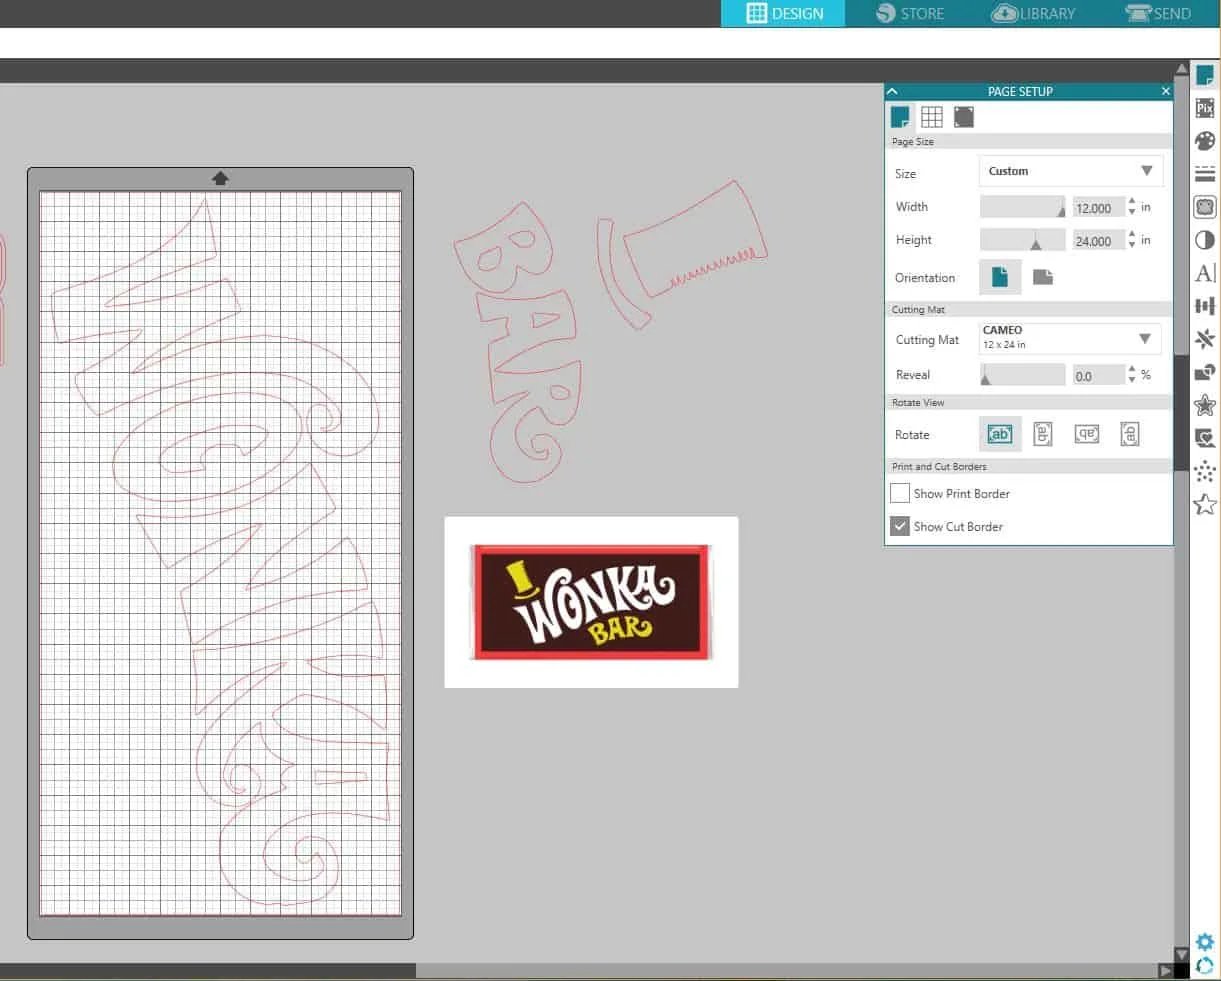
Open Silhouette Studio and insert a photo of a Wonka Bar. I just found a photo of a Wonka Bar online to use. Use the trace panel tool to trace the Wonka Bar. You will want to play with the threshold and high pass to get the perfect cut out. Once you have it as clean as you want it, click on the Trace button. Make the size you want it to be and then duplicate it. Put one of the logos on the mat and keep the other one off of the mat. Use the eraser tool to erase the hat and the “bar” word out of the logo and erase the “Wonka” out of the other logo.
Don’t forget to cut all of it out mirrored! Cut the Wonka out on the white vinyl. Weed out the extra vinyl from the logo and set aside. Cut the hat and the “bar” out of the yellow vinyl and weed out the extra.
Cut a hole for your head to go through in the middle of the fold. I just grabbed a bowl that would fit over my head and used that as a guide to draw a circle in the middle of the crease and cut it out.
How to make an adult Wonka Bar costume
Glue the brown piece of felt on top of the red piece of felt. Focus on gluing around the edges. You can also put the vinyl on before this step, if you are nervous about the glue heating up when you iron over it. I didn’t put much glue in the middle and really focused on the edges, so I wasn’t worried about gluing together before the vinyl. Allow the glue to dry.
How to apply Heat Transfer Vinyl
Heat up the iron and place the Wonka logo on the brown felt, in the center. Lay the multi use paper over the vinyl and iron over that. The multi use paper will help protect the felt from the iron and help protect the vinyl from the iron, after the clear backing is removed.
Use pressure when you are ironing the vinyl on and move it around your letters. Try to keep each letter with heat on it for roughly 20 seconds. Don’t just sit the iron on there for 20 seconds. Move it around and make sure it has gotten the heat on it for about that long. Take the clear backing off immediately. If the vinyl starts to come up with the backing, lay the backing back down and iron it more.
After ironing on the Wonka logo, place the hat and the “bar” on the felt and iron it on.
I think this Wonka Bar costume is my favorite costume of mine that I have ever made! I am able to wear my regular clothes under it, I don’t have to suck in, and it is really comfortable! It looks perfect with Dave’s Golden Ticket costume.
Charlie and the Chocolate Factory Family Halloween Costumes
To make the entire Willy Wonka family Halloween costume theme, you can use my Golden Ticket costume, Girls’ Willy Wonka Costume, and Oompa Loompa costume tutorials. They are all no sew tutorials!
You can see all of our previous no sew family Halloween costumes as well, to give you even more ideas!

Maureen OConnor
Wednesday 28th of July 2021
I would love to buy 2 Wonka costumes. Are you selling them?
Brenda
Wednesday 23rd of October 2019
Do you mind telling me how I go about getting all the equipment and supplies I need for the heat transfer? I have never made one of those before. Thanks!